5 Essential Power Management Solutions for Unattended Remote Observatories
Running an unattended observatory means trusting your power system to work flawlessly while you sleep. One voltage drop or battery failure can cost you a night of precious imaging time, or worse, leave your equipment exposed to the elements. Getting remote observatory power management right is the difference between reliable automation and constant troubleshooting.
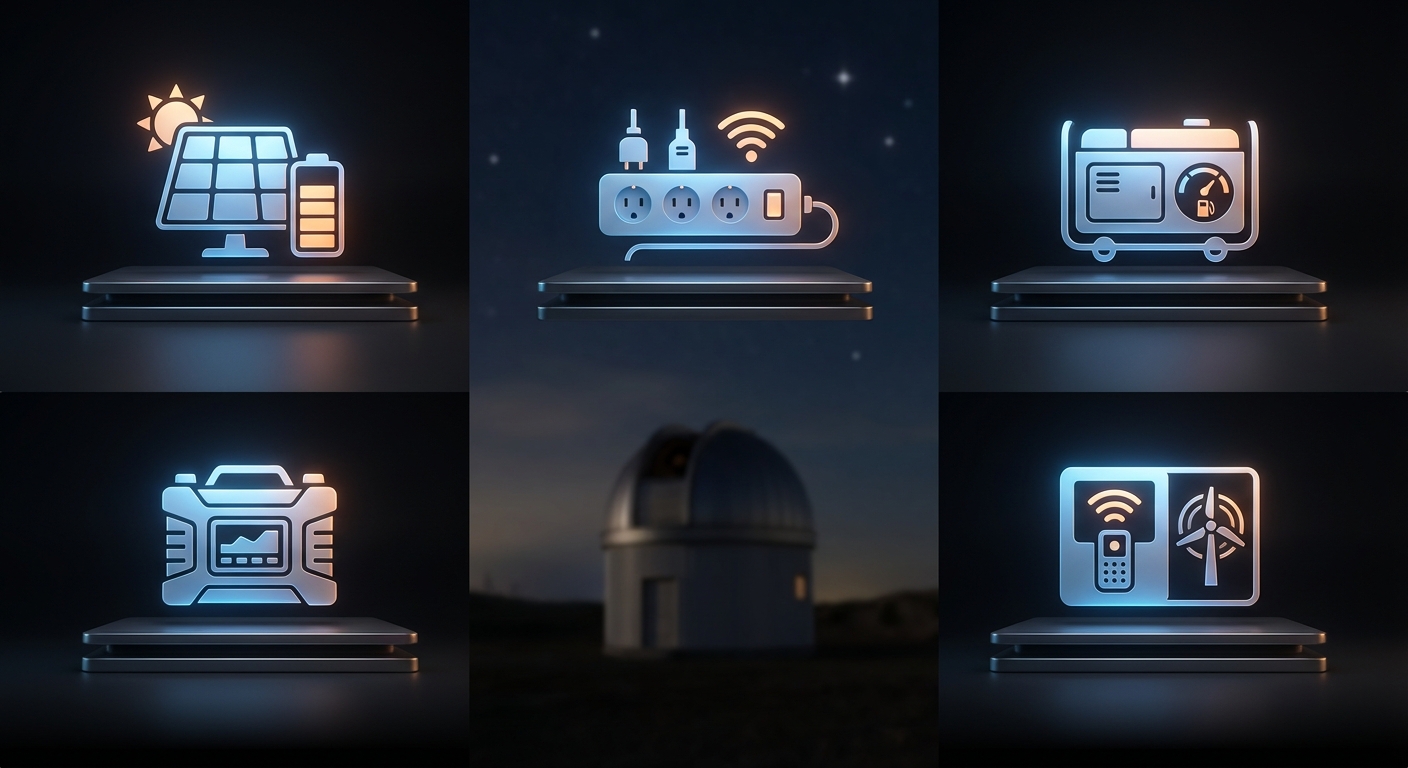
Successful remote observatory power management combines redundant energy sources, intelligent monitoring systems, and automated failsafe protocols. A properly designed setup includes battery backup, solar supplementation where feasible, real-time consumption tracking, and graceful shutdown sequences that protect equipment during power events. Planning for worst-case scenarios prevents data loss and hardware damage.
Understanding Your Power Budget
Before selecting components, you need accurate numbers. Calculate the wattage of every device that will run during an imaging session.
Start with your mount. Most mid-range equatorial mounts draw between 12 and 36 watts during tracking. Goto systems and those with higher payload capacities can pull 60 watts or more during slewing.
Your camera cooling system is next. Cooled astronomy cameras typically consume 30 to 50 watts when actively cooling the sensor to operating temperature. Uncooled cameras use far less but may not deliver the image quality you need for long exposures.
Don’t forget the accessories. Focusers draw 5 to 15 watts during movement. Dew heaters can consume 20 to 40 watts per strip depending on aperture size. Flat panel illuminators, USB hubs, and filter wheels each add their own small loads.
A typical setup might look like this:
| Component | Power Draw | Operating Hours | Total Watt-Hours |
|---|---|---|---|
| Mount tracking | 24W | 8 hours | 192 Wh |
| Camera cooling | 40W | 8 hours | 320 Wh |
| Focuser (intermittent) | 10W | 1 hour | 10 Wh |
| Dew heaters | 30W | 8 hours | 240 Wh |
| Control computer | 15W | 8 hours | 120 Wh |
| Network equipment | 8W | 8 hours | 64 Wh |
| Total | 946 Wh |
Add 20% overhead for inefficiencies and unexpected loads. That brings the example to roughly 1,135 watt-hours for a single night.
Battery Systems That Actually Work

Lead-acid batteries are affordable but heavy. They work fine for stationary installations where weight doesn’t matter. A 100Ah deep-cycle battery at 12V provides 1,200 watt-hours of theoretical capacity, but you should only discharge to 50% to preserve lifespan. That gives you 600 usable watt-hours.
Lithium iron phosphate (LiFePO4) batteries cost more upfront but offer better performance. You can safely discharge them to 80% or 90% depth without damaging the cells. A 100Ah LiFePO4 battery delivers around 1,000 usable watt-hours and weighs half as much as lead-acid.
For the 946 watt-hour example above, you would need:
- Two 100Ah lead-acid batteries in parallel (1,200 Wh usable)
- One 100Ah LiFePO4 battery with comfortable margin
- One 200Ah lead-acid battery if you prefer a single unit
Battery placement matters. Keep them in an insulated enclosure if your observatory experiences freezing temperatures. Lithium batteries especially suffer reduced capacity below 32°F. Some astrophotographers install heating pads controlled by thermostats to maintain optimal battery temperature.
“I lost three nights of data before I realized my batteries were dropping below freezing. The voltage looked fine on the monitor, but capacity was cut in half. A $30 thermostat and heating pad solved the problem completely.” – Remote observatory operator, Montana
Solar Supplementation and Grid Hybrid Systems
Solar panels can extend your operating time or reduce grid dependence. A 100-watt panel in good sunlight generates roughly 400 to 500 watt-hours per day, accounting for angle and weather losses.
Match your panel wattage to your nightly consumption. If you use 1,000 watt-hours per night, a 200 to 300-watt solar array can replenish batteries during daylight hours. This works well for observatories in remote locations where grid power is unavailable or unreliable.
Charge controllers prevent battery overcharging and regulate voltage. MPPT (Maximum Power Point Tracking) controllers extract more energy from panels than PWM (Pulse Width Modulation) types. The efficiency gain is worth the extra cost for systems above 200 watts.
Grid-tied systems offer the best reliability. Your observatory runs on mains power during normal operation. Batteries serve as backup only, maintained by a trickle charger or small solar panel. When grid power fails, an automatic transfer switch cuts over to battery power within milliseconds.
This hybrid approach gives you:
- Unlimited runtime during normal conditions
- Automatic backup during outages
- Reduced battery cycling and longer lifespan
- Lower total system cost compared to fully off-grid setups
Many remote observatory owners use this configuration and report years of trouble-free operation. The setup works particularly well if you’re building a motorized telescope cover for remote observatories that needs reliable power for open and close cycles.
Monitoring and Alerts That Prevent Disasters
You can’t fix problems you don’t know about. Real-time monitoring tells you when voltage drops, current spikes, or batteries discharge faster than expected.
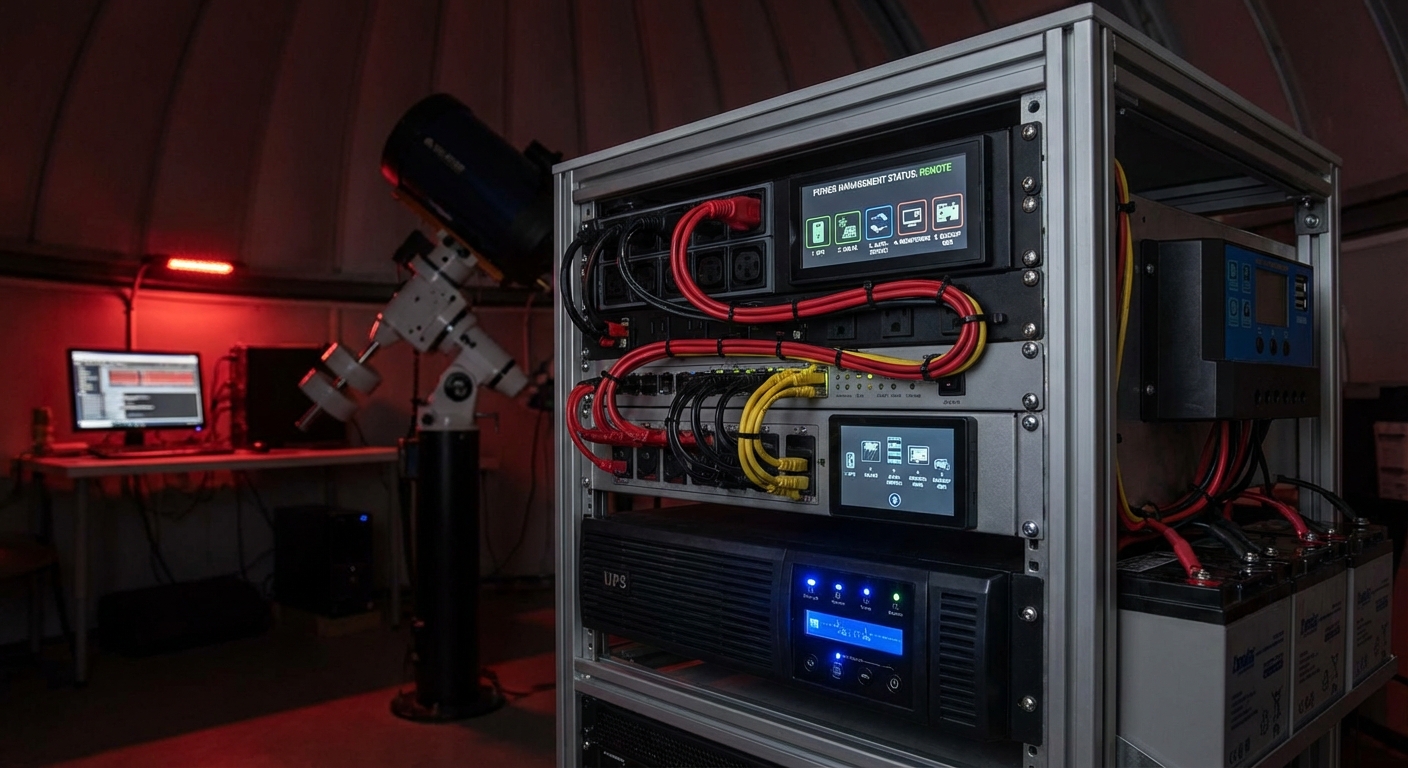
Smart power distribution units (PDUs) provide per-outlet monitoring and remote switching. You can see exactly which device is drawing how much power and cut power to individual components if needed. Some models include environmental sensors for temperature and humidity.
Set up alerts for critical thresholds:
- Battery voltage below 12.2V (50% discharge for lead-acid)
- Current draw exceeding expected values by 20%
- Temperature inside equipment enclosure above 95°F
- Loss of AC mains power
- Network connectivity failure
Email and SMS notifications work, but push notifications through dedicated apps provide faster response. Some observatory automation software integrates power monitoring directly into the control interface.
Log your power data. Patterns emerge over time. You might notice that dew heaters draw more current on humid nights or that your mount consumes extra power when tracking near the meridian. This information helps you optimize your power budget and predict battery life.
Automated Shutdown Sequences
Equipment safety depends on graceful shutdowns when power runs low. Your automation system should execute a predefined sequence:
- Pause any running imaging sequences
- Park the telescope mount at home position
- Close the observatory roof or roll-off enclosure
- Save all data and close software applications
- Power down non-essential devices first
- Shut down the control computer last
- Cut power to remaining devices
This process should trigger automatically when battery voltage reaches a critical threshold, typically 11.8V for lead-acid or 12.4V for LiFePO4 systems. Don’t wait until batteries are completely drained.
Test your shutdown sequence regularly. Simulate a power failure during daylight hours and verify that every step executes correctly. Time how long the sequence takes. Make sure your battery reserve can power all devices through the complete shutdown with margin to spare.
Essential scripts every remote observatory owner should be running often include power monitoring and automated shutdown routines. These scripts can save your equipment from damage and prevent data corruption.
Failsafe Hardware Protection
Software automation is excellent until it isn’t. Hardware failsafes provide a last line of defense when scripts fail or communications drop.
Voltage-sensing relays cut power to specific circuits when input voltage falls below a set threshold. Wire one to your mount power supply. If battery voltage drops too low, the relay opens and disconnects the mount, preventing damage from undervoltage conditions.
Watchdog timers reset frozen computers. If your control software crashes and stops sending heartbeat signals, the watchdog forces a reboot after a preset timeout. Some models can trigger shutdown sequences or send alerts before resetting.
Mechanical timers offer the simplest failsafe. Set one to cut all power after your planned imaging session should have ended. If automation fails and the system doesn’t shut down properly, the timer prevents your batteries from draining completely overnight.
Fuses and circuit breakers protect against short circuits and overcurrent conditions. Size them appropriately for each circuit. A 10-amp fuse on your mount power line prevents a wiring fault from starting a fire or damaging your power supply.
Seasonal and Weather Considerations
Winter operation demands more power. Batteries lose capacity in cold temperatures. Dew heaters run longer. Your all-sky camera might need its own heating element to prevent frost buildup.
Plan for worst-case winter nights. If your summer power budget is 1,000 watt-hours, assume 1,400 to 1,600 watt-hours for winter operation in cold climates. Insulate battery enclosures and consider larger capacity to compensate for temperature losses.
Summer brings different challenges. High temperatures reduce battery lifespan and can damage sensitive electronics. Ventilation becomes critical. Some operators install small fans powered by solar panels to maintain airflow through equipment enclosures during hot days.
Cloud cover affects solar charging. String together several cloudy days and your batteries may not fully recharge between sessions. Monitor your state of charge closely during extended overcast periods. Skip imaging sessions if necessary to let batteries recover.
Wind can increase power consumption if your mount has to work harder to maintain tracking accuracy. Vibration from wind also degrades image quality, so you might shut down during high winds anyway. Factor this into your power planning and automation rules.
Maintenance Schedules That Extend System Life
Batteries need regular attention. Check water levels in flooded lead-acid batteries monthly. Clean terminals every few months to prevent corrosion. Test capacity annually by running a controlled discharge cycle.
LiFePO4 batteries require less maintenance but benefit from cell balancing. Most quality battery management systems handle this automatically, but verify that balancing occurs regularly by checking your system logs.
Solar panels accumulate dust, pollen, and bird droppings. Clean them every few months to maintain output. A 20% reduction in panel efficiency means 20% less charging capacity, which can make the difference between full battery recovery and gradual discharge over time.
Inspect all connections twice per year. Loose terminals create resistance, which generates heat and wastes power. Corroded connections can fail completely during critical moments. A few minutes with a wrench and wire brush prevents hours of troubleshooting later.
Update monitoring software and firmware on smart devices. Manufacturers often release patches that improve reliability or add features. Set calendar reminders to check for updates quarterly.
Scaling Your System for Future Needs
Start with your current requirements but plan for expansion. Adding a second camera or upgrading to a larger mount means higher power consumption.
Modular systems scale more easily than integrated ones. Individual battery modules can be added in parallel. Extra solar panels connect to the same charge controller up to its maximum input rating. Additional monitoring devices join your network without replacing existing infrastructure.
Document your system thoroughly. Create a wiring diagram showing every connection. List all device specifications and power requirements. Note charge controller settings and automation thresholds. Future you will appreciate this documentation when troubleshooting or upgrading.
Consider a power management panel that consolidates connections. Terminal blocks, fuses, switches, and monitoring devices all mount to a single board. This makes the system easier to understand and modify compared to a tangle of wires and components scattered around your observatory.
Some astrophotographers who photograph the Andromeda Galaxy from a suburban backyard observatory eventually expand to multiple telescopes on a single mount or separate mounts for different focal lengths. Power requirements can double or triple. Planning ahead saves money and effort.
Common Mistakes and How to Avoid Them
Undersizing battery capacity is the most frequent error. People calculate their power needs correctly but forget to account for battery discharge limits, temperature effects, and aging. Always oversize by at least 30%.
Skipping the charge controller seems like a cost saving but leads to ruined batteries. Even a basic PWM controller prevents overcharging and extends battery life by years. The controller pays for itself quickly.
Mixing battery types or ages creates problems. Old and new batteries in parallel don’t share load evenly. Different chemistries have different charging requirements. Use matched batteries from the same manufacturer and production batch when possible.
Ignoring wire gauge causes voltage drop. Long runs of thin wire between batteries and equipment create resistance. Use appropriately sized wire for the current and distance. Online calculators make this easy to determine.
Forgetting about vampire loads adds up. Devices that draw power even when idle can drain batteries over several days. Network switches, USB hubs, and some power supplies consume a few watts continuously. Either use switching power strips to cut power completely or account for these loads in your calculations.
Building Confidence Through Testing
Run your observatory through multiple scenarios before trusting it unattended. Simulate power failures during different stages of operation. Test shutdown sequences. Verify that alerts actually reach you.
Start with supervised remote sessions. Monitor your system from inside the house before leaving it truly unattended. Watch how batteries discharge over a full night. Check that solar charging works as expected the next day.
Keep a logbook of each session. Note start and end battery voltage, weather conditions, which equipment ran, and any anomalies. Patterns become visible after a dozen sessions. You’ll learn your system’s quirks and capabilities.
Gradually extend your distance and response time. First, leave the property for an hour. Then try an overnight trip. Eventually, you’ll feel confident leaving for a weekend while your observatory collects data on moon phases or other targets.
Making Power Management Invisible
The best power system is one you never think about. It works reliably night after night, charging during the day, powering your equipment after dark, and protecting itself from damage.
Getting there takes careful planning, appropriate component selection, and thorough testing. But once your system is dialed in, you can focus on what matters: capturing amazing images of the night sky instead of worrying about whether your batteries will last until morning.
Start with a solid foundation. Calculate your needs accurately. Size components with margin. Install monitoring and failsafes. Test everything thoroughly. Then trust your system to do its job while you do yours.
Post Comment