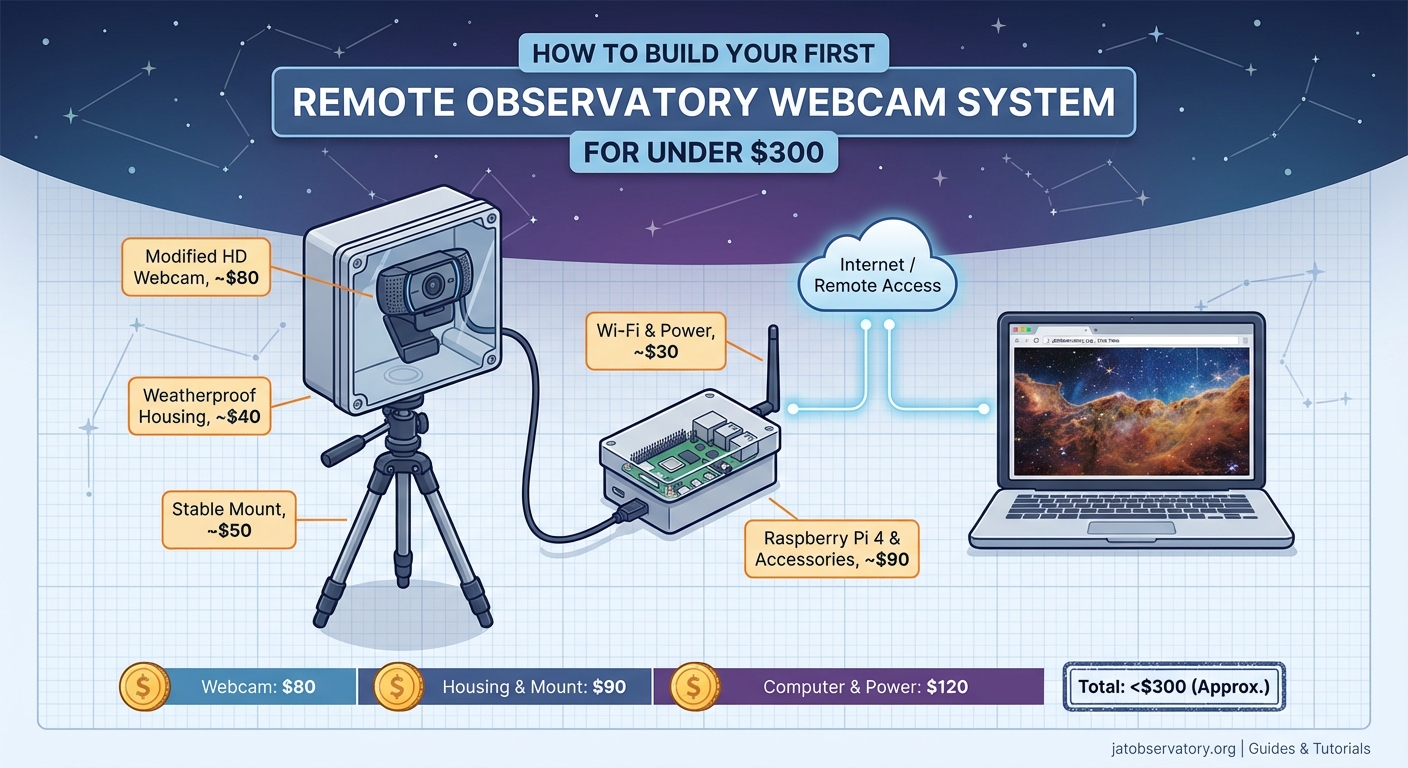
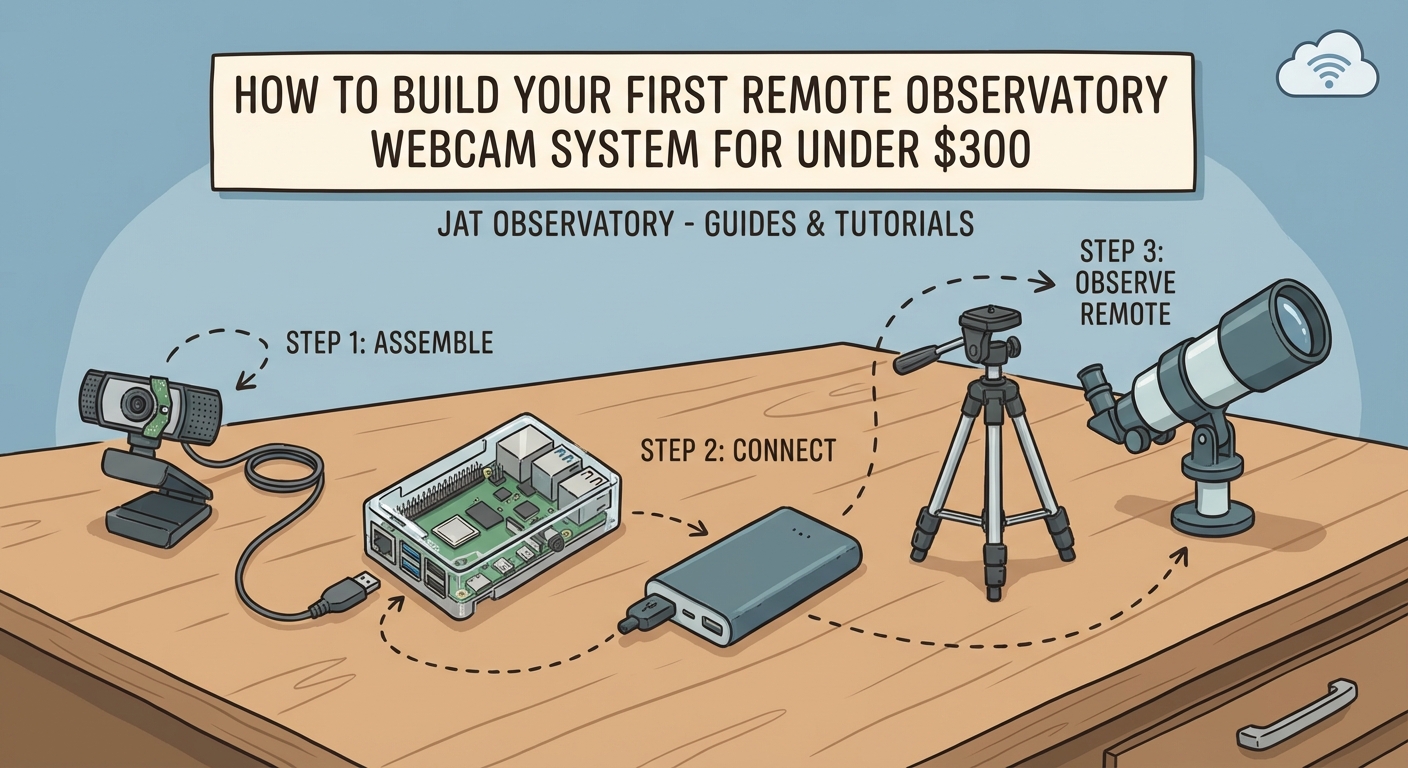
How to Build Your First Remote Observatory Webcam System for Under $300
You want to image the night sky from your backyard, but life gets in the way. Work schedules, weather checks, and the need to physically be at your telescope limit your observation time. A remote observatory changes everything, letting you control your equipment from indoors while capturing those perfect celestial moments.
Building a remote observatory requires five core components: weatherproof housing, automated mount control, reliable imaging hardware, remote access software, and power management. Budget setups start around $300 using webcams and DIY enclosures, while mid-range systems with dedicated astronomy cameras run $1,500 to $3,000. Proper planning of your automation workflow and weather monitoring prevents equipment damage and maximizes imaging time without constant supervision.
Understanding What Makes an Observatory Remote
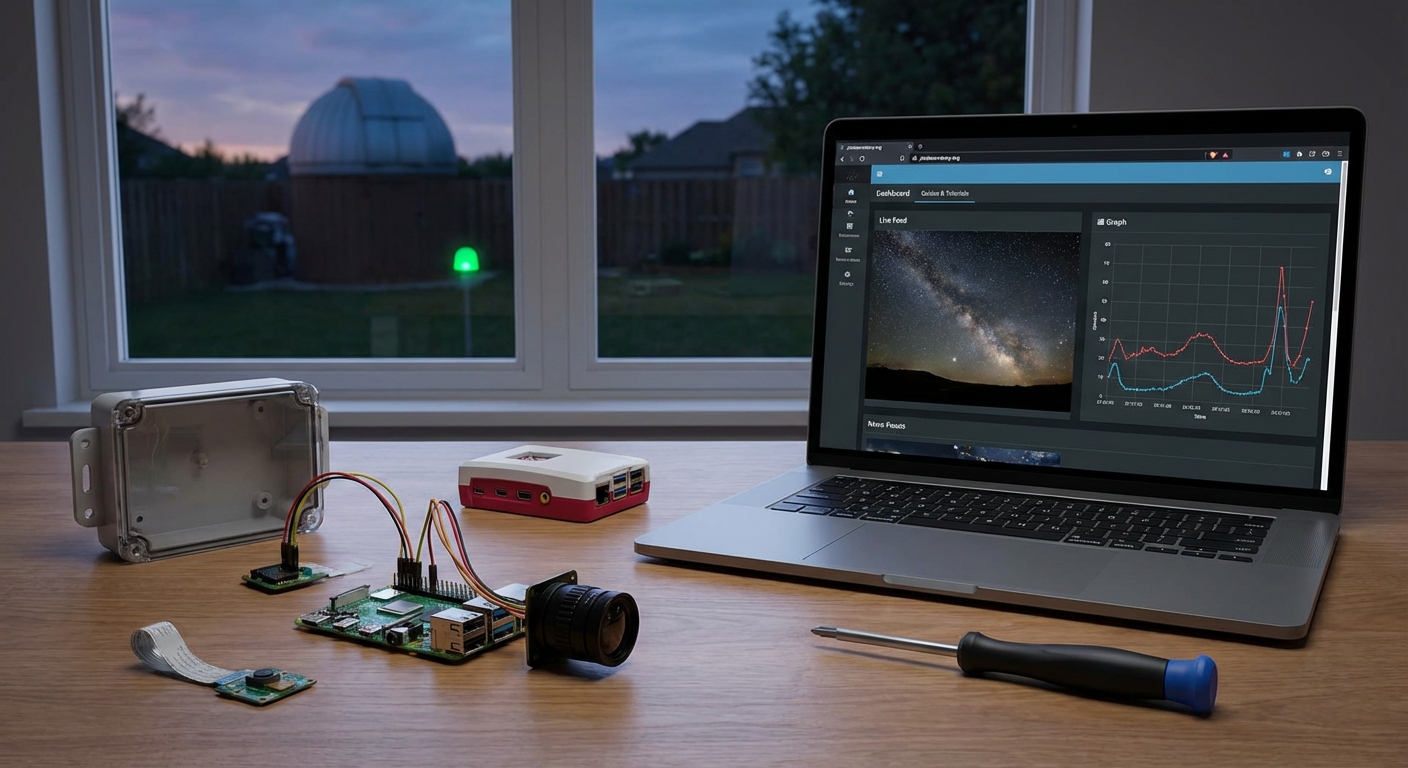
A remote observatory means you can operate your telescope without being physically present. You control everything through software from your living room, office, or even another city.
The setup needs three capabilities working together. First, your mount must accept commands over a network connection. Second, your camera needs to capture images and send them to your computer. Third, you need software that ties these components together and lets you issue commands remotely.
Many beginners assume remote operation requires expensive professional equipment. The truth is different. Entry-level gear now includes remote control features that were professional-only a decade ago.
Your location matters more than you might think. A backyard observatory faces different challenges than a dark sky site. Backyards offer convenience and easy troubleshooting. Remote sites provide darker skies but complicate power delivery and internet access.
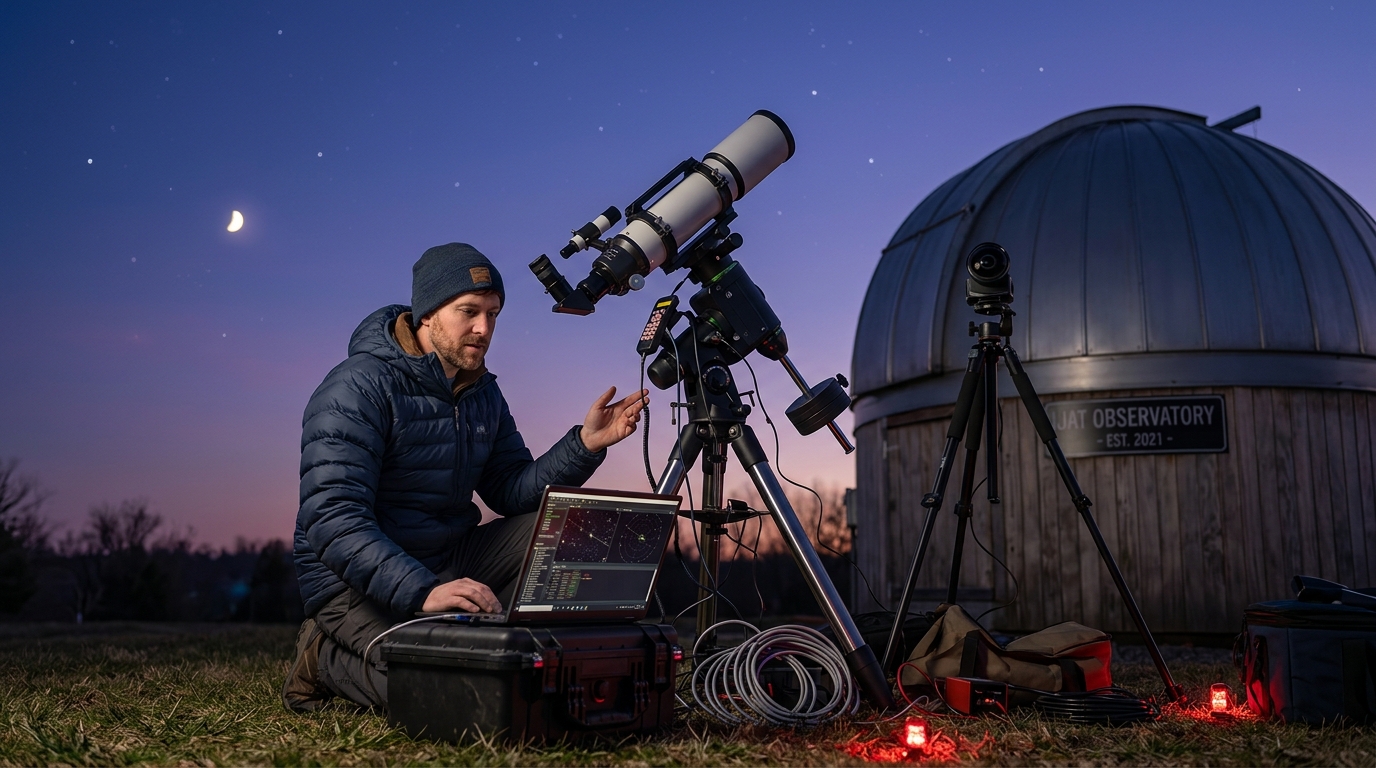
Essential Hardware Components
Your mount serves as the foundation. It needs to track objects as Earth rotates and accept commands from your computer.
Budget mounts like the SkyWatcher EQ5 or Celestron AVX include ASCOM compatibility. ASCOM is a universal standard that lets astronomy software talk to your hardware. Without it, you’ll struggle to automate anything.
The telescope itself matters less than you’d expect for remote operation. A simple refractor or reflector works fine. What counts is that your mount can handle its weight and that your focuser can be motorized.
Imaging hardware splits into two categories. Webcams modified for astronomy work for planetary imaging and cost under $100. Dedicated astronomy cameras provide better sensitivity for deep sky work but start around $400 for entry models.
Your camera needs a way to connect to your computer. USB is standard. Some advanced setups use ethernet for longer cable runs, but USB works fine for most backyard installations.
Power management often gets overlooked until something fails. You need reliable electricity for your mount, camera, focuser, and any dew heaters. A single power strip isn’t enough. Plan for surge protection and consider an uninterruptible power supply for your computer.
Weather monitoring prevents disasters. A basic rain sensor costs $30 and can trigger your system to park safely. Temperature and humidity sensors help you decide if conditions suit imaging.
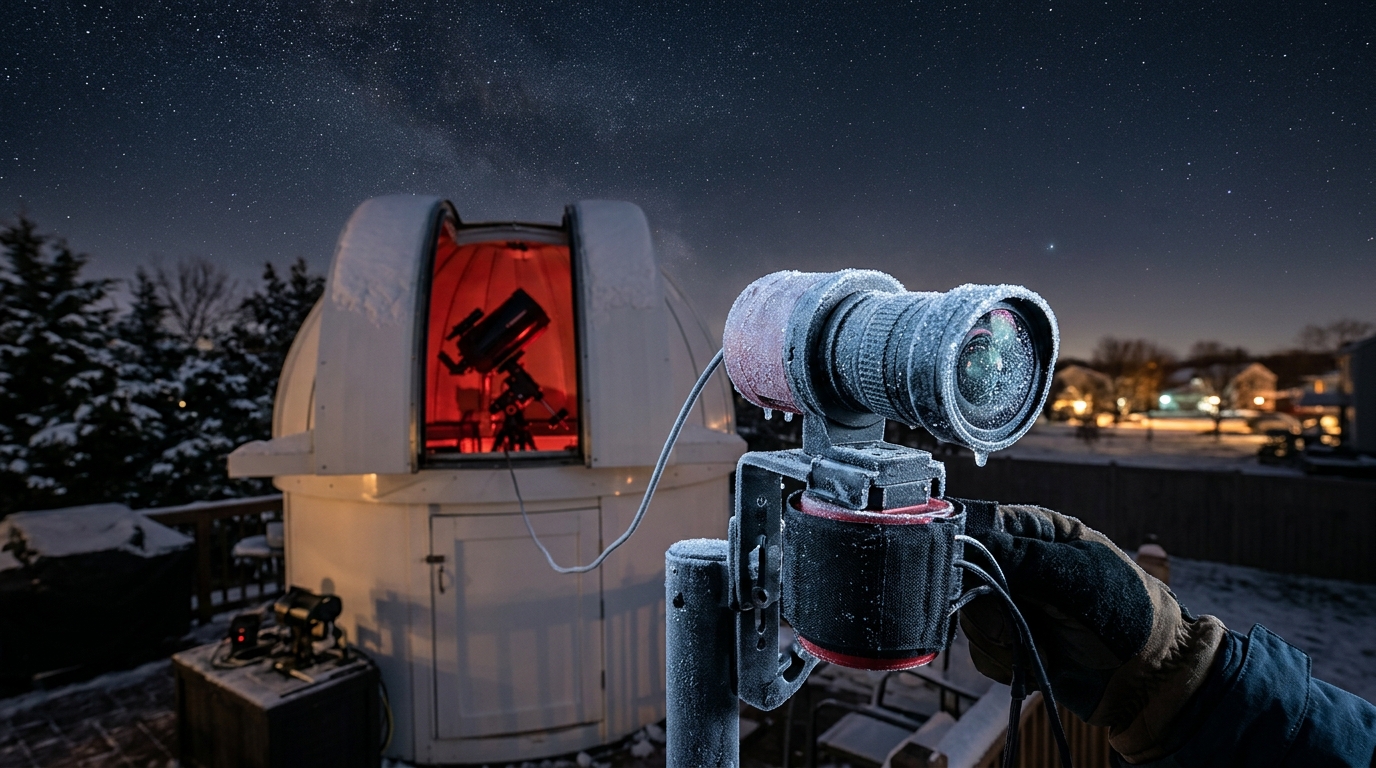
Housing Your Equipment
Your gear needs protection from weather, but the enclosure doesn’t need to be fancy.
A roll-off roof observatory is the simplest design. Build a shed on rails that slides away to expose your telescope. The mount stays permanently set up, saving alignment time. Construction costs run $500 to $2,000 depending on size and materials.
Clamshell observatories open like a book, protecting equipment while providing sky access. They cost more to build but work better in windy conditions.
For the smallest budgets, a weatherproof box with a removable lid works. Park your telescope inside when not imaging. This approach costs under $200 but requires more setup time before each session.
Dome observatories look professional but add complexity. The dome must rotate to keep the opening aligned with your telescope. Automation becomes more complicated. Unless you’re committed to a permanent installation, skip the dome for your first remote setup.
Ventilation prevents condensation inside your enclosure. Cut vents near the floor and roof peak. Screen them against insects and debris.
Software and Control Systems
Remote operation lives or dies on your software choices. You need programs that control your mount, camera, focuser, and any other automated components.
NINA (Nighttime Imaging ‘N’ Astronomy) is free and handles the entire imaging workflow. It connects to your equipment, builds imaging sequences, and can even make decisions based on weather conditions. The learning curve is moderate but the documentation is solid.
Sequence Generator Pro costs money but offers more advanced features. It excels at complex imaging plans and recovery from errors. Many experienced astrophotographers prefer it once they outgrow free options.
For planetarium and mount control, Stellarium works well and costs nothing. It shows you what’s visible and can send pointing commands to your mount.
Remote desktop software lets you control your observatory computer from anywhere. Windows Remote Desktop works if both computers run Windows. TeamViewer and AnyDesk work across different operating systems and through most firewalls.
VNC (Virtual Network Computing) provides another remote access option. It’s reliable but can be slower than other solutions when viewing camera images.
Your control computer should stay at the observatory. A dedicated mini PC or old laptop works fine. It doesn’t need much power since the heavy processing happens during image stacking, which you can do later on your main computer.
Building Your Automation Workflow
Automation means your system can image without constant attention. Start simple and add complexity as you gain experience.
Here’s a basic automated imaging sequence:
- System checks weather conditions and verifies they meet your safety thresholds
- Mount unparks and moves to your first target
- Camera takes test exposures while autofocus finds the sharpest position
- Imaging sequence begins, taking your specified number of exposures
- System moves to the next target and repeats
- Before dawn, mount parks in a safe position and covers close if you have them
Your first attempts will have gaps. Maybe autofocus fails on a dim star. Perhaps clouds roll in and your weather monitoring doesn’t catch them fast enough. Each problem teaches you something.
Build in safety margins. If your imaging session could run until 6 AM, program shutdown for 5:30 AM. Better to miss a few frames than have your mount trying to track through sunrise.
Error handling separates reliable systems from frustrating ones. What happens if your camera disconnects? Does your software retry or give up? Configure retry attempts and fallback behaviors.
“The best remote observatory is one that can recover from common problems without waking you up at 3 AM. Spend time on error handling and you’ll spend less time troubleshooting.” — experienced astrophotographer wisdom
Network and Internet Considerations
Your observatory needs network connectivity for remote control. Wired ethernet provides the most reliability, but running cable to a backyard observatory can be challenging.
WiFi works if your signal is strong. Test it thoroughly before relying on it for a full night of imaging. A weak connection will drop at the worst possible time.
Powerline adapters send network signals through your electrical wiring. They work surprisingly well for observatory distances under 100 feet from your house.
Port forwarding on your router lets you access your observatory from outside your home network. This gets technical, but the payoff is controlling your system from work or while traveling.
Dynamic DNS services give your home network a consistent address even if your internet provider changes your IP. This costs a few dollars per month and simplifies remote access.
Security matters when you open network access. Use strong passwords. Consider a VPN for the most secure remote access. Don’t leave default credentials on any equipment.
Bandwidth requirements are modest. You’re sending commands and receiving images, not streaming video. Even a basic internet connection handles this fine.
Common Mistakes and Solutions
| Mistake | Why It Happens | Solution |
|---|---|---|
| No emergency stop procedure | Focusing on normal operation only | Create a shutdown script you can trigger remotely if something goes wrong |
| Inadequate cable management | Adding components over time | Use cable chains or conduit from the start, label everything |
| Ignoring dew formation | Dry climate or indoor testing | Add dew heaters to your optical elements, monitor humidity |
| Single point of failure | Budget constraints | At minimum, add a hardware watchdog timer that can cut power if software hangs |
| Insufficient testing | Eagerness to start imaging | Run full sequences while you’re present to observe problems |
| Poor mount alignment | Rushing setup | Permanent installations benefit from precise polar alignment, spend time getting it right |
Power Management and Safety
Electricity and outdoor equipment create risks. Take them seriously.
All outdoor outlets need GFCI protection. This cuts power if it detects a ground fault, preventing shocks and fires.
Weatherproof enclosures for your power connections matter even inside an observatory. Condensation happens.
A power sequencer turns equipment on in the right order. Your mount needs power before your computer tries to connect to it. Sequencers cost $100 to $300 but prevent strange startup errors.
Uninterruptible power supplies (UPS) keep your system running through brief outages. Size it to run your equipment for at least 15 minutes. This gives your automation time to park safely if power fails.
Remote power switching lets you reboot hung equipment without driving to your observatory. Smart plugs work for simple setups. Professional PDUs (power distribution units) offer individual outlet control for complex systems.
Fuses or circuit breakers should protect each major component. If your camera develops a short, you want it to blow its own fuse rather than taking down your entire system.
Weather Monitoring and Safety Protocols
Your most expensive equipment sits outside, exposed to the elements. Protecting it requires constant vigilance or good automation.
Rain sensors are non-negotiable. Mount one where it will detect the first drops. Wire it to cut power to your mount or trigger a shutdown script.
Cloud sensors measure sky temperature and detect cloud cover. Clear skies are cold. Clouds are warm. These sensors cost $200 to $400 but provide early warning of changing conditions.
Wind speed matters for image quality and equipment safety. An anemometer costs $50 to $100. Set a threshold where your system parks if wind gets too strong.
Your automation software should check weather conditions before starting each target. Some programs can pull data from internet weather services. Local sensors are more reliable.
Create a shutdown checklist:
– Park mount in home position
– Close camera shutter or remove camera
– Close observatory roof or covers
– Disable dew heaters
– Log the shutdown reason for later review
Test your emergency shutdown regularly. Simulate a rain event and verify everything responds correctly.
Scaling Your System Over Time
Start with basic remote control and add features as you identify needs.
Your first setup might just move the mount and take exposures. That’s fine. You’ll learn what frustrates you and what works well.
Add autofocus next. Manually focusing remotely is tedious and imprecise. A $150 motorized focuser and focusing software save enormous time.
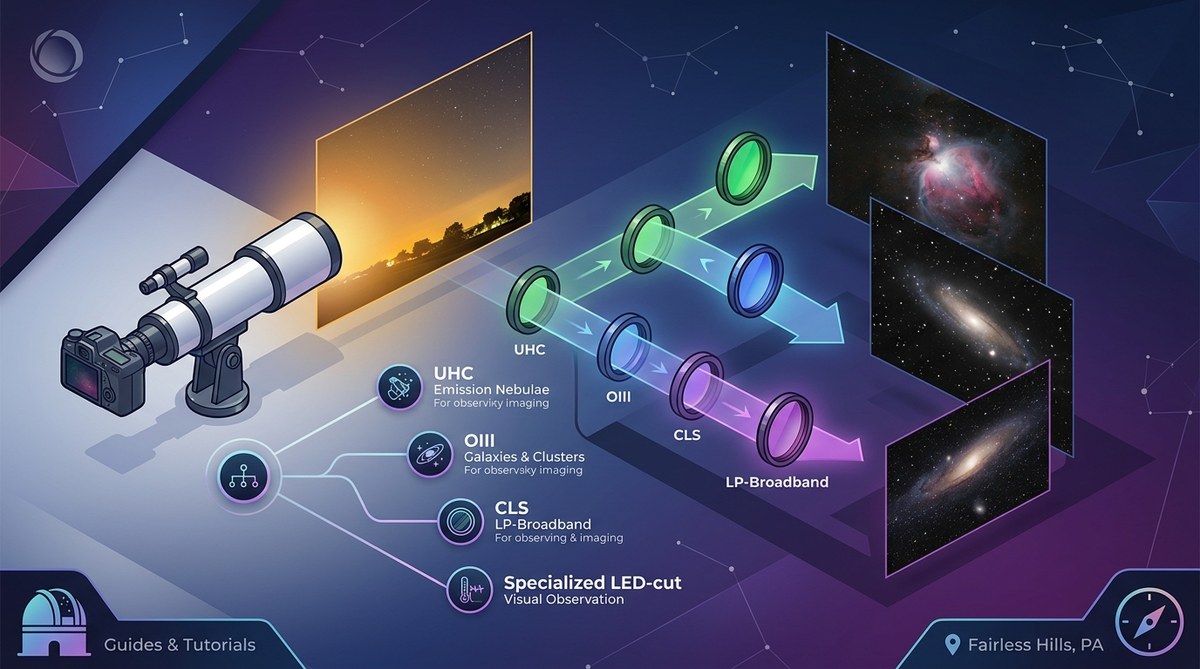
Filter wheels come after you’ve mastered basic imaging. They let you capture different wavelengths without manual filter changes. Budget $300 for the wheel plus $400 to $1,000 for filters.
Multiple telescopes on one mount (or multiple mounts) maximize your sky time. While your main scope images a faint galaxy with long exposures, a second scope can photograph a different target.
Automated flat field capture solves one of astrophotography’s annoying calibration steps. A flat panel or automated dawn/dusk flats save time and improve image quality.
Guide cameras and off-axis guiders improve tracking accuracy. They’re not essential for wide-field imaging but become important for longer focal lengths.
Budget Tiers and What They Buy
Understanding cost ranges helps you plan your build.
Under $500: Modified webcam, used motorized mount, DIY enclosure, free software. Suitable for planetary imaging and learning remote operation basics. Limited deep sky capability.
$1,000 to $2,000: Entry-level astronomy camera, new budget mount with goto, motorized focuser, basic weather monitoring, simple roll-off roof. Capable deep sky imaging with some automation.
$3,000 to $5,000: Mid-range camera, solid mount, filter wheel, complete weather station, professional control software, well-built observatory structure. Reliable unattended operation for most nights.
$8,000+: Advanced camera with cooling, precision mount, multiple telescopes, dome or sophisticated enclosure, redundant systems, remote power control. Near-professional capability.
Most people start in the $1,500 to $2,500 range and expand over several years. This provides good capability without overwhelming complexity.
Troubleshooting Remote Sessions
Problems will happen. Knowing how to diagnose them remotely saves trips to your observatory.
Connection failures are most common. Can you ping your observatory computer? If not, the network is down. If yes, is the control software running? Remote desktop lets you check.
Mount communication errors usually mean a USB connection dropped. Power cycling the mount often fixes it. This is where remote power switching proves valuable.
Focusing problems might indicate temperature changes affecting your optics. Refocus between targets or enable continuous autofocus if your software supports it.
Images with star trails instead of points mean your mount isn’t tracking. Check polar alignment, balance, and whether you accidentally changed tracking rates.
No images at all could mean camera disconnection, full hard drive, or incorrect exposure settings. Remote desktop access lets you investigate.
Keep a log of problems and solutions. Patterns emerge. Maybe your USB hub becomes unreliable below freezing. Or your camera needs a power cycle after four hours. Document these quirks.
Making It Work From Anywhere
The ultimate goal is imaging from locations far from your observatory. This requires solid automation and good remote access.
Mobile apps exist for some astronomy software. They’re convenient for checking progress but usually lack full control features.
A tablet or laptop gives you complete access through remote desktop software. You can troubleshoot problems and adjust plans mid-session.
Cellular connections work if WiFi isn’t available at your location. A mobile hotspot provides enough bandwidth for remote control.
Time zones complicate scheduling if you travel. Your automation software needs to handle local time at the observatory correctly. Test this before relying on it.
File transfer methods matter when you want to process images before returning home. Cloud storage works but can be slow for large files. Some people set up automated uploads to a server.
Notifications keep you informed without constant monitoring. Configure your software to email or text you when sessions complete or errors occur.
Your First Night of Remote Imaging
You’ve built your system, tested components, and configured software. Now comes the real test.
Start with a bright, easy target. The Moon or a bright planet works well. You’ll know immediately if tracking and imaging work correctly.
Monitor the entire first session. Don’t go to bed and hope for the best. Watch each step and take notes on anything unexpected.
Expect problems. Something will fail or behave differently than during testing. This is normal and valuable. You’re learning what needs improvement.
Take screenshots of errors. Document exactly what you clicked and what happened. This helps when searching for solutions or asking for help in forums.
Review your images immediately. Are stars round? Is focus sharp? Does the field of view match what you expected? Problems are easier to fix when fresh in your mind.
Celebrate small victories. Your mount slewed to the target correctly? Great. Autofocus worked on the first try? Excellent. Remote operation is complex, and each working piece deserves recognition.
Building Skills Through Practice
Remote observatory operation is a skill that improves with repetition. Your tenth imaging session will go much smoother than your first.
Create checklists for common tasks. Pre-session setup, target selection, post-session review. Checklists prevent forgotten steps and build good habits.
Join online communities focused on remote observatories. CloudyNights and the NINA Discord server have experienced users who’ve solved problems you’ll encounter.
Experiment during good weather when failures don’t cost you rare clear skies. Try new software features, test different automation sequences, push your equipment’s limits.
Document your system. Write down cable connections, software settings, network configurations. You’ll forget details, and documentation makes troubleshooting faster.
Share your experiences. Writing about your setup forces you to understand it deeply. Others benefit from your lessons, and you’ll get helpful feedback.
Why This Changes Your Astronomy Experience
Building a remote observatory transforms your relationship with astrophotography. You’re no longer limited to nights when you can physically be at your telescope.
Bad weather at home? If you’ve built a system at a remote dark site, you might have clear skies there. Work schedule conflicts? Start your imaging session remotely and let it run while you sleep.
The learning curve is real. You’ll face frustrating nights when nothing works. But each problem solved makes your system more reliable and your skills sharper.
Start simple, test thoroughly, and expand gradually. Your first remote imaging session will feel like magic, watching your telescope move and capture photons from across the universe while you sit comfortably indoors. That feeling never gets old, and the images you’ll capture make every hour of setup worthwhile.
Post Comment