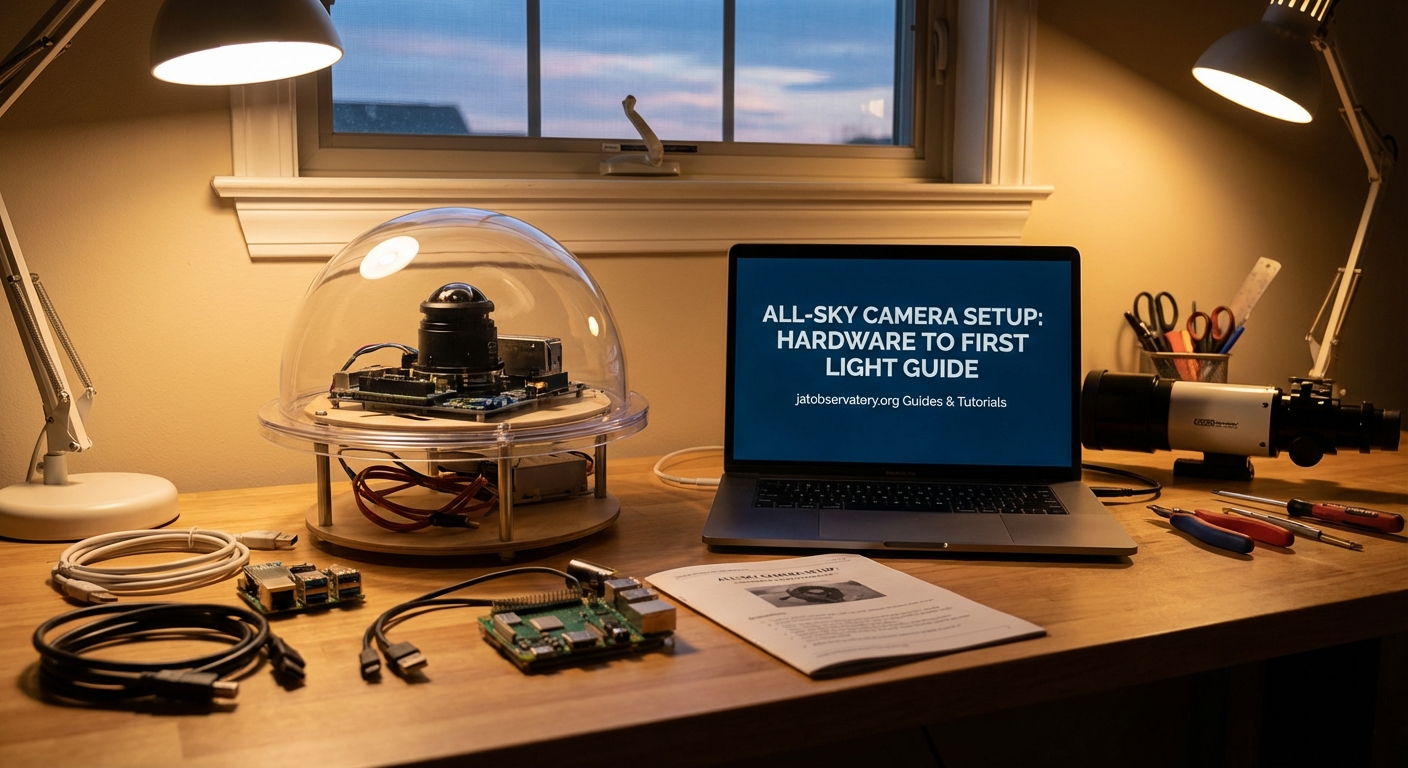
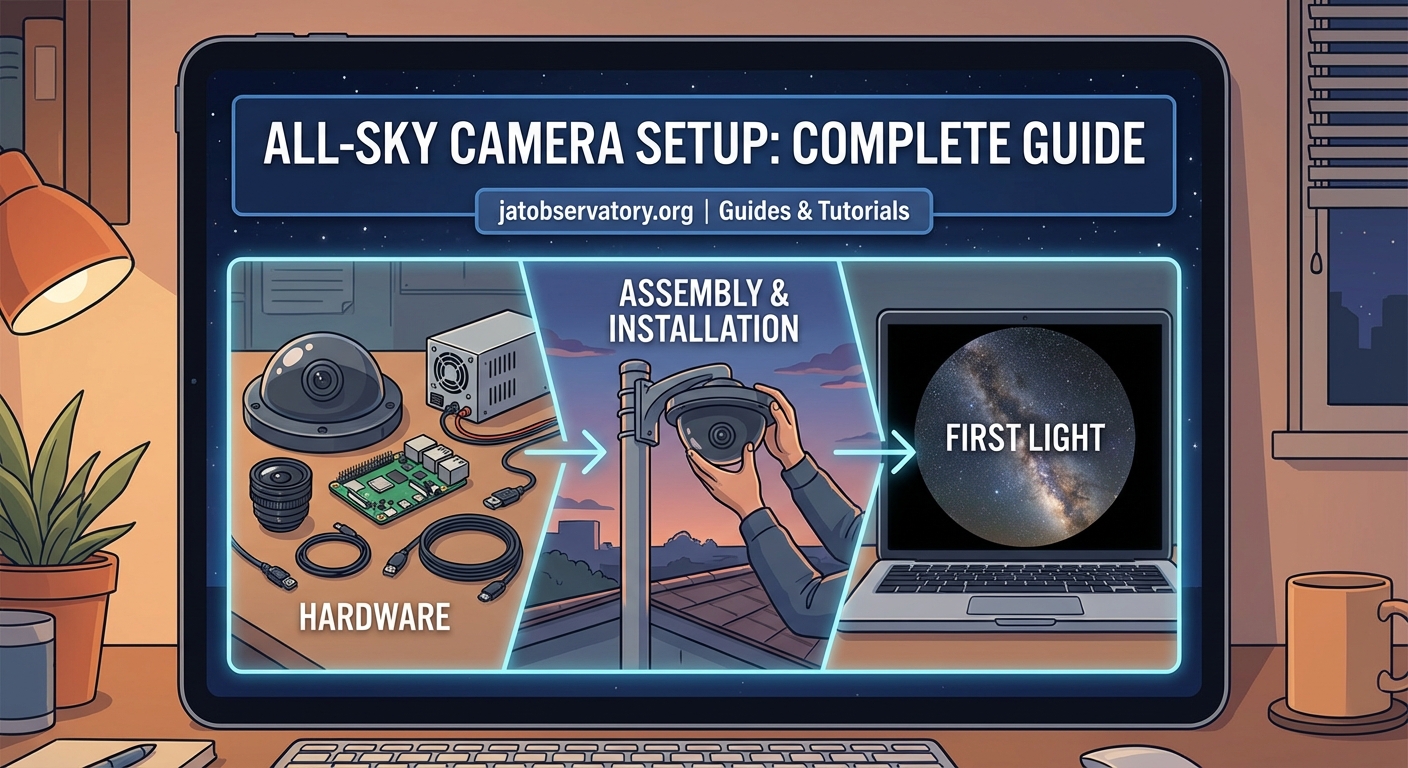
All-Sky Camera Setup: Complete Guide from Hardware to First Light
Building your own all sky camera transforms how you monitor the night sky. Instead of guessing what happened overnight, you’ll have a permanent record of meteors, satellites, weather patterns, and astronomical events that passed through your location.
Building an all sky camera requires selecting a wide-angle lens and camera sensor, weatherproofing the assembly inside a protective dome, installing control software for automated capture, and calibrating the system for meteor detection or timelapse photography. Total build time spans two to four weekends with costs ranging from $200 to $800 depending on component quality and automation features you choose.
Understanding All Sky Camera Systems
An all sky camera captures the entire visible hemisphere above your location in a single frame. The fisheye lens creates a circular image showing horizon to horizon coverage, making it perfect for meteor patrol networks, aurora monitoring, and cloud tracking.
These systems run autonomously. They wake at dusk, capture images throughout the night, and shut down at dawn. Some builders use them for scientific meteor detection networks. Others want beautiful timelapses of star trails and passing weather systems.
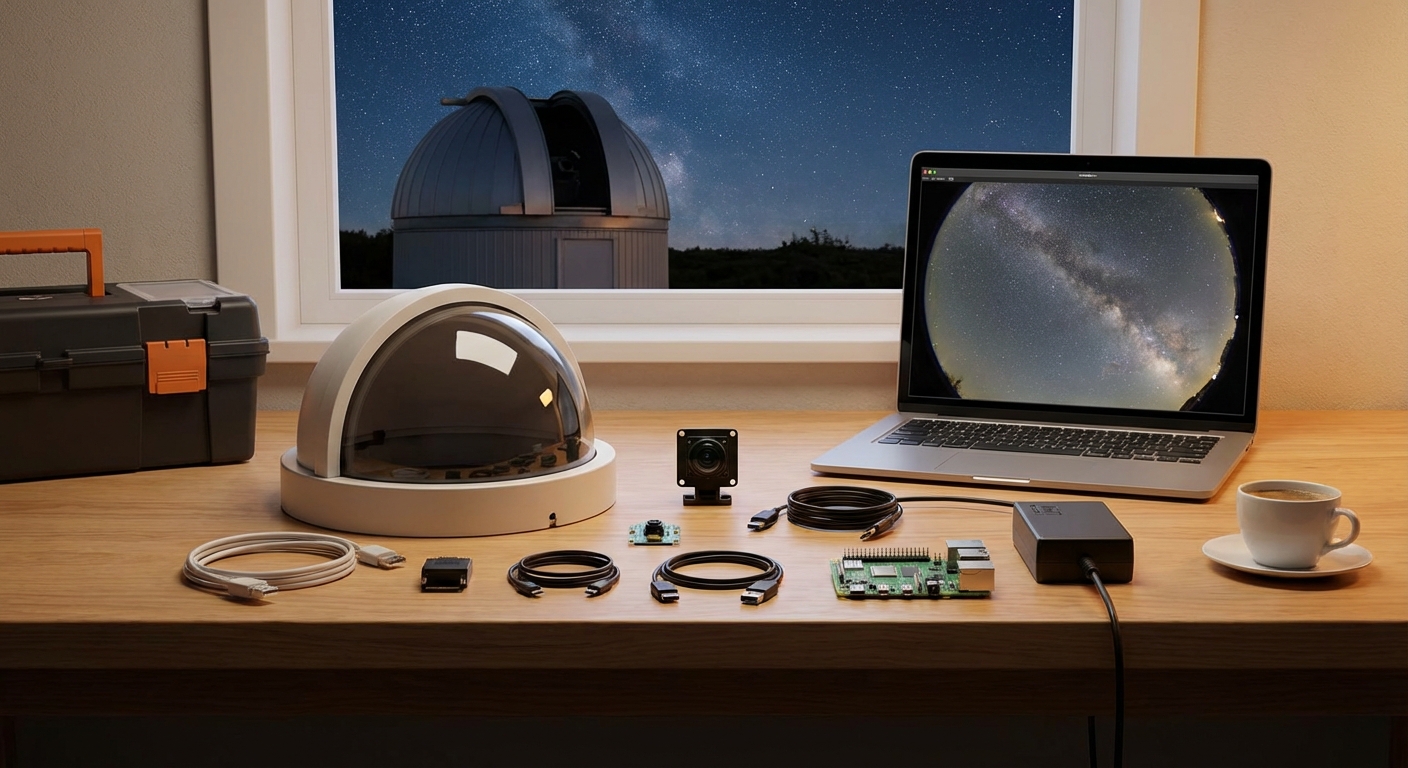
The core components include a camera sensor, fisheye lens, weatherproof housing, computer for control, and power supply. Optional additions like heating elements and motorized covers protect the lens from dew and precipitation.
Selecting Your Camera Hardware
Your camera choice determines image quality, sensitivity, and long-term reliability.
Camera Sensor Options
Most builders choose between dedicated astronomy cameras, security cameras, or modified consumer cameras. Each approach has distinct advantages.
ZWO ASI cameras offer excellent sensitivity and come with software designed for astronomy. The ASI120MM or ASI178MC provide good balance between cost and performance. These cameras connect via USB and integrate easily with capture software.
IP security cameras like Dahua or Hikvision models cost less and include built-in weatherproofing. The downside is limited manual control over exposure and gain settings. They work well for basic sky monitoring but struggle with meteor detection algorithms.
Raspberry Pi HQ cameras create ultra-budget systems under $200 total. Image quality suffers compared to dedicated astronomy cameras, but the low cost lets you experiment without major investment.
| Camera Type | Cost Range | Best For | Limitations |
|---|---|---|---|
| ASI Astronomy Camera | $300-500 | Meteor detection, scientific work | Requires separate housing |
| IP Security Camera | $100-200 | Basic monitoring, timelapses | Limited manual control |
| Raspberry Pi HQ | $50-100 | Learning, experimentation | Lower sensitivity |
| DSLR Modified | $200-400 | High resolution timelapses | Power hungry, complex |
Lens Selection
The lens matters more than most builders realize. You need true fisheye coverage, not just wide angle.
A 180-degree fisheye lens captures the full sky hemisphere. Cheaper options include the Fujian 3.5mm f/1.7 CCTV lens for CS-mount cameras or the Samyang 8mm f/3.5 for DSLR builds. These lenses cost $30 to $150.
Higher-end builders use the Sigma 4.5mm f/2.8 circular fisheye or similar professional glass. Image quality improves dramatically, but costs jump to $300-800 for the lens alone.
Match your lens mount to your camera sensor. CS-mount lenses work with most astronomy and security cameras. DSLR lenses need appropriate camera bodies. Adapters exist but often introduce vignetting or reduce image quality.
Building the Weather Protection
Your camera needs protection from rain, dew, dust, and temperature extremes while maintaining optical clarity.
Dome Construction
Most builders use clear acrylic domes designed for security cameras. These come in 4-inch to 8-inch diameters and cost $20-60. The dome sits above your lens, creating a weatherproof barrier.
Some builders prefer flat acrylic windows. These introduce less optical distortion but collect dew more aggressively. You’ll need active heating with flat windows in humid climates.
Housing Assembly
Start with a weatherproof electrical box or dedicated camera housing. The enclosure must accommodate your camera, mounting hardware, and any heating elements.
- Drill mounting holes for your camera bracket inside the housing.
- Create a circular opening in the top panel matching your dome diameter.
- Seal the dome to the housing using silicone sealant rated for outdoor use.
- Add cable glands for power and data connections.
- Install desiccant packets inside to control humidity.
Paint the interior flat black to reduce internal reflections. Leave the exterior white or reflective to minimize solar heating during daytime.
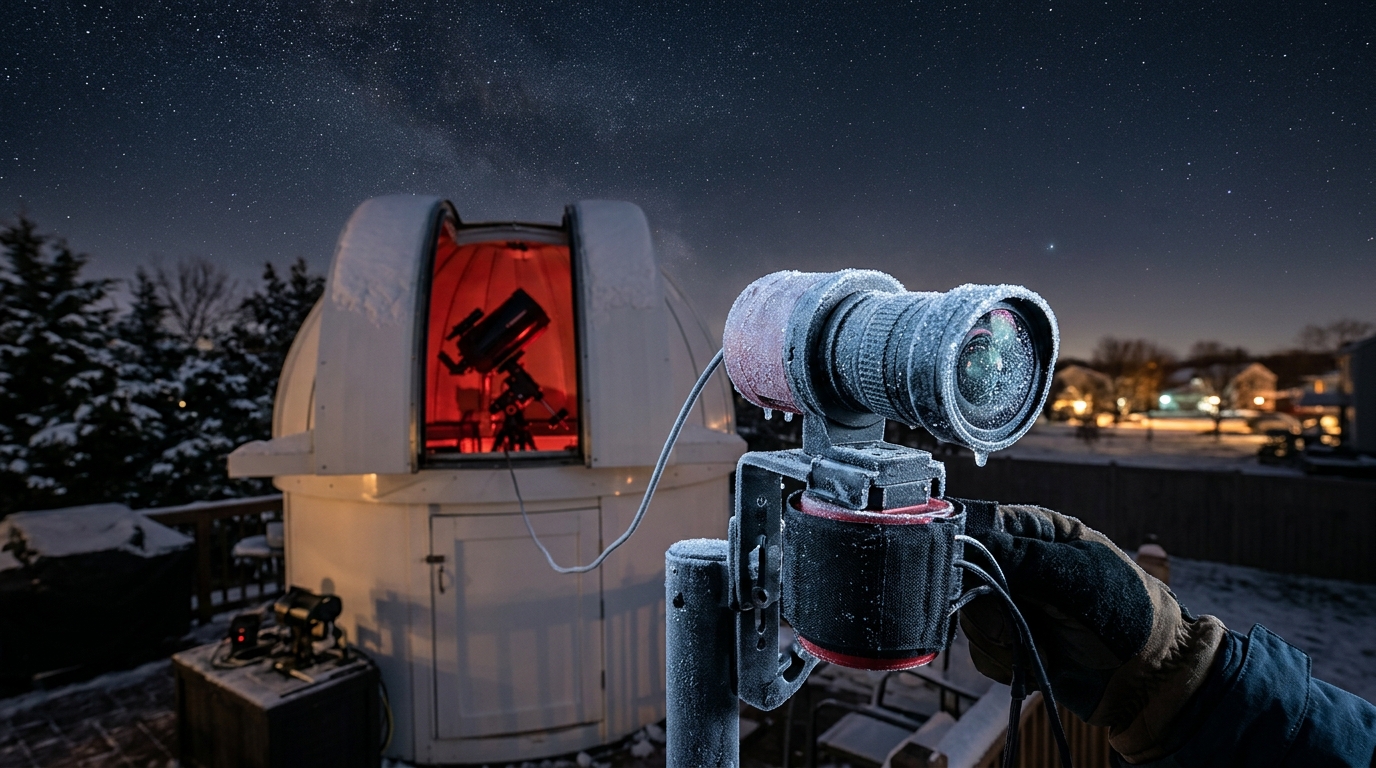
Dew Prevention
Dew destroys image quality. You have several prevention options.
Heating resistors wrapped around the dome perimeter work well. Use 5-10 watt resistors controlled by a temperature sensor. The goal is keeping the dome surface 2-3 degrees above ambient temperature.
DC heating pads designed for camera lens dew shields also work. These draw 5-12 watts and wrap around the dome base.
Motorized covers provide the most protection but add complexity. A servo motor slides a cover over the dome when rain is detected or during daytime. This keeps the optics pristine but requires additional programming.
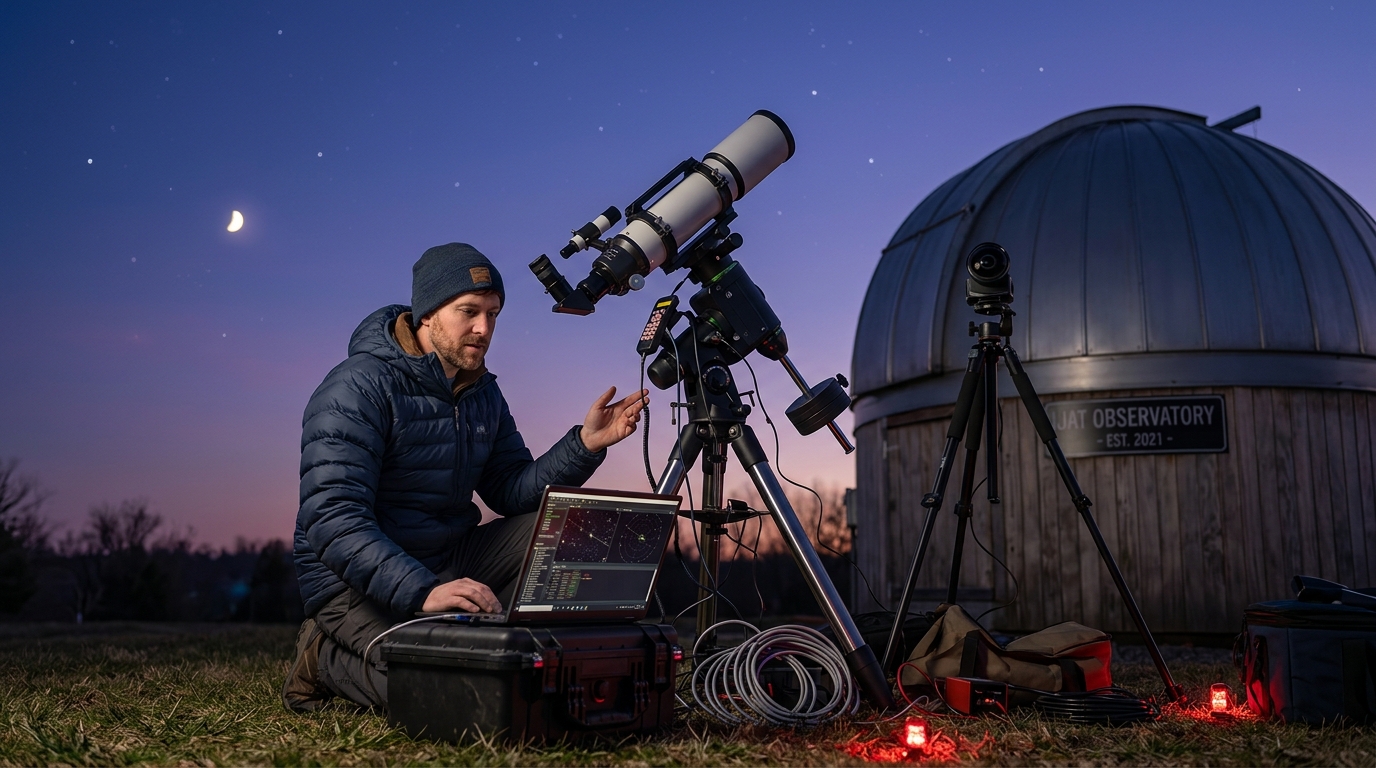
Setting Up Control Software
Your camera needs software to automate capture, process images, and detect events.
Software Options
AllSkEye runs on Windows and supports most USB cameras. It handles automated capture, meteor detection, and creates daily timelapses. The interface takes time to learn but offers extensive customization.
UFOCapture specializes in meteor detection. It analyzes each frame in real-time, saving only images containing moving objects. This dramatically reduces storage requirements compared to capturing every frame.
Custom Python scripts using OpenCV give complete control. You’ll write code to handle capture timing, exposure adjustment, and basic image processing. This approach requires programming knowledge but costs nothing and runs on Raspberry Pi hardware.
For Raspberry Pi builds, allsky software provides a complete solution. It includes a web interface, automatic exposure adjustment, and generates timelapses. Installation takes about an hour following the documentation.
Configuration Steps
- Install your chosen software on the control computer.
- Connect the camera and verify it appears in the device list.
- Set capture interval (typically 10-30 seconds for meteor work, 1-5 minutes for timelapses).
- Configure exposure settings to properly expose stars without saturating bright objects.
- Enable automated start/stop based on sun elevation angles.
- Set up storage locations with adequate space (plan for 5-20 GB per night).
Test the system for several nights before trusting it to run unattended. Check for exposure drift, focus issues, and storage capacity problems.
Mounting and Installation
Location determines what you’ll capture and how much maintenance you’ll perform.
Site Selection
Choose a location with clear views to all horizons. Rooftops work well if you have access. Ground-level installations need careful positioning to avoid tree and building obstructions.
Consider light pollution. All sky cameras capture everything, including nearby streetlights and porch lights. You can’t avoid light pollution completely, but minimize direct light sources in the field of view.
Access matters for maintenance. You’ll need to clean the dome, check connections, and troubleshoot problems. Difficult access locations lead to neglected systems.
Physical Mounting
Secure mounting prevents vibration and maintains pointing accuracy.
- Use a sturdy post or wall bracket rated for outdoor use
- Ensure the dome faces straight up (use a level during installation)
- Protect cable connections from water intrusion
- Provide strain relief for all cables
- Ground the system properly to prevent lightning damage
Run power and network cables through conduit when possible. Direct burial cable works for underground runs. Leave service loops at both ends for maintenance.
Calibration and First Light
Your first night of operation reveals problems invisible during daytime testing.
Initial Testing
Start capture before sunset to verify automated operation. Watch the exposure adjust as sky brightness decreases. Stars should appear clearly without excessive noise or saturation.
Check focus by examining bright stars. They should appear as small dots, not fuzzy circles. Most lenses need adjustment from infinity focus to account for the dome and temperature effects.
Verify the field of view covers the entire sky. The circular image should extend nearly to the frame edges without clipping horizon coverage.
Meteor Detection Tuning
If you’re running meteor detection software, expect false positives initially. Birds, insects, clouds, and aircraft all trigger detection algorithms.
Adjust sensitivity thresholds to reduce false detections while catching real meteors. This takes several nights of reviewing results and tweaking parameters.
Set minimum and maximum object size filters. Meteors typically appear as streaks 20-200 pixels long. Smaller detections are usually noise. Larger ones are often aircraft or satellites.
Common Problems and Solutions
Every builder encounters issues during the first few months.
Dew accumulation ruins images despite heating elements. Increase heating power or improve airflow around the dome. Some builders add small fans to circulate air inside the housing.
Focus drift happens as temperature changes throughout the night. High-quality lenses suffer less from this problem. You can compensate by using smaller apertures (higher f-numbers) to increase depth of field, though this reduces light gathering.
Storage fills rapidly when capturing every frame. Enable motion detection to record only interesting events, or reduce capture frequency. Implement automatic deletion of old files after processing.
Network connectivity drops interrupt remote monitoring. Use a local storage buffer that uploads during daytime when connections are stable. SD cards or USB drives provide local backup.
Power failures stop operation until you manually restart. Add a UPS for short outages or implement automatic restart scripts that resume capture after power returns.
Advanced Enhancements
Once your basic system runs reliably, several upgrades improve capability.
Multi-Spectral Imaging
Adding a filter wheel lets you capture in different wavelengths. H-alpha filters isolate aurora emissions. Infrared-pass filters work during bright moon phases. This requires cameras with filter wheel support and adds $200-400 to system cost.
Network Integration
Joining meteor detection networks like GMN (Global Meteor Network) or AllSky7 contributes your observations to scientific databases. These networks provide software, calibration assistance, and analysis tools. Your detections combine with other stations to calculate meteor orbits and identify shower associations.
Time-Lapse Processing
Raw all sky images need processing to create compelling timelapses. Software like StarStaX stacks images to create star trails. FFmpeg combines individual frames into smooth video with proper frame rates and compression.
Add overlays showing timestamp, location, and sky conditions. These annotations help viewers understand what they’re watching and add professional polish to your videos.
Making Your Sky Camera Work for You
Your all sky camera becomes more valuable the longer it runs. Consistency matters more than perfect image quality.
Set up automated health monitoring that alerts you to failures. A simple script that checks for new images and sends notifications when capture stops prevents days of lost data.
Regular maintenance keeps the system running. Clean the dome monthly. Check cable connections seasonally. Update software when new versions fix bugs or add features.
Share your images and detections with the astronomy community. Post interesting captures to social media. Submit meteor observations to scientific networks. Your backyard observatory contributes to our understanding of near-Earth space.
The real reward comes months later when you review a year of sky coverage. You’ll see seasonal patterns in weather, document rare aurora displays, and catch unexpected fireballs. Your camera watched the sky every clear night while you slept, creating a permanent record of everything that passed overhead.
Post Comment