Building a Weatherproof Enclosure for Remote Observatory Equipment on a Budget
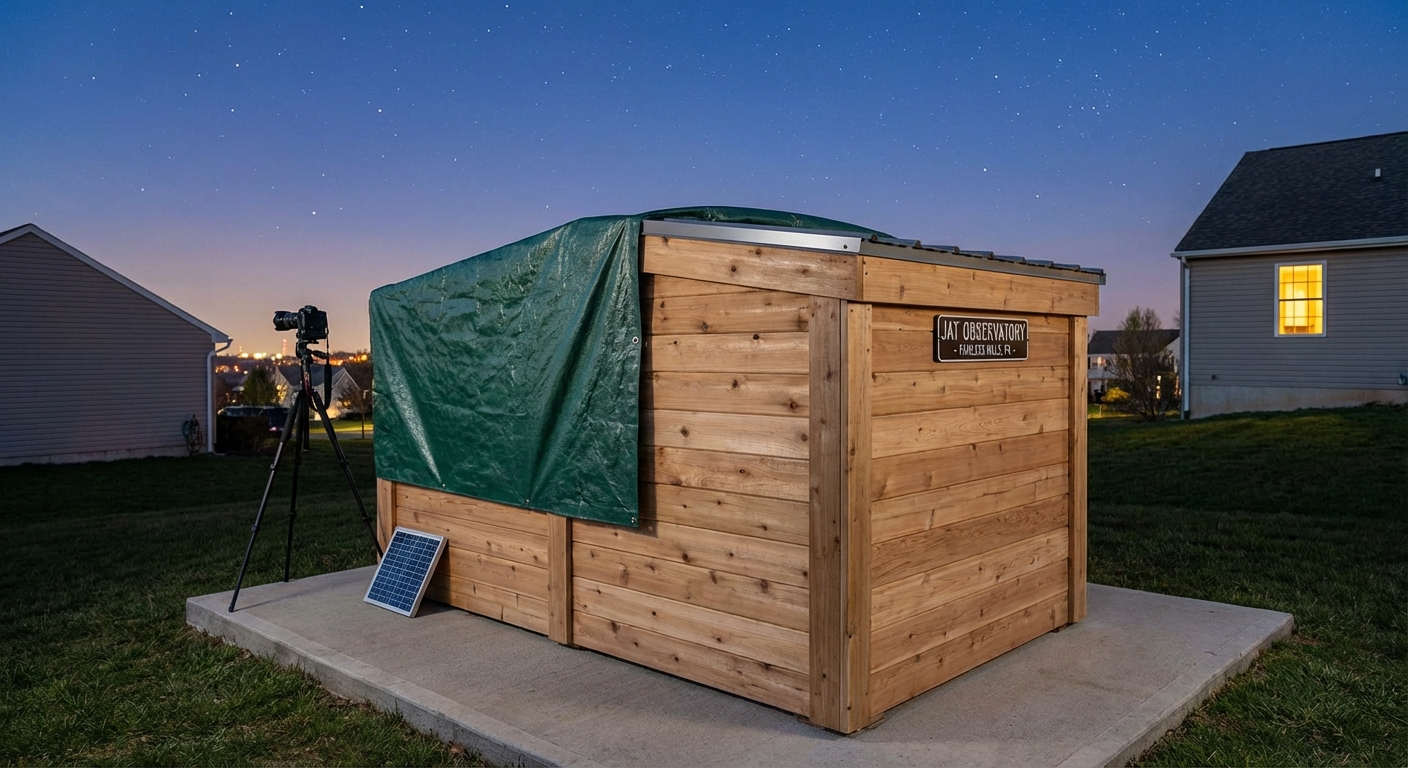
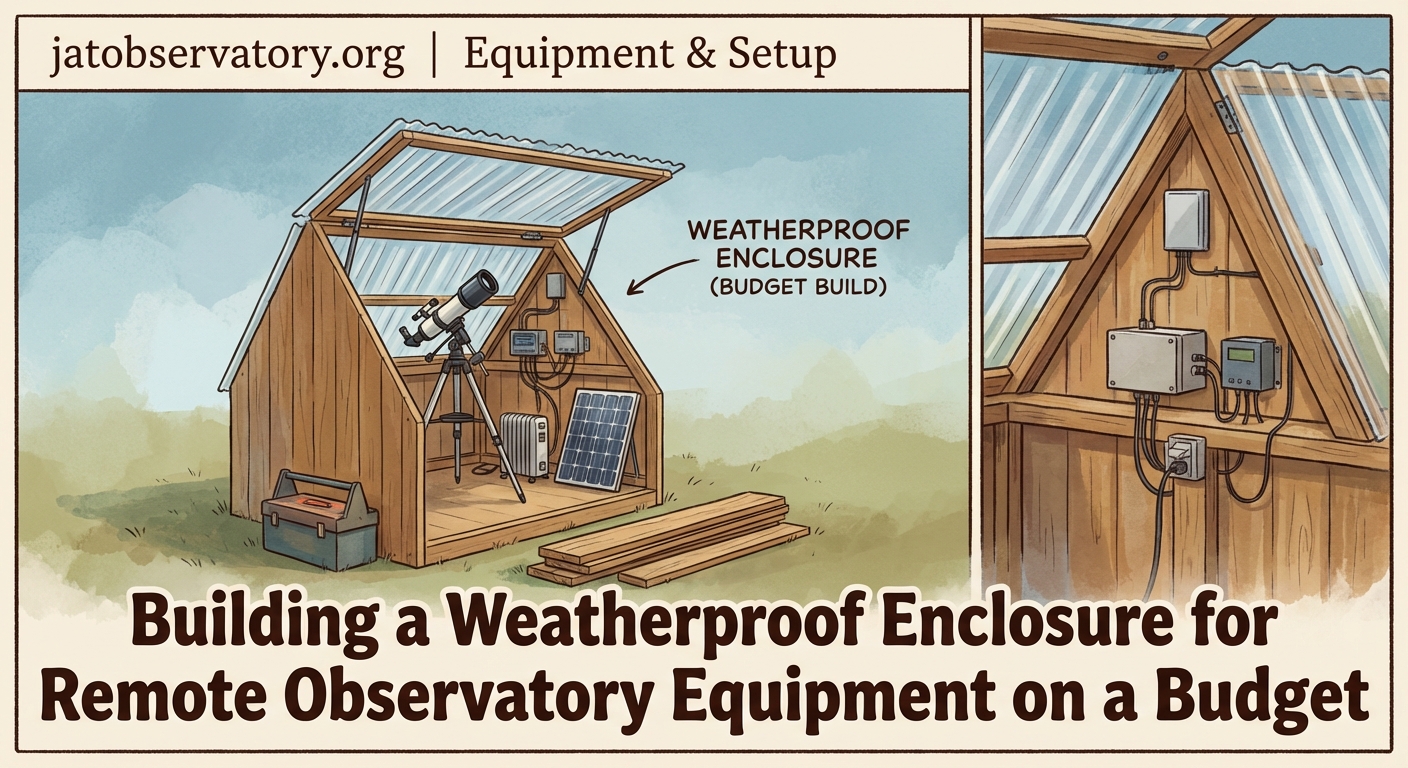
Leaving expensive telescope equipment outside overnight feels risky. Rain, dew, dust, and temperature swings can damage sensitive electronics and optics. But building a professional observatory dome costs thousands of dollars, far beyond what most amateur astrophotographers can afford. The good news is that you can create a functional DIY remote observatory enclosure for a fraction of that cost using common materials and basic carpentry skills.
A DIY remote observatory enclosure can be built for under $500 using plywood, weatherproof sealant, and basic hardware. Focus on weatherproofing, ventilation, and automated roof access. The enclosure protects your telescope setup from moisture and debris while allowing remote imaging sessions. Proper cable management and power distribution prevent failures during unattended operation. Regular maintenance extends the structure’s lifespan significantly.
Understanding Your Enclosure Requirements
Before cutting a single board, you need to know what your enclosure must accomplish. The primary goal is protecting your telescope, mount, and imaging equipment from weather while allowing easy access for imaging sessions.
Your enclosure needs to keep out rain and snow. It must also prevent dew formation on optical surfaces. Wind protection matters too, especially during long exposures. Temperature extremes can throw off focus and damage electronics.
Size matters more than you might think. Measure your entire setup with the telescope at its highest and widest positions. Add at least 12 inches of clearance on all sides. You will thank yourself later when you need to adjust cables or swap equipment.
Consider your climate carefully. Desert locations need excellent ventilation and dust protection. Humid regions require aggressive moisture control. Cold climates demand insulated walls and heated components.
Selecting Materials That Last
The materials you choose determine how long your enclosure survives outdoor conditions. Pressure-treated lumber works well for the base frame. It resists rot and insect damage better than standard pine.
For walls and roof panels, exterior-grade plywood offers the best balance of cost and durability. Half-inch thickness provides adequate strength without excessive weight. Avoid OSB board, which swells and degrades when exposed to moisture cycles.
Weatherproof sealant is not optional. Use marine-grade silicone caulk on all seams and joints. This prevents water infiltration that leads to wood rot and equipment damage.
Roofing material depends on your design. Corrugated plastic panels are lightweight and let in some light for daytime work. Metal roofing lasts longer but conducts heat. Asphalt shingles over plywood create a traditional look and excellent weather protection.
Paint or stain every exposed wood surface. White or light colors reflect heat during summer days. Dark colors absorb warmth in cold climates but can overheat equipment during summer.
Building the Foundation and Frame
Start with a level foundation. Even small slopes cause tracking errors and make door operation difficult. Concrete pavers on a gravel base work well for most locations. Pour a concrete slab if your budget allows.
- Lay out your foundation perimeter using stakes and string.
- Excavate 4 inches deep and fill with compacted gravel.
- Position concrete pavers or pour a slab with anchor bolts.
- Let concrete cure for at least 3 days before building on it.
- Construct the base frame from pressure-treated 2×4 lumber.
- Square the frame by measuring diagonals until they match.
- Anchor the frame to the foundation with galvanized bolts.
The wall frame goes up next. Vertical studs every 16 inches provide adequate support. Use a level constantly. Even small errors compound as you build upward.
Corner bracing prevents racking when wind hits the structure. Diagonal 2×4 braces at each corner add tremendous strength. Alternatively, use plywood sheathing on all walls for excellent rigidity.
Designing Roof Access for Remote Operation
Your roof design determines how easily you can operate remotely. A roll-off roof offers the simplest motorization. The entire roof section slides on rails, exposing the telescope to the sky.
Building a roll-off roof requires careful planning. The roof must be slightly longer than the building base. Rails extend beyond the walls so the roof can slide completely off the telescope area.
V-groove wheels running on angle iron rails create smooth motion. Mount the wheels to the roof frame underside. The angle iron bolts to the top of the wall frame. Use at least four wheels for stability.
A linear actuator provides motorized operation. Mount it to push or pull the roof along its track. Choose an actuator with enough force to overcome friction and wind resistance. A 12-volt model drawing under 10 amps works for most small observatories.
Limit switches at both ends prevent the roof from rolling off the rails. Wire them to cut power when the roof reaches full open or full closed positions. This safety feature prevents expensive damage.
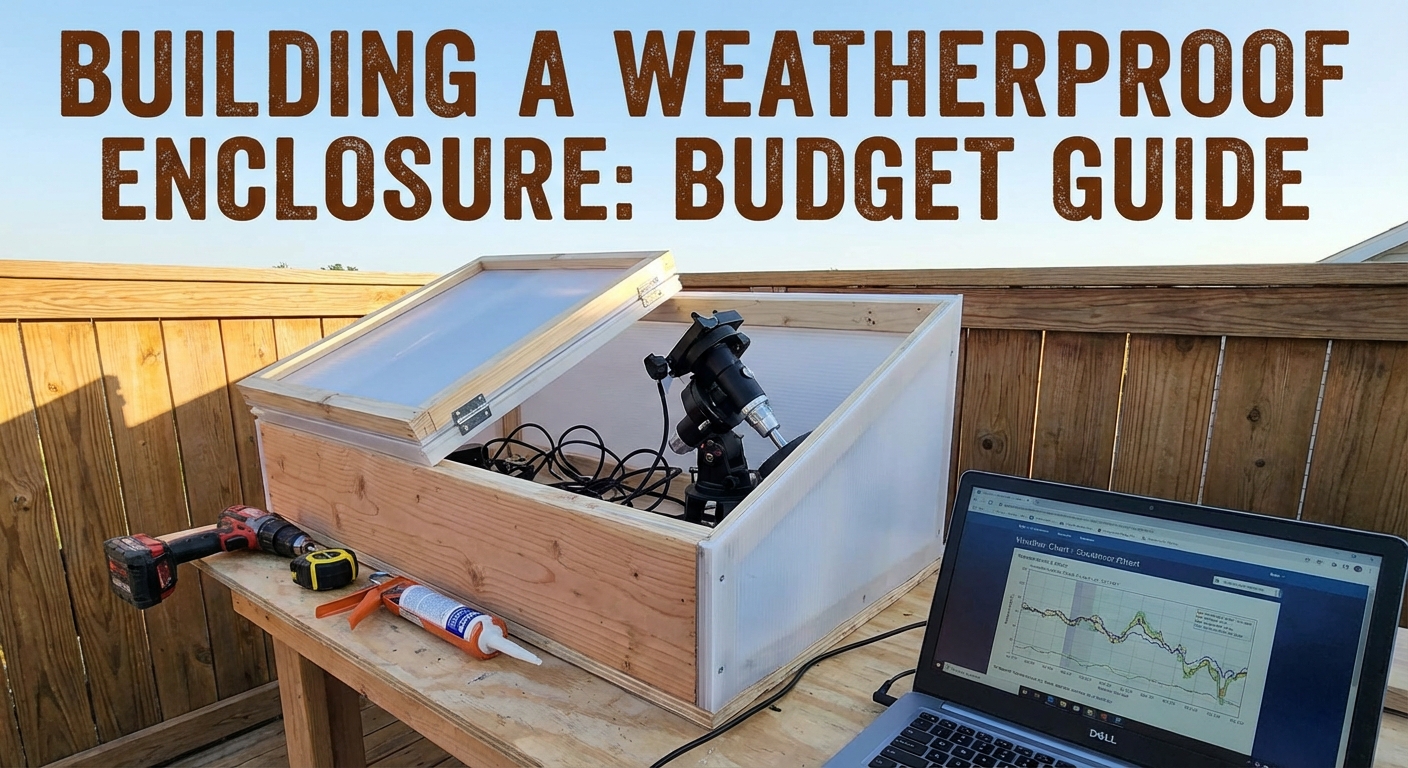
Hinged clamshell designs work well for smaller setups. Two roof panels hinge up from opposite walls. This design requires less clearance around the building but needs stronger actuators to lift against gravity.
Weatherproofing Critical Areas
Water finds every gap and crack. Seal the roof-to-wall junction with aluminum flashing and silicone caulk. Overlap the flashing down over the wall by at least 3 inches.
Door frames leak if not properly sealed. Use weatherstripping around the entire door perimeter. A door sweep at the bottom blocks rain and dust. Consider a small roof overhang above the door for extra protection.
Cable entry points need special attention. Drill holes at a downward angle so water cannot run inside. Use cable glands or rubber grommets to seal around wires. Apply silicone caulk as a backup barrier.
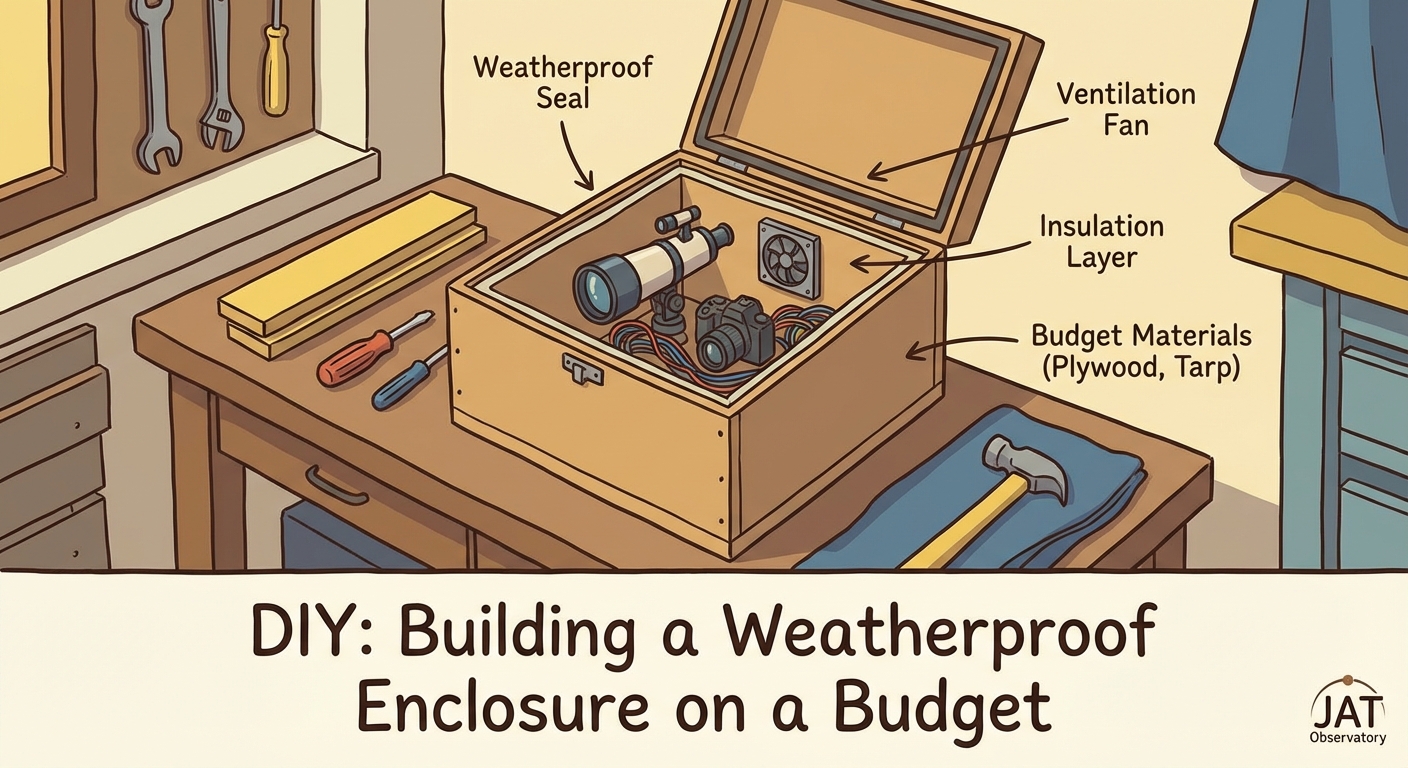
Ventilation openings must have louvers or screens angled downward. This prevents rain from entering while allowing air circulation. Install vents near the roof peak for hot air escape and near the floor for cool air intake.
“The biggest mistake I see in DIY observatory builds is inadequate ventilation. Equipment overheats on summer days, and moisture accumulates on cold nights. Plan for twice as much airflow as you think you need.” (Observatory builder with 15 years of experience)
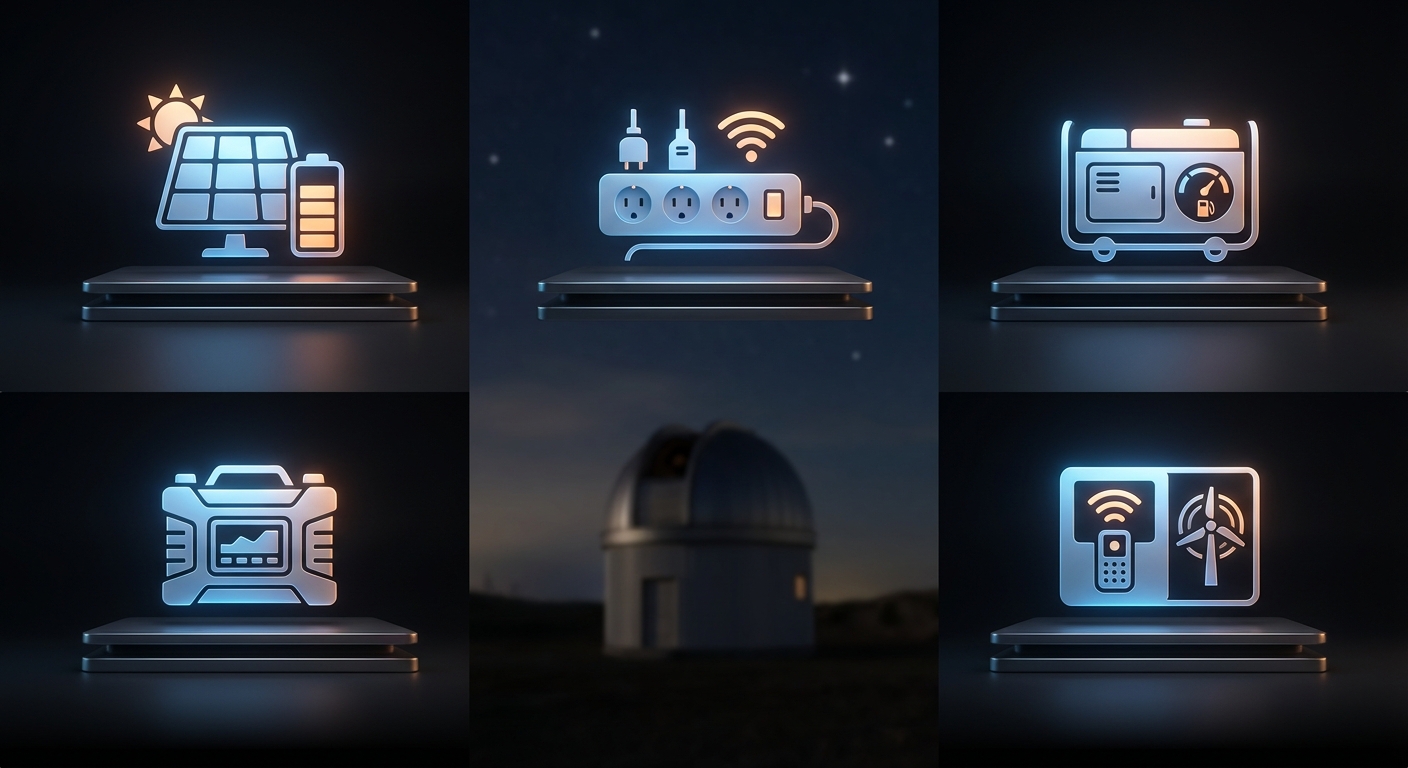
Managing Power and Data Connections
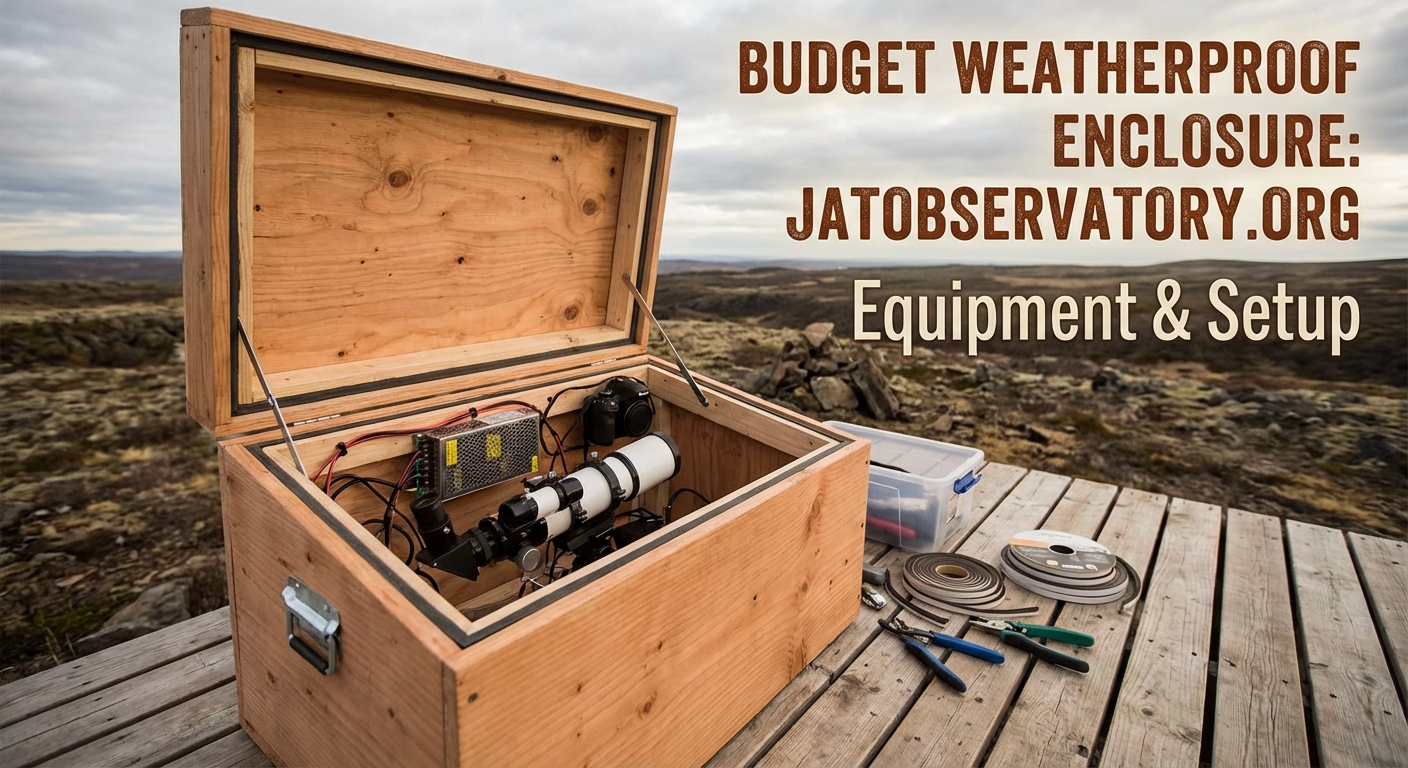
Reliable power distribution prevents frustrating failures during imaging runs. Install a weatherproof electrical box inside the enclosure. Use GFCI outlets for safety around potential moisture.
Run power from your house using direct burial cable in conduit. Bury it at least 18 inches deep to prevent damage. Use a dedicated circuit breaker so observatory loads do not affect house power.
A power strip with individual switches lets you control each component remotely. Smart power strips with network control add another layer of convenience. You can reboot stuck equipment without visiting the site.
Cable management prevents tangles and strain on connectors. Mount a cable tray or use cable ties to secure runs along walls. Leave some slack for telescope movement but avoid excess cable that can snag.
Network connectivity enables remote operation. Run ethernet cable alongside power lines for the most reliable connection. WiFi works if the signal reaches your site, but ethernet never drops during critical moments. Setting up 5 essential scripts every remote observatory owner should be running becomes much easier with stable connectivity.
USB hubs mounted near the telescope reduce cable runs to cameras and focusers. Choose powered hubs to ensure adequate current for all devices. Secure the hub so vibrations do not disconnect cables.
Comparing Enclosure Designs
| Design Type | Cost Range | Build Difficulty | Weather Protection | Remote Operation Ease |
|---|---|---|---|---|
| Roll-off roof | $300-600 | Moderate | Excellent | Very easy to automate |
| Clamshell roof | $400-700 | Difficult | Excellent | Moderate automation complexity |
| Sliding wall panel | $250-500 | Easy | Good | Simple automation |
| Flip-top box | $200-400 | Easy | Good | Requires strong actuator |
| Permanent pier with cover | $150-300 | Very easy | Fair | Manual operation typical |
Adding Environmental Controls
Temperature swings affect focus and tracking accuracy. A small space heater prevents freezing on cold nights. Thermostat control keeps the interior just above freezing without wasting energy.
Dehumidifiers combat moisture in humid climates. Small rechargeable units work for occasional use. Larger electric models handle persistent humidity. Empty the water reservoir regularly or plumb a drain line.
Fans improve air circulation and prevent hot spots. Mount one near the roof peak to exhaust hot air. Another near the floor brings in cool air. Temperature-controlled fans activate only when needed.
Dew heaters wrap around the telescope tube and prevent moisture condensation on optics. Use adjustable power supplies to control heating intensity. Too much heat creates air turbulence that degrades images.
Protecting Against Common Failures
Roof mechanisms fail when maintenance gets neglected. Lubricate rails and wheels every few months. Check actuator mounting bolts for tightness. Replace worn wheels before they seize.
Water damage starts small and grows. Inspect seals and caulking twice yearly. Repair any cracks or gaps immediately. Look for water stains inside that indicate leaks.
Electrical connections corrode in outdoor environments. Use dielectric grease on all outdoor connectors. Wrap connections with self-fusing silicone tape for extra protection. Check for green corrosion on copper wires.
Wind can destroy an inadequately anchored structure. Use foundation anchors rated for your local wind speeds. Add diagonal bracing if your area experiences severe storms. Consider a motorized telescope cover for remote observatories as additional protection.
Wildlife causes unexpected problems. Mice chew through cables seeking nesting material. Seal every gap larger than a quarter inch. Use steel wool in holes because rodents cannot chew through it.
Common Mistakes to Avoid
Building too small ranks as the top mistake. Your equipment collection will grow. Plan for at least 50% more space than your current setup requires.
Skipping the permit process creates legal headaches. Check local building codes before starting. Some areas classify observatories as accessory structures requiring permits. Better to know upfront than face fines later.
Inadequate anchoring leads to disaster in storms. Use proper foundation anchors rated for your structure size. Do not rely on the building’s weight alone to resist wind.
Poor cable management causes failures. Loose cables snag on moving parts. Tight cables pull connectors apart. Plan cable routing before finalizing your layout.
Forgetting about access makes maintenance difficult. Include a human-sized door even if you plan remote-only operation. You will need to enter for repairs and upgrades.
Budget-Friendly Alternatives and Upgrades
Start with a manual roof if motorization exceeds your budget. Add automation later when funds allow. The mechanical design remains the same.
Salvaged materials reduce costs significantly. Habitat for Humanity ReStores sell used building materials cheaply. Craigslist often has free lumber from demolition projects. Inspect carefully for rot and damage.
PVC pipe creates lightweight roof frames. It costs less than wood and never rots. Use schedule 40 pipe for adequate strength. Connect joints with PVC cement and add screws for extra security.
Tarp material makes serviceable walls for temporary setups. Heavy-duty silver tarps reflect heat and resist UV damage. Secure them tightly so wind cannot create flapping that vibrates your telescope.
Gradually upgrade components as your budget allows. Start with basic weather protection. Add motorization next. Install environmental controls last. This phased approach spreads costs over time.
Maintenance Schedule for Long-Term Reliability
Monthly checks catch problems early. Test roof operation and listen for unusual sounds. Inspect weatherstripping for gaps. Verify all electrical connections remain tight.
Seasonal maintenance addresses weather-related wear. Spring cleaning removes winter debris and checks for water damage. Summer inspections focus on ventilation and cooling. Fall preparation ensures winter readiness. Winter checks monitor heating and snow load.
Annual deep maintenance extends structure life. Remove and inspect all moving parts. Replace worn components. Repaint or restain exposed wood. Recaulk seams showing cracks.
Keep a maintenance log noting what you checked and any issues found. This record helps identify recurring problems and tracks component lifespan. Note the date and specific actions taken.
Testing Before Your First Remote Session
Dry runs prevent disappointment. Operate the roof through several cycles while watching closely. Listen for grinding or binding. Adjust rails and wheels until motion is smooth.
Test all electrical systems under load. Turn on every piece of equipment simultaneously. Verify outlets provide stable voltage. Check that circuit breakers do not trip.
Monitor environmental conditions for several days. Track interior temperature and humidity. Verify that ventilation maintains acceptable conditions. Adjust fan operation as needed.
Practice your remote operation sequence from inside your house. Connect to all equipment and verify control. Take test images to confirm everything works. Troubleshoot any issues before attempting unattended operation.
Check safety systems thoroughly. Verify limit switches stop roof travel. Test weather sensors if installed. Confirm that you can shut down remotely in an emergency.
Growing Your Setup Over Time
Start simple and expand capabilities gradually. Begin with basic weather protection and manual operation. This gets you imaging while you save for upgrades.
Document your build process with photos and notes. This information helps when making modifications. You will forget details surprisingly fast.
Join online communities focused on amateur observatory construction. Members share solutions to common problems. You can often find used equipment at good prices.
Consider your long-term imaging goals. Planning for future equipment prevents rebuilding later. Imaging targets like the Andromeda Galaxy from a suburban backyard observatory become much more accessible with a permanent setup.
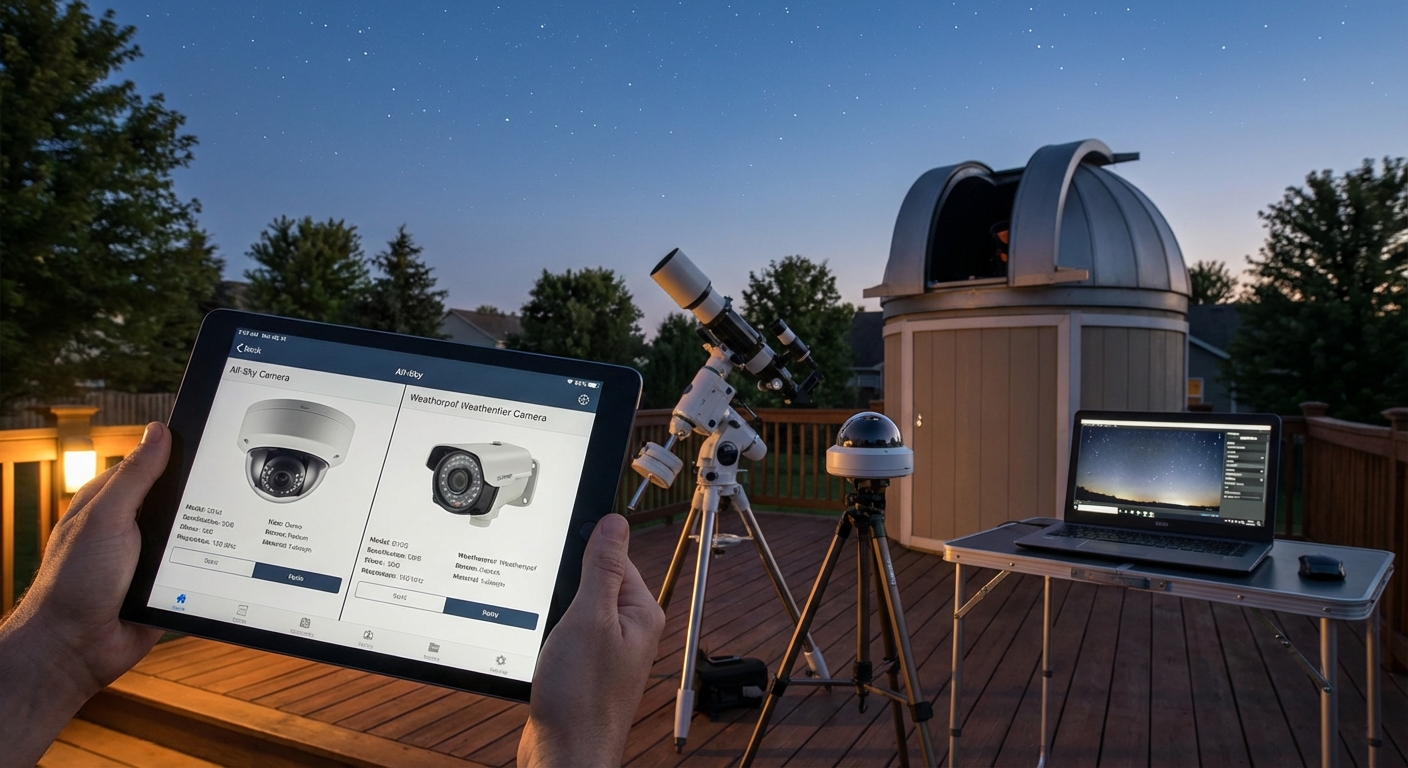
Adding an all-sky camera for your backyard observatory enhances safety and planning. It monitors clouds and weather conditions automatically.
Making Your Observatory Work for You
A DIY remote observatory enclosure transforms your astrophotography workflow. No more hauling equipment outside every session. No more canceling imaging plans because setup takes too long. Your telescope sits ready to capture photons whenever skies clear.
The initial build requires effort and patience. Measure twice and cut once. Take time to weatherproof properly. Test everything before declaring the project complete.
But the payoff exceeds the investment many times over. You will capture images impossible with portable setups. Long integration times become routine. Multi-night projects happen without stress.
Start planning your build today. Sketch your design and price materials. Even small progress moves you closer to having your own remote imaging station. Clear skies await, and your equipment will be ready to greet them.
Post Comment