Building an All-Sky Camera System to Monitor Celestial Patterns Year-Round
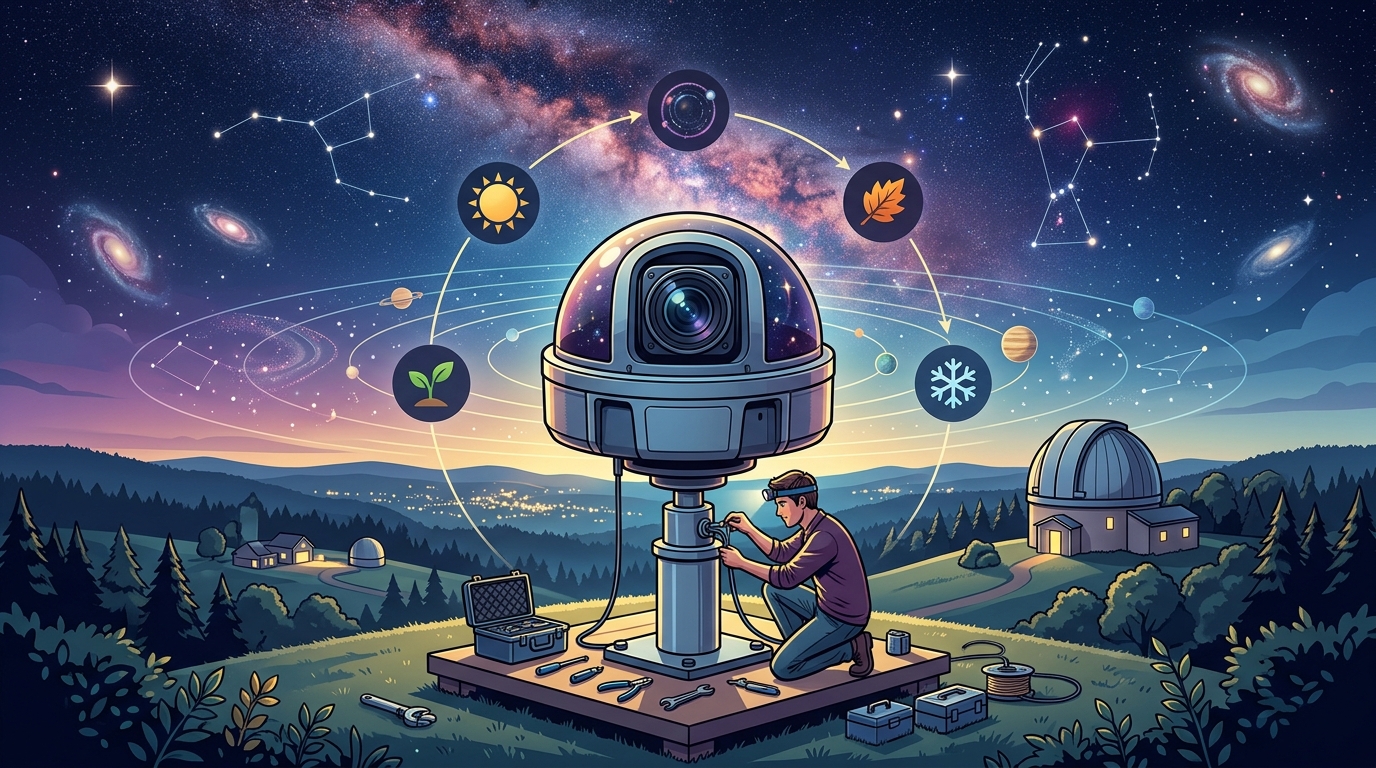
Building your own all sky camera opens up a whole new dimension of astronomical observation. Instead of pointing a telescope at one small patch of sky, you can monitor the entire celestial hemisphere at once, capturing meteors, satellites, auroras, and atmospheric phenomena you’d otherwise miss while sleeping or working.
Building an all sky camera requires a fisheye lens camera, weatherproof housing, power management, and automation software. Budget builds start around $150 using Raspberry Pi systems, while advanced setups with cooled sensors and cloud storage reach $800. Proper dome selection and heating elements prevent condensation, the most common failure point for DIY systems.
Understanding What an All Sky Camera Does
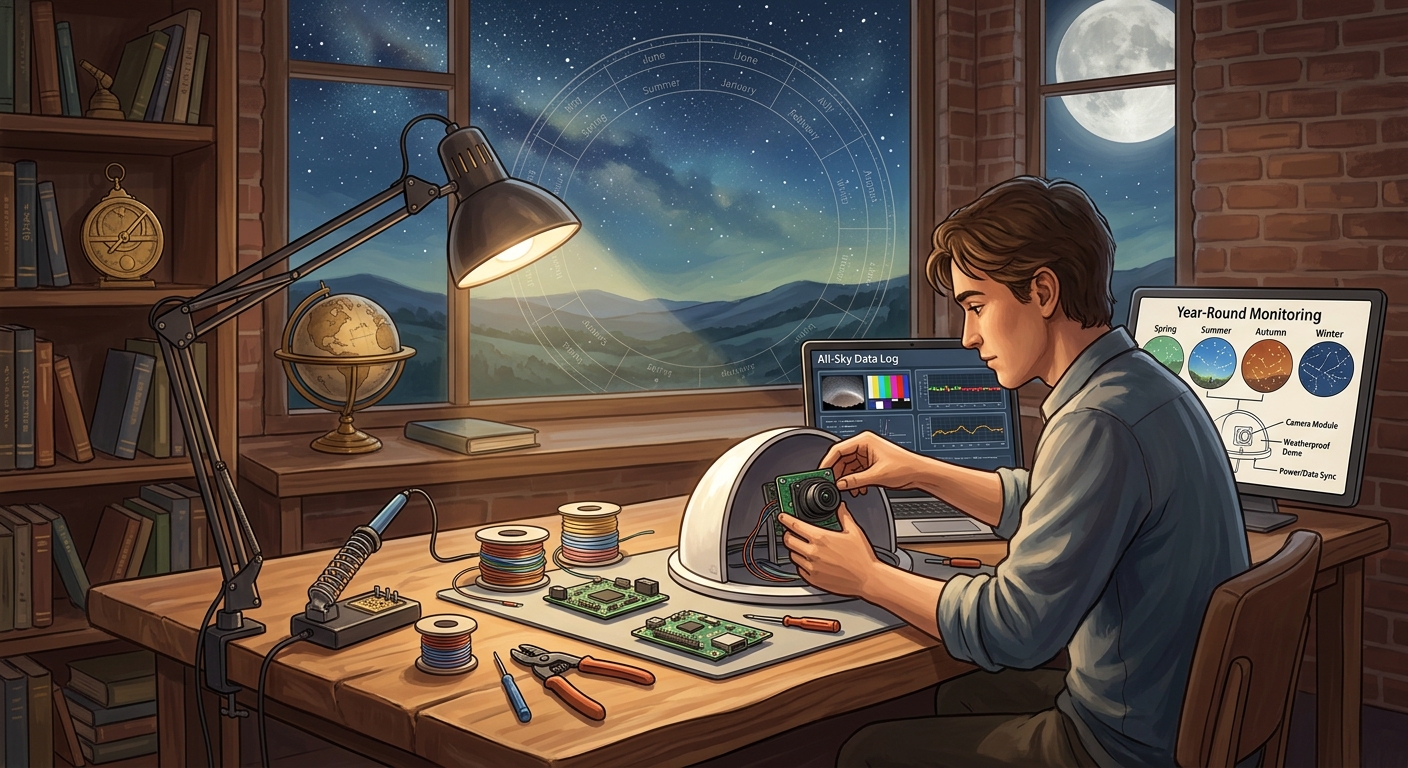
An all sky camera uses a fisheye lens to capture a 180-degree view of the sky from horizon to horizon.
Unlike traditional astrophotography that targets specific objects, these systems work autonomously. They take images every few seconds or minutes throughout the night, creating time-lapse sequences that reveal patterns invisible to single observations.
The data becomes valuable for multiple purposes. You can review footage to identify the best nights for targeted imaging sessions. You can catch unexpected events like fireballs or satellite flares. Weather patterns become visible in ways that standard forecasts miss.
Many observers use their all sky cameras to validate meteor shower captures and correlate atmospheric conditions with observing quality.
Choosing Your Camera Platform
Your camera choice determines your budget, image quality, and complexity.
The Raspberry Pi with High Quality Camera module offers the most affordable entry point. You’ll spend $100-150 for the basic components. Image quality suffices for meteor detection and cloud monitoring, though stars appear less defined than commercial units.
ZWO ASI cameras provide superior sensitivity and resolution. Models like the ASI120 or ASI178 excel at all sky work. Expect to invest $250-400 for the camera body alone. These require more setup knowledge but deliver images worthy of scientific analysis.
Repurposed security cameras represent another path. Hikvision and Dahua models with fisheye lenses cost $80-200. They include weatherproof housings and network connectivity. The tradeoff comes in limited manual control over exposure settings.
DSLR conversions work but create challenges. The camera body costs more, draws significant power, and requires custom housing. Only consider this route if you already own a spare camera body.
Selecting the Right Fisheye Lens
The lens matters more than the camera body for all sky coverage.
For Raspberry Pi builds, the standard recommendation remains the 1.7mm fisheye lens designed for the HQ Camera. It provides 185-degree coverage and costs around $35. The image circle covers the sensor completely with minimal vignetting at the edges.
ZWO camera users typically pair their sensors with 2.1mm or 2.5mm fisheye lenses. Brands like Fujian and Meike produce affordable options in the $60-120 range. Check the image circle diameter matches your sensor size.
Security camera conversions come with integrated fisheye optics. Verify the field of view specification reaches at least 180 degrees. Some models claim fisheye coverage but only achieve 140-150 degrees, leaving sky gaps.
Whatever lens you choose, test the actual coverage before finalizing your housing. Point the camera at a corner where two walls meet the ceiling. If you can see all three surfaces meeting at the corner, your coverage exceeds 180 degrees.
Building the Weatherproof Housing
Your housing protects expensive electronics from rain, dew, dust, and temperature swings.
Start with an electrical junction box as your base enclosure. PVC electrical boxes cost $8-15 and provide adequate protection. Size the box to accommodate your camera with 2-3 inches of clearance on all sides for air circulation.
The dome presents your biggest decision. Acrylic domes work for dry climates but scratch easily and attract static dust. Glass domes provide superior optics but add weight and cost. Polycarbonate offers the best compromise for most locations.
Dome diameter should measure at least 4 inches for compact cameras, 6 inches for larger sensors. Smaller domes create more internal reflections and restrict the field of view.
Mount the camera inside the housing so the lens sits at the dome’s center point. This positioning minimizes optical distortion and keeps the horizon level in your images. Use adjustable mounting brackets rather than permanent adhesives for your first build.
Seal all cable entry points with weatherproof cable glands. A single drop of water following a power cable will destroy your camera. Marine-grade cable glands cost $3-5 each and provide reliable protection.
Managing Dew and Condensation
Dew formation on your dome will ruin more observing nights than clouds.
Install a dew heater around the dome perimeter. Purpose-built astronomical heaters cost $40-80, but you can build effective versions using nichrome wire or silicone heating strips. Aim for 5-8 watts of heating power per inch of dome diameter.
Control the heater with a dew controller that monitors temperature and humidity. Simple controllers cost $30-50 and prevent overheating while maintaining a dome temperature 2-3 degrees above ambient.
Some builders skip dedicated controllers and run heaters at constant low power. This approach works in stable climates but wastes electricity and can overheat domes during warm nights.
Add desiccant packets inside the housing to control internal humidity. Replace them monthly during humid seasons. Silica gel packets from electronics packaging work fine, or buy rechargeable indicating desiccant for $12-15.
Ventilation holes prevent internal condensation but must be positioned carefully. Drill 1/4-inch holes on the housing sides, never on top where rain enters. Cover holes with breathable membrane material to block insects while allowing air exchange.
Power System Design
Reliable power delivery keeps your system running through long winter nights.
Calculate your total power draw before selecting components. A Raspberry Pi with camera draws 5-10 watts. Add heating (10-15 watts), and your total reaches 20-25 watts. Run this continuously for 12 hours and you need 240-300 watt-hours of capacity.
For permanent installations, run outdoor-rated power cable from your house. 18-gauge wire handles up to 10 amps over 50-foot runs. Use weatherproof junction boxes at connection points.
Battery systems provide backup during outages and enable remote site installations. A 50Ah 12V battery stores 600 watt-hours, enough for multiple nights. Pair it with a solar panel (50-100 watts) for off-grid operation.
Protect your camera with a UPS or power conditioner. Voltage spikes during thunderstorms destroy camera sensors. A small 350VA UPS costs $45-60 and prevents most power-related failures.
Consider power management solutions that match your site conditions and monitoring duration needs.
Software Configuration and Automation
The right software transforms your camera from a simple webcam into an autonomous monitoring station.
AllSkEye remains the most popular choice for Raspberry Pi systems. This free, open-source software handles image capture, exposure control, and basic processing. Installation takes 30-60 minutes following the documented procedure.
For ZWO cameras, AllSky (the fork supporting ASI cameras) provides similar functionality with enhanced sensor support. Both programs create time-lapse videos, detect brightness changes, and upload images to websites.
Configuration requires adjusting exposure times based on light pollution and moon phase. Start with 10-second exposures under dark skies, 3-5 seconds in suburban locations. The software can adjust automatically, but manual tuning produces better results.
Set up automatic image archiving to prevent storage overflow. A night of imaging at 30-second intervals generates 1,000+ images. Configure the software to delete old images after 7-30 days or upload them to cloud storage.
Enable meteor detection if your software supports it. The algorithms compare consecutive frames and flag sudden brightness changes. False positives from aircraft and satellites occur frequently, but you’ll catch genuine meteors you’d otherwise miss.
Those interested in complete automation should review options for automating backyard observatories that integrate with all sky systems.
Step-by-Step Assembly Process
Follow this sequence to minimize errors and rework.
- Mount the camera inside your housing using adjustable brackets, ensuring the lens sits at the dome’s exact center point.
- Install the dome onto the housing base, checking that the seal remains watertight around the entire perimeter.
- Attach the dew heater around the dome exterior, securing it with kapton tape or silicone adhesive rated for outdoor use.
- Wire the power connections, running cables through weatherproof glands and labeling each connection clearly.
- Install desiccant packets inside the housing, positioning them away from the camera’s field of view.
- Connect the camera to your computer and verify image capture works before sealing the housing completely.
- Run initial tests indoors for 24 hours to identify any condensation or power issues in a controlled environment.
- Mount the complete assembly at your observing site, ensuring the base remains level and stable.
Installation Location and Mounting
Site selection affects image quality as much as equipment choices.
Mount your camera with unobstructed views to all horizons. Rooftops provide excellent locations if you can run power cables safely. Avoid mounting near bright security lights or under tree branches.
The mounting height matters less than obstruction clearance. A 6-foot pole works fine if nothing blocks the horizon views. Some observers mount cameras on 10-15 foot poles to clear nearby buildings.
Point the camera straight up, not tilted toward any particular direction. Use a level during installation. Even 2-3 degrees of tilt creates asymmetric horizon coverage and complicates image processing.
Secure the mounting pole against wind loads. A camera and housing weigh 3-8 pounds, creating significant leverage on windy nights. Use guy wires or a sturdy post mount rated for satellite dishes.
Consider building a complete weatherproof enclosure if your site experiences extreme weather conditions.
Common Problems and Solutions
Every builder encounters similar challenges. Here’s how to address them.
| Problem | Cause | Solution |
|---|---|---|
| Dome fogs every night | Insufficient heating or internal humidity | Increase heater power by 20%, add more desiccant, verify ventilation holes |
| Stars appear as trails | Exposure too long or vibration | Reduce exposure to 5 seconds, add vibration dampening to mount |
| Images too dark | Underexposure or dome dirt | Increase ISO/gain settings, clean dome weekly with microfiber cloth |
| Dome covered in dew | Heater failure or inadequate power | Test heater continuity, verify controller operation, increase wattage |
| Camera stops responding | Power interruption or software crash | Add UPS backup, enable automatic reboot in software settings |
| Internal condensation | Housing not sealed or missing desiccant | Reapply sealant around all joints, replace desiccant packets |
Image Processing and Analysis
Raw all sky images need processing to reveal their full value.
Start by adjusting levels to bring out faint stars. Most images benefit from stretching the histogram to use the full brightness range. Avoid over-processing that creates artificial halos around bright stars.
Stack multiple images to reduce noise and reveal fainter objects. Free software like DeepSkyStacker works with all sky images if you disable star alignment. Manual stacking in Photoshop or GIMP provides more control.
Create time-lapse videos to show cloud movement, aurora development, and meteor activity. Set the frame rate to 10-30 frames per second for smooth motion. Faster rates work better for showing rapid changes like satellite passes.
Archive your best images by date and sky conditions. Years of data become valuable for identifying patterns. You might notice that certain atmospheric conditions precede excellent planetary alignment viewing or correlate weather patterns with observing quality.
Budget Breakdown for Different Build Levels
Understanding costs helps you plan your build appropriately.
Basic Raspberry Pi System ($150-200)
– Raspberry Pi 4 with power supply: $60
– HQ Camera module: $50
– Fisheye lens: $35
– Basic housing and dome: $30
– Dew heater and controller: $45
– Cables and mounting hardware: $15
Intermediate ZWO Build ($400-550)
– ZWO ASI178MC camera: $320
– 2.5mm fisheye lens: $85
– Polycarbonate dome housing: $60
– Quality dew heater system: $70
– UPS backup power: $50
– Weatherproof enclosure: $40
Advanced Cooled System ($700-900)
– ZWO ASI294MC Pro (cooled): $550
– Premium fisheye optics: $140
– Custom acrylic housing: $90
– Automated dew control: $95
– Solar power system: $180
– Remote monitoring hardware: $65
Calibration and Testing
Proper calibration ensures accurate data collection.
Take dark frames by covering the dome with an opaque cloth. Capture 20-30 images at your typical exposure settings. These frames reveal hot pixels and sensor noise patterns for later subtraction.
Flat frames correct vignetting and dust shadows. Point the camera at an evenly lit surface like twilight sky or a white panel. Take 20-30 exposures at settings that produce mid-range brightness values.
Test your system through a complete night before leaving it unattended. Review every image the next morning. Look for focus issues, condensation, periodic interruptions, or exposure problems.
Verify your automation works reliably. The system should start capturing at dusk and stop at dawn without intervention. Test the shutdown procedure during simulated power failures.
Compare your images with other all sky cameras in your region. Online networks share real-time images. Your views should match theirs for cloud coverage and atmospheric conditions.
Expanding Your System Capabilities
Once your basic system runs reliably, consider these additions.
Add cloud detection algorithms that analyze image brightness patterns. The software can send alerts when skies clear during initially cloudy nights, letting you start imaging sessions on short notice.
Install a second camera pointing at your main telescope. This monitoring setup shows exactly what your primary instrument sees and helps diagnose tracking problems remotely.
Connect to online all sky networks that aggregate data from hundreds of cameras worldwide. Your images contribute to meteor science and atmospheric research while you access data from other locations.
Integrate weather sensors that log temperature, humidity, wind speed, and barometric pressure. Correlating weather data with image quality helps predict optimal observing conditions.
Set up automated scripts that process images, generate reports, and maintain your archive without daily intervention.
Learning from Your All Sky Data
The real value emerges after months of continuous operation.
Review your images to identify the clearest nights in each season. You’ll discover patterns that weather forecasts miss. Some locations experience exceptional transparency after cold fronts, while others clear best during high pressure systems.
Track unusual atmospheric phenomena like noctilucent clouds, auroras, and zodiacal light. Your archive documents when and how often these events occur at your location.
Study satellite and aircraft patterns. You might notice flight paths that interfere with specific imaging targets or find windows when air traffic diminishes.
Monitor lunar phases and their effect on sky brightness. Your data quantifies exactly how much the moon impacts different parts of the sky throughout its cycle.
Share interesting captures with astronomy communities. Fellow observers appreciate seeing conditions at different locations, and you’ll receive feedback that improves your system.
Maintenance and Long-Term Operation
Regular maintenance prevents small problems from becoming failures.
Clean your dome monthly using microfiber cloths and isopropyl alcohol. Dust and pollen accumulate faster than you expect. Dirty optics reduce image quality and can create false meteor detections.
Check desiccant packets every four weeks during humid seasons. Saturated desiccant stops absorbing moisture and can even release water back into the housing.
Inspect cable connections quarterly. Temperature cycling loosens connections over time. Tighten all terminals and check for corrosion on exposed metal parts.
Update your software when new versions release. Developers fix bugs and add features that improve reliability. Always backup your configuration files before updating.
Replace the dome every 2-3 years if using acrylic. UV exposure degrades plastic, creating haze that reduces image quality. Glass and polycarbonate domes last longer but still need replacement eventually.
“The best all sky camera is the one that runs reliably every night without intervention. Focus on robust weatherproofing and automation rather than chasing maximum image quality. A simple system that works beats a complex system that needs constant attention.” — Experienced observatory operator with 8 years of all sky monitoring
Getting Your First Clear Night Images
Your first successful night of autonomous operation feels incredibly satisfying.
Start your system before sunset to verify everything works. Watch the first few images appear to confirm exposure settings suit the current conditions.
Let the system run completely unattended. Resist the urge to check it every hour. The point of automation is freeing yourself from constant monitoring.
Review the full night’s data the next morning. You’ll see clouds move across the sky, stars rotate around the pole, and possibly catch a meteor or satellite you didn’t expect.
Compare early evening images with pre-dawn shots. The difference in atmospheric transparency often surprises new operators. This data helps you plan future observing sessions.
Create your first time-lapse video from the night’s images. Watching 10 hours of sky activity compressed into 30 seconds reveals patterns invisible to real-time observation.
If you’re working within tight budget constraints, consider starting with a DIY all-sky camera setup for under $200 before investing in premium components.
From First Light to Continuous Operation
Building an all sky camera teaches you practical skills that apply across amateur astronomy. You’ll understand weatherproofing, power management, and automation at a level that helps with every future project.
The system you build becomes more valuable with time. Each night adds to your archive, creating a dataset unique to your location. Patterns emerge that no weather service can predict. You’ll know exactly when to set up your main telescope and when to stay inside.
Start with a basic system and improve it gradually. Add better cameras, upgrade your dome, refine your software configuration. The learning process matters more than having perfect equipment from day one.
Your all sky camera will capture events you’d otherwise miss completely. Those unexpected moments, preserved in your archive, make the entire project worthwhile.
Post Comment