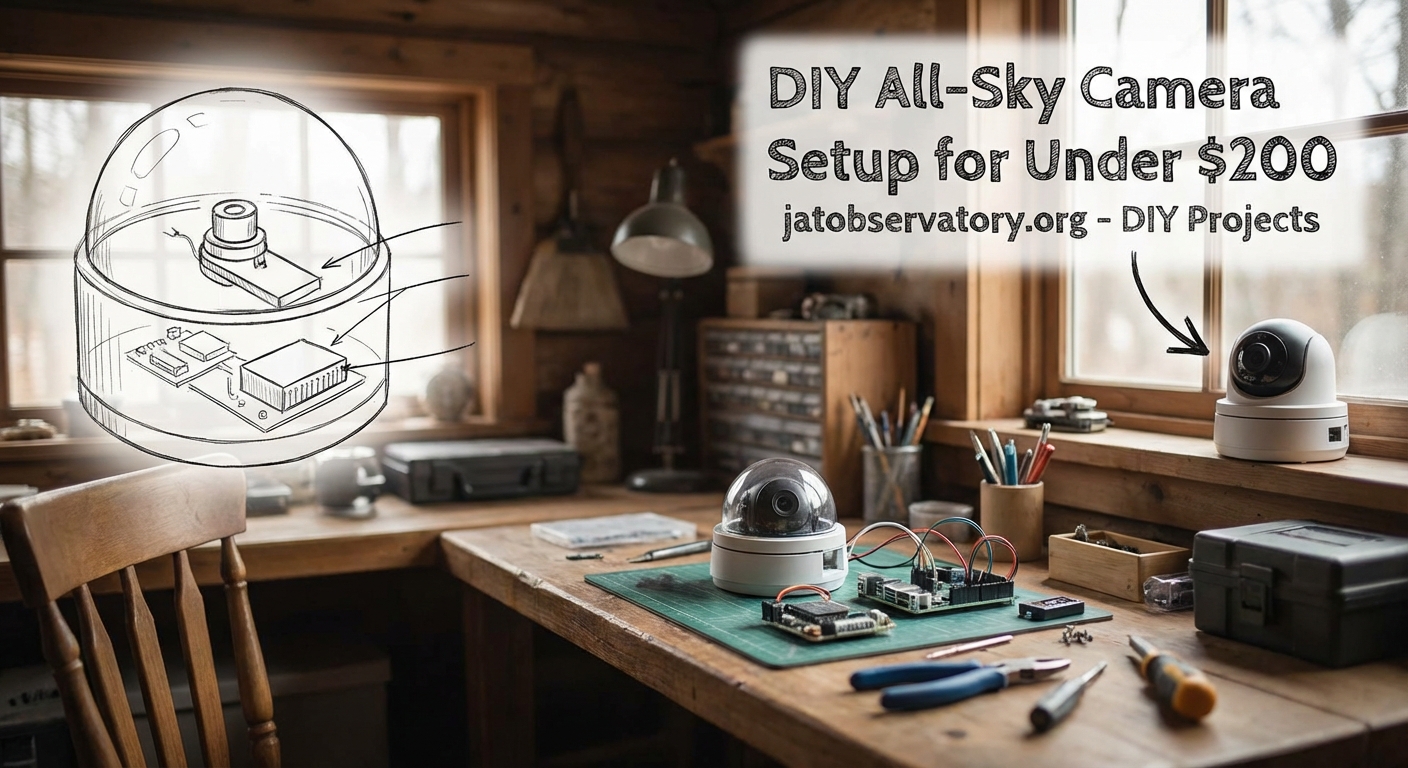
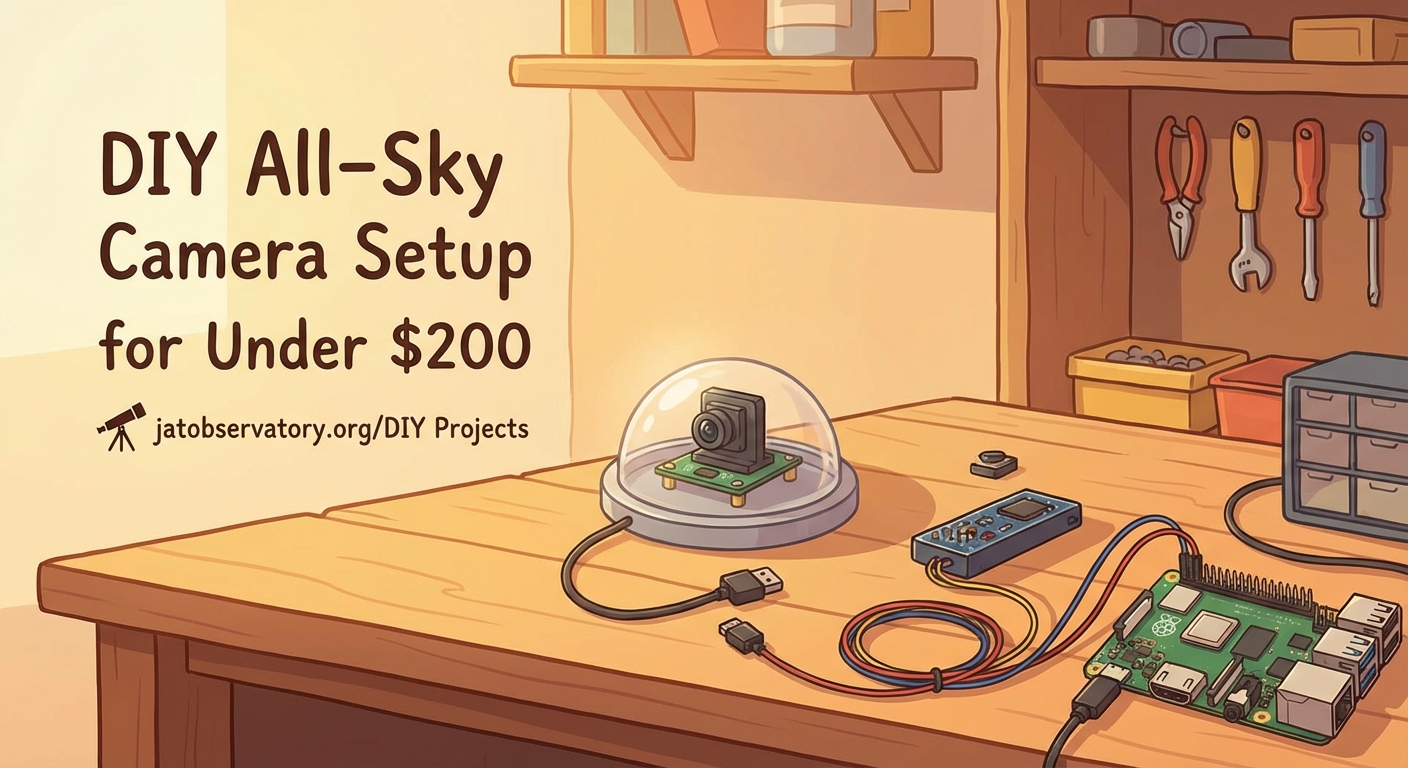
DIY All-Sky Camera Setup for Under $200
You don’t need to spend thousands of dollars to monitor the entire night sky. Amateur astronomers have been building capable all sky cameras for a fraction of what commercial systems cost, and you can too.
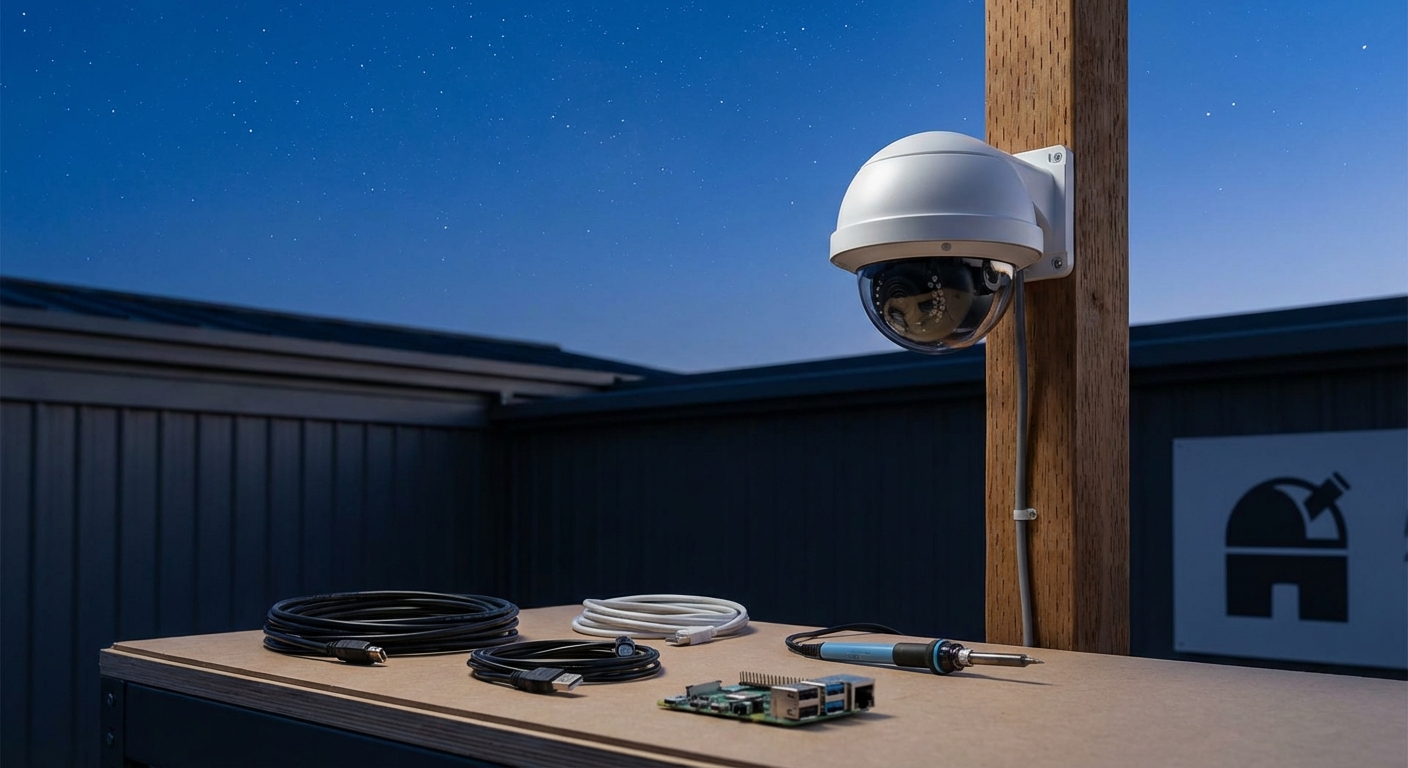
Building an all sky camera under $200 is achievable using a Raspberry Pi, wide-angle lens, weatherproof housing, and open-source software. This setup captures meteor showers, auroras, and other celestial events automatically throughout the night. The system requires basic assembly skills and provides continuous sky monitoring without expensive commercial equipment. You’ll get reliable performance for astrophotography and astronomical observation on a tight budget.
Why Amateur Astronomers Choose DIY All Sky Cameras
Commercial all sky cameras often cost between $800 and $3,000. That price puts them out of reach for many hobbyists who just want to monitor meteor showers or catch unexpected auroras.
A homemade system gives you the same core functionality. You get a wide field of view covering the entire visible sky. The camera captures images throughout the night. Software processes these images into time-lapse videos or stacks them for analysis.
The budget approach means you can start monitoring tonight’s sky without waiting months to save up. You also gain valuable experience working with camera hardware, weatherproofing techniques, and astronomical imaging software.
Many astronomy clubs have members who built their own systems. They share images of Perseid meteors, Geminid fireballs, and even satellite passes. The quality rivals what you’d get from systems costing ten times more.
Essential Components for Your Build
You need five main parts to create a functional all sky camera. Each component plays a specific role in capturing and processing sky images.
Camera and Computing Platform
The Raspberry Pi 4 (4GB model) serves as both camera controller and image processor. It costs around $55 to $75 depending on availability.
Pair it with a Raspberry Pi High Quality Camera module ($50) or the standard Camera Module V2 ($25 to $30). The High Quality version offers better sensitivity for dim stars and faint meteors. The V2 module works fine if you’re monitoring brighter events or have darker skies.
Some builders use USB webcams modified for long exposures. The Logitech C270 or similar models work after removing their IR filters. This approach costs less but requires more technical modification.
Wide Angle Lens System
An all sky view requires extreme wide-angle optics. You have three practical options under budget.
A fisheye lens adapter for the Raspberry Pi camera costs $15 to $25. These provide 180 to 220-degree fields of view. Image quality suffers at the edges, but you capture the entire sky dome.
Security camera lenses with 1.8mm to 2.8mm focal lengths offer another path. Mount these to the Raspberry Pi HQ camera using C-mount or CS-mount adapters. Total cost runs $30 to $50.
Salvaged fisheye lenses from old security systems or doorbell cameras work if you can adapt them. Check online marketplaces for used equipment.
Weatherproof Housing
Your camera lives outdoors in all conditions. Protection from moisture, dust, and temperature swings matters.
Clear acrylic domes designed for security cameras cost $20 to $40. Look for 6-inch diameter models with flat mounting bases. The dome sits over your camera assembly while allowing a full sky view.
Some builders use large food storage containers or plastic bowls. Drill ventilation holes and add desiccant packets to prevent condensation. This DIY approach costs under $10 but requires more weatherproofing attention.
A heated element prevents dew formation on cold nights. USB-powered heating pads or resistor-based heaters add $10 to $15 to your build.
Power Supply and Storage
The Raspberry Pi needs stable 5V power at 3 amps. An official power supply costs $8 to $12. For remote installations, a USB power bank with 20,000mAh capacity provides 8 to 12 hours of operation.
A 128GB microSD card stores your operating system and several nights of images. Class 10 or UHS-I cards cost $15 to $25. Larger cards let you go longer between downloads.
Mounting Hardware
Your camera needs a stable platform with an unobstructed sky view. A simple PVC pipe mount costs under $20 in materials.
Alternatively, attach the housing to an existing pole, fence post, or roof mount. Use stainless steel hose clamps or UV-resistant zip ties. Budget $10 for mounting supplies.
Step-by-Step Assembly Process
Building your all sky camera takes an afternoon once you have all components. Follow these steps in order.
-
Install Raspberry Pi OS on your microSD card using the official Raspberry Pi Imager software on another computer.
-
Connect the camera module to the Raspberry Pi’s camera port, being careful with the ribbon cable orientation.
-
Attach your wide-angle lens or fisheye adapter to the camera module, securing it firmly.
-
Mount the Raspberry Pi and camera inside your weatherproof housing, positioning the lens at the center of the dome.
-
Add ventilation holes with mesh covering to prevent insect entry while allowing airflow.
-
Install your heating element around the dome’s interior edge if using one.
-
Seal all cable entry points with silicone sealant or rubber grommets.
-
Attach the housing to your mount, ensuring it’s level and the camera points straight up.
-
Connect power and verify the system boots properly before final installation.
-
Configure your capture software and test image quality during daytime.
Software Configuration for Automated Capture
Several free software packages handle all sky camera operations. Each offers different features and complexity levels.
AllSky Camera software specifically targets Raspberry Pi all sky setups. It captures images at set intervals, creates time-lapse videos, and uploads results to a web server. Installation takes 30 minutes following the project’s documentation.
The software adjusts exposure automatically as sky brightness changes from dusk to dawn. It can overlay timestamps, temperature readings, and directional markers on images.
Configuration happens through a web interface. Set your location coordinates, exposure range, capture interval, and processing options. Most users capture one image every 10 to 30 seconds throughout the night.
Motion detection features can trigger when meteors, satellites, or aircraft pass through the frame. This creates highlight reels of interesting events.
Optimizing Image Quality on a Budget
Getting sharp, detailed sky images requires attention to several factors beyond just hardware.
Exposure Settings
Start with 5 to 15-second exposures for dark sky sites. Light-polluted areas need shorter exposures to prevent washout. The AllSky software adjusts this automatically, but manual tweaking helps.
ISO equivalents between 800 and 1600 balance star visibility with noise levels. Higher values show fainter stars but introduce more grain.
Focus Adjustment
Achieving infinity focus with wide-angle lenses takes patience. Point at a bright star or distant light. Adjust focus while viewing live preview on a monitor. Lock the focus position once sharp.
Some builders add a drop of glue or tape to prevent focus drift from temperature changes.
Dealing with Light Pollution
Urban and suburban sites face significant light pollution. Your images will show orange or white sky glow.
Software processing can subtract background gradients. Capture a master bias frame during daylight with the lens cap on. The software uses this to reduce light pollution effects.
Position your camera away from direct streetlight beams. Even a few degrees of shielding helps.
Common Challenges and Solutions
Every all sky camera builder encounters similar issues. Here’s how to address them.
| Challenge | Cause | Solution |
|---|---|---|
| Condensation on dome | Temperature drop below dew point | Add heating element, improve ventilation |
| Blurry star trails | Camera movement or vibration | Strengthen mount, reduce exposure time |
| Overexposed images | Too much light pollution | Shorten exposure, lower ISO |
| Missing image captures | SD card full or power loss | Larger card, automated file deletion, backup power |
| Insects inside housing | Gaps in weatherproofing | Seal all openings, add fine mesh over vents |
| Dome scratches | Weather exposure, cleaning | Use acrylic polish, replace dome annually |
After building dozens of all sky cameras for our astronomy club, I’ve learned that weatherproofing matters more than camera specs. A $30 camera in a well-sealed housing outperforms a $100 camera that gets moisture inside. Spend time on your enclosure and you’ll get years of reliable service.
Capturing Specific Celestial Events
Your all sky camera excels at monitoring transient phenomena. Here’s how to optimize for different events.
Meteor Showers
Major showers like the Perseids (August) and Geminids (December) produce dozens of meteors per hour at peak. Your camera captures these automatically.
Set capture intervals to 10 seconds or less during shower peaks. Shorter exposures freeze meteor trails more sharply.
Review footage the next morning using time-lapse playback at 30 frames per second. Meteors appear as bright streaks.
Auroral Displays
Aurora visibility depends on your latitude and solar activity. Northern locations see them more frequently.
When geomagnetic forecasts predict activity, reduce your exposure time to 3 to 5 seconds. This prevents motion blur in rapidly moving auroral curtains.
Aurora appear green, red, or purple in images. Your camera may capture colors invisible to the naked eye.
Satellite Passes
Thousands of satellites cross the sky each night. Starlink trains create distinctive chains of lights.
Standard all sky settings capture these without special configuration. Bright satellites like the International Space Station appear as long streaks across multiple frames.
Maintenance and Upkeep
An all sky camera requires minimal maintenance once installed properly.
Clean the dome monthly using microfiber cloths and plastic-safe cleaners. Avoid paper towels that scratch acrylic.
Check weatherproofing seals every few months. Reapply silicone if you notice gaps.
The Raspberry Pi generates heat during operation. Verify ventilation remains clear and internal temperatures stay below 80°C.
Update your software twice yearly to get new features and bug fixes. The AllSky project releases updates regularly.
Replace your SD card annually. They wear out with constant write cycles. Keep a backup card configured identically.
Expanding Your System Over Time
Starting with a basic build leaves room for upgrades as your budget allows.
Add a GPS module ($15 to $25) for precise time stamping. This helps when correlating your observations with other observers.
Install a temperature and humidity sensor ($10) to monitor housing conditions. The data helps diagnose condensation issues.
Connect your camera to your home network via WiFi or ethernet. This enables remote monitoring and automatic image uploads.
Some advanced users add multiple cameras with different lens types. A narrow field camera alongside your all sky system captures detailed meteor spectra.
Cloud storage integration backs up your best captures automatically. Most services offer free tiers with sufficient space for nightly highlights.
Comparing DIY Versus Commercial Systems
Understanding what you gain and sacrifice with a budget build helps set expectations.
Commercial all sky cameras include weatherproof housings, calibrated optics, and professional software. They work immediately after unpacking.
Your DIY system requires assembly time and troubleshooting. You’ll spend hours getting everything working perfectly.
But you save $600 to $2,800 compared to commercial options. That money buys other astronomy equipment like better eyepieces or a tracking mount.
You also understand every component in your system. When issues arise, you know how to fix them instead of shipping equipment back for repairs.
Image quality between DIY and commercial systems is comparable for most applications. Both capture meteors, aurora, and satellite passes effectively.
The main commercial advantage is reliability. Professional systems use industrial-grade components rated for years of outdoor use. DIY builds may need component replacements sooner.
Sharing Your Captures with the Community
Your all sky camera contributes to citizen science projects and astronomy communities.
The American Meteor Society accepts meteor observations from all sky cameras. Submit your captures to help track meteor shower activity.
Local astronomy clubs appreciate members who monitor sky conditions. Your camera shows when clouds clear unexpectedly or aurora become visible.
Social media groups dedicated to astrophotography welcome all sky content. Time-lapses of the Milky Way rotating overhead or meteor compilations get enthusiastic responses.
Consider setting up a live stream of your camera feed. Services like YouTube Live or dedicated weather camera platforms host these for free. Other astronomers check conditions at your location before heading out.
Getting Started Tonight
You now have everything needed to build an all sky camera under $200. The system monitors meteor showers, captures auroras, and records nightly sky conditions automatically.
Start by ordering your Raspberry Pi and camera module. While waiting for delivery, plan your installation location and mounting approach.
Join online communities focused on DIY astronomy projects. Experienced builders answer questions and share configuration tips.
Your first night of captures will feel rewarding. Watching the sky rotate overhead in time-lapse or catching an unexpected meteor makes the build effort worthwhile.
The night sky holds countless events worth recording. Your budget all sky camera ensures you don’t miss them.

Post Comment