How to Photograph the Andromeda Galaxy from a Suburban Backyard Observatory
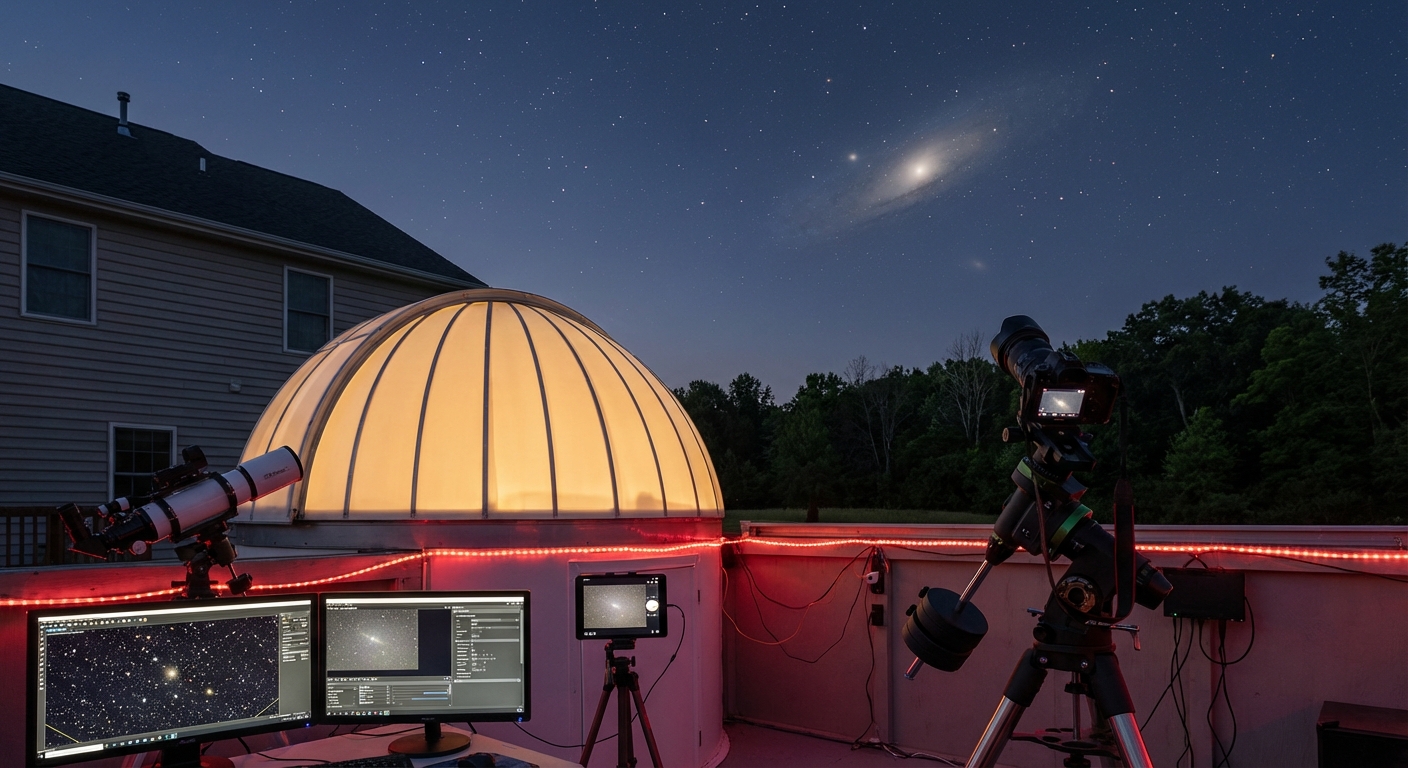
The Andromeda galaxy sits 2.5 million light-years away, yet you can capture its spiral arms from your own backyard tonight. Even with light pollution and modest gear, M31 rewards patient photographers with stunning detail that reveals our nearest galactic neighbor in ways your eyes alone cannot see.
Photographing Andromeda requires a camera capable of long exposures, a sturdy tripod or tracking mount, and patience to capture multiple frames. The galaxy appears best from August through January in the Northern Hemisphere. Stack your exposures using free software to reveal detail invisible to single shots. Light pollution filters help but aren’t essential for this bright deep-sky target.
Equipment You Actually Need
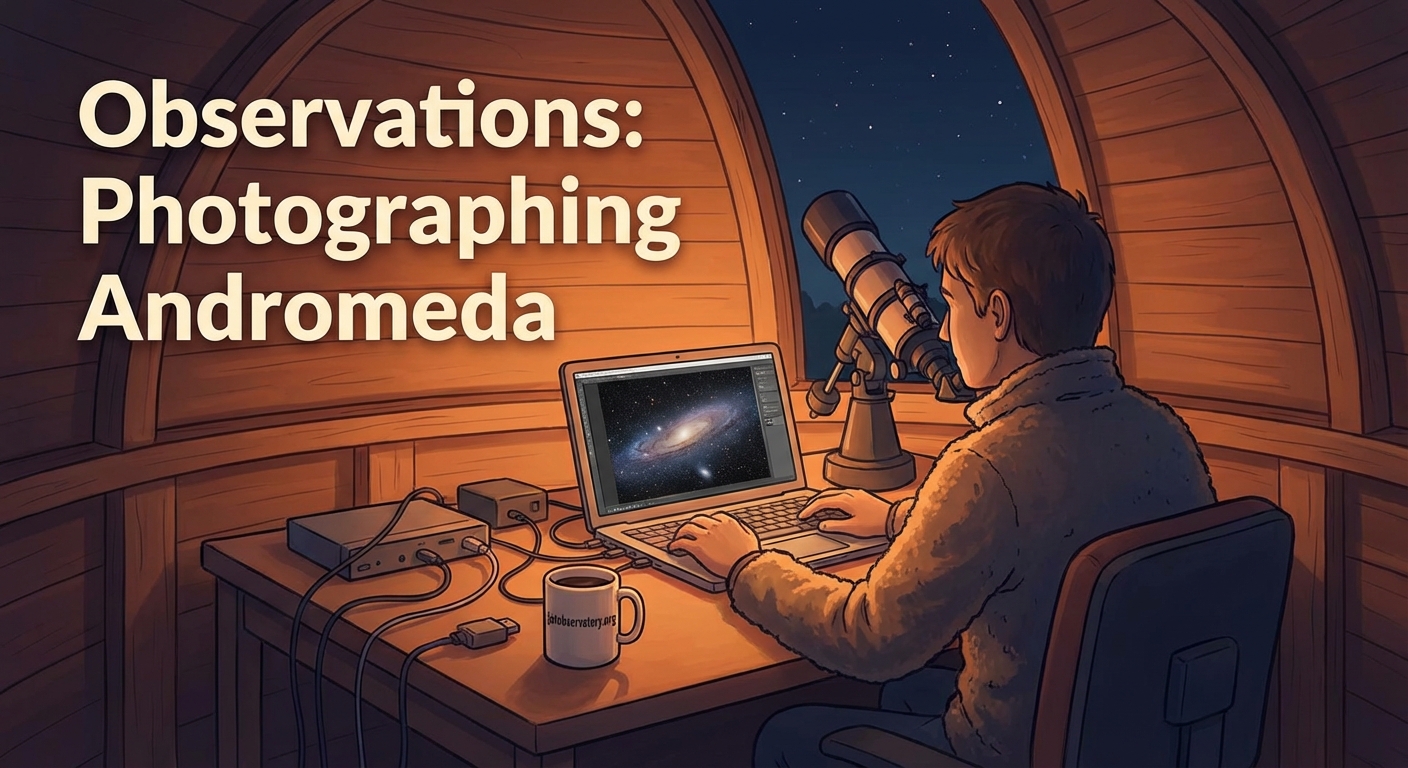
You don’t need a telescope to photograph Andromeda. A camera with manual controls and a standard lens will capture the entire galaxy.
Your camera needs to shoot in RAW format and allow exposures longer than 10 seconds. Most DSLRs and mirrorless cameras from the past decade work perfectly. Even older models with sensors from 2010 onward produce excellent results.
A tripod keeps your camera steady during long exposures. Any tripod that holds your camera without wobbling will work. Test it by gently tapping the camera. If the viewfinder image settles within two seconds, you’re good.
A star tracker transforms your results. These small motorized mounts follow the sky’s rotation, letting you expose for minutes instead of seconds. Entry-level trackers cost around $300 and mount between your tripod and camera. They’re not required to start, but they make a dramatic difference.
Your lens matters more than your camera body. A 50mm to 200mm focal length frames Andromeda beautifully. Faster lenses (f/2.8 or wider) gather more light. A basic 50mm f/1.8 lens costs under $200 and performs brilliantly on this target.
Finding Andromeda in Your Sky

Andromeda rises in the northeast during late summer and climbs high overhead by autumn. The galaxy reaches its highest point around midnight in October, making fall the ideal season.
Look for the Great Square of Pegasus first. This distinctive four-star pattern appears in the eastern sky after sunset during autumn months. From the northeastern corner of the square, follow a curved line of stars. These form the constellation Andromeda.
The galaxy appears as a faint oval smudge about halfway along this chain of stars. Your eyes might miss it at first, especially from suburban locations. Binoculars reveal it immediately as an elongated glow.
Use a planetarium app on your phone to confirm the position. Point your phone at the sky and the app overlays constellation patterns. This removes all guesswork, especially when you’re learning the sky.
Andromeda sits high enough to photograph from August through January. The galaxy remains visible year-round from mid-northern latitudes, but summer positions near the horizon make photography difficult.
Camera Settings That Work
Start with these baseline settings and adjust based on your results:
- ISO: 1600 to 3200
- Aperture: Widest your lens offers (f/2.8 or lower if possible)
- Shutter speed: 10 to 30 seconds without tracking, 60 to 120 seconds with tracking
- Focus: Manual, set to infinity
- White balance: Daylight or 5000K
- File format: RAW
Set your camera to manual mode. Autofocus fails on stars, so switch your lens to manual focus. Point at a bright star and magnify the live view image on your camera’s screen. Adjust focus until the star appears as a tiny point. Take a test shot and zoom into the image. If stars look like sharp dots, your focus is correct.
The 500 rule helps prevent star trailing without a tracker. Divide 500 by your focal length to find the maximum exposure time in seconds. For a 50mm lens, that’s 10 seconds. For a 200mm lens, only 2.5 seconds. This rule gives you a starting point, though modern high-resolution sensors often require shorter exposures.
Take a test shot at 10 seconds, ISO 1600, and your widest aperture. Review the image at 100% magnification. If stars look round, you can expose longer. If they show slight streaks, reduce your shutter speed.
The Shooting Process
-
Set up your tripod on level ground at least 30 minutes before you plan to shoot. Let your camera acclimate to the outdoor temperature. Temperature changes cause condensation on your lens and sensor drift.
-
Frame Andromeda in your viewfinder or live view screen. Center the galaxy or place it in the lower third if you want to include surrounding stars. Take a test shot at high ISO (6400) and short exposure (3 seconds) to verify composition.
-
Adjust your settings to the values you determined earlier. Take your first proper exposure. Review it carefully. The galaxy should appear as a bright oval core with a fainter extended halo.
-
Shoot continuously for the next hour or two. Take 50 to 100 exposures of the same framing. More frames mean better final results after stacking. Set your camera to intervalometer mode if available, or use a remote release to avoid touching the camera between shots.
-
Capture calibration frames. After your imaging session, cover your lens with its cap and take 20 to 30 exposures at the same ISO and shutter speed. These “dark frames” help remove sensor noise during processing.
Processing Your Images
Single exposures of Andromeda look underwhelming. The magic happens when you stack multiple frames together. Stacking aligns and averages your images, amplifying the galaxy while suppressing noise and light pollution.
DeepSkyStacker is free software that handles the entire process. Download it, load your images, and let it work. The program automatically aligns your frames, even if your camera drifted slightly between shots.
After stacking, you’ll have a single master image with far more detail than any individual frame. This master file still looks flat and gray. That’s normal.
Import the stacked image into photo editing software. Lightroom, Photoshop, or the free GIMP all work well. Adjust these controls in order:
- Crop to remove stacking artifacts around the edges
- Increase contrast to separate the galaxy from the background
- Adjust black levels to darken the sky without clipping the galaxy core
- Boost saturation slightly to reveal color in the outer regions
- Apply careful sharpening to enhance spiral structure
The galaxy’s core appears yellow-white while the outer regions show blue from young star clusters. Don’t push processing too hard. Subtle adjustments look more natural than aggressive edits.
Common Problems and Solutions
| Problem | Cause | Solution |
|---|---|---|
| Stars appear as streaks | Exposure too long or mount not tracking | Reduce shutter speed or check polar alignment |
| Galaxy barely visible | Underexposed or too few frames stacked | Increase ISO, widen aperture, or shoot more frames |
| Image too noisy/grainy | ISO too high or insufficient stacking | Lower ISO and shoot more frames to stack |
| Colors look wrong | White balance off or over-processing | Reset to daylight white balance and reduce saturation |
| Soft focus throughout | Lens not focused properly or condensation | Refocus on bright star and use dew heater |
| Vignetting in corners | Lens wide open or stacking error | Stop down one stop or check stacking alignment |
“Your first attempts will look nothing like Hubble images, and that’s perfectly fine. Every astrophotographer starts with a fuzzy blob. The difference between a blob and a detailed galaxy is patience, more frames, and practice. Shoot Andromeda every clear night for a month and your improvement will astound you.” — Experienced backyard astrophotographer
Light Pollution Strategies
Suburban skies wash out faint detail, but Andromeda is bright enough to punch through moderate light pollution. The galaxy’s surface brightness exceeds most nebulae, making it one of the most forgiving deep-sky targets.
Light pollution filters screw onto your lens and block specific wavelengths from streetlights. They help, but don’t expect miracles. A good filter might improve contrast by 20 to 30 percent. That’s worthwhile for serious imaging but not essential for your first attempts.
Shoot when the galaxy is highest in your sky. Higher altitude means less atmospheric thickness and less light pollution between you and your target. Andromeda reaches its highest point around midnight during October.
Face away from the brightest sources. Even in suburbs, one direction usually has darker skies than others. Set up with the worst light pollution behind you.
More frames overcome light pollution better than any filter. Stacking 100 frames from a light-polluted backyard produces better results than stacking 20 frames from a dark site.
Advancing Your Technique
Once you’ve captured recognizable images of Andromeda, these improvements make the biggest difference:
-
Longer focal lengths: A 200mm to 300mm lens fills your frame with the galaxy and reveals spiral arm structure. You’ll need a star tracker for these focal lengths.
-
Guided tracking: Autoguiding uses a second camera to monitor a guide star and make tiny corrections to your mount. This enables exposures of 5 to 10 minutes, dramatically improving image depth.
-
Narrowband filters: H-alpha filters reveal star-forming regions in Andromeda’s spiral arms. These regions appear red in processed images and add stunning detail.
-
Better dark skies: A trip to truly dark skies reveals faint outer structures impossible to capture from suburbs. The galaxy’s outer halo extends three times wider than the bright core.
Start simple and add complexity gradually. Master untracked shots before buying a star tracker. Master tracked shots before adding autoguiding. Each step builds on skills from the previous level.
Weather and Timing Considerations
Clear skies aren’t enough. Transparency and seeing conditions affect your results. Transparency measures how much atmospheric haze blocks light. Seeing measures how much atmospheric turbulence blurs your image.
Check weather forecasts designed for astronomers. Sites like Clear Dark Sky provide hourly predictions for cloud cover, transparency, and seeing. Target nights with good transparency. Seeing matters less for Andromeda than for planetary imaging.
Avoid nights following rain or near large temperature changes. Moisture in the atmosphere scatters light and reduces contrast. The best nights often come two to three days after a cold front passes.
Moon phases matter less than you might think. Andromeda is bright enough to photograph even during moderate moonlight. Avoid the three nights around full moon, but don’t skip the other 25 nights each month.
Humidity causes dew to form on your lens. A simple dew heater strap prevents this. Wrap the strap around your lens barrel and plug it into a portable battery. The gentle warmth keeps your lens a few degrees above ambient temperature.
What Success Actually Looks Like
Your first successful Andromeda image shows an elongated oval with a bright core. You might see hints of the dark dust lanes that cross the galaxy. That’s a genuine achievement.
After stacking 50 to 100 frames, you’ll reveal the spiral arm structure. The arms appear as subtle brightness variations extending from the core. Two satellite galaxies, M32 and M110, become visible near the main galaxy.
With a star tracker and 100+ frames of 2-minute exposures, you’ll capture the full extent of the galaxy. The outer regions glow faintly blue from young star clusters. The core appears yellow from older stars. Dust lanes become obvious dark ribbons crossing the disk.
Compare your images to others shot with similar equipment, not to professional observatory images. Backyard astrophotography has real limitations, but it also offers real rewards. You’re capturing photons that traveled 2.5 million years to reach your camera sensor.
Making This Your Regular Target
Andromeda makes an excellent practice target throughout autumn and winter. The galaxy’s brightness forgives mistakes while still offering enough detail to challenge your growing skills.
Shoot it every clear night for a month. You’ll see rapid improvement as you refine your technique. Each session teaches you something about focusing, framing, or processing.
Keep notes about your settings and conditions. Write down ISO, shutter speed, number of frames, and sky conditions. After a few sessions, patterns emerge. You’ll know which settings work best for your specific equipment and location.
Share your images with online astrophotography communities. Experienced imagers offer helpful feedback. You’ll learn processing techniques and troubleshooting strategies that books never cover.
Return to Andromeda each autumn as your skills and equipment improve. The galaxy rewards better technique with more detail. Your image from this October will look dramatically better than your first attempt, and next October’s version will improve again.
Set up your camera tonight and point it at that fuzzy patch in Andromeda. Take 50 exposures, stack them, and see what appears. You’re about to capture light from another galaxy, and that never stops being remarkable.
Post Comment