Mounting Solutions That Keep Your Remote Cameras Stable and Aligned
Your camera just captured a blurry mess instead of that meteor shower you stayed up all night to record. The culprit? A mount that shifted half a degree during a wind gust. Remote camera mounting solutions need to handle more than just holding equipment in place. They must resist weather, vibration, thermal expansion, and the slow creep of gravity over weeks or months of unattended operation.
Successful remote camera installations require matching mount types to environmental conditions, load capacity, and alignment precision needs. Pole mounts work for most applications, but wall brackets excel in urban settings, tripod systems offer portability, and custom fabricated solutions solve unique challenges. Proper installation prevents the drift, vibration, and thermal shift that ruin long-term imaging projects.
Understanding What Makes Remote Mounts Different
Standard camera mounts assume someone will adjust them regularly. Remote installations operate for weeks or months without human intervention.
Temperature swings cause metal to expand and contract. A mount that feels solid at 70°F might shift noticeably when temperatures drop to 20°F overnight. Aluminum expands about twice as much as steel for the same temperature change.
Wind creates constant vibration. Even gentle breezes cause micro-movements that blur long exposures. A camera pointed at the horizon amplifies these movements more than one aimed straight up.
Precipitation adds weight unevenly. Snow accumulation on one side of a housing creates torque. Ice formation can lock adjustment mechanisms or crack plastic components.
Wildlife and curious humans introduce unexpected forces. Deer rub against poles. Birds perch on equipment. People occasionally grab cameras to see what they’re pointed at.
Pole Mount Systems for Long-Term Stability

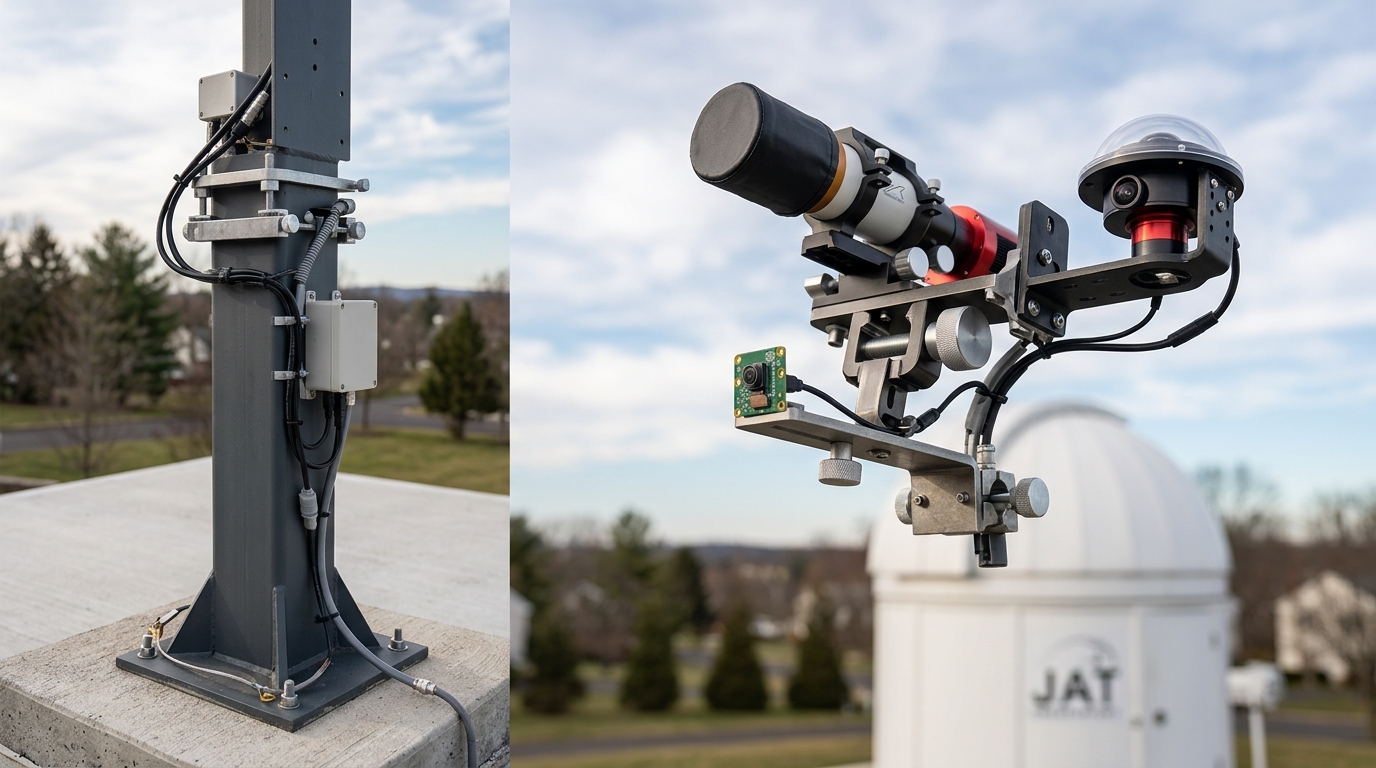
Metal poles sunk into concrete foundations provide the most rigid platform for remote cameras. The key is getting the pole deep enough and wide enough to resist movement.
A 4-inch diameter steel pipe set 3 feet deep in concrete handles most camera and housing combinations. The concrete should extend below the frost line in cold climates. Frost heave will tilt even heavy poles if the foundation sits too shallow.
Galvanized steel resists rust better than painted options. Stainless steel costs more but eliminates corrosion concerns entirely. Aluminum poles weigh less but flex more under load.
The camera attachment point matters as much as the pole itself. A welded steel plate at the top creates the strongest connection. Bolted flanges work well if you need to remove equipment seasonally. U-bolt clamps allow height adjustment but can slip over time if not torqued properly.
Mount your camera as low on the pole as your field of view allows. Every foot of height above the mounting point acts as a lever arm, amplifying vibration and wind movement.
For building an all-sky camera system to monitor celestial patterns year-round, pole mounts provide the stability needed for consistent horizon-to-horizon coverage.
Wall and Building-Mounted Solutions
Existing structures offer convenient mounting points if you choose attachment locations carefully. Brick, concrete block, and poured concrete provide solid anchors. Wood siding and vinyl require backing through to structural members.
Lag bolts into wall studs work for lightweight cameras. Cameras with large weatherproof housings need through-bolts with backing plates on the interior side of the wall. The backing plate distributes load across multiple studs.
Expansion anchors in concrete or brick must match the base material. Concrete anchors differ from brick anchors. Using the wrong type leads to pullout under vibration.
Thermal expansion becomes critical on building mounts. The wall expands and contracts with temperature changes. Metal mounting brackets do the same, but at different rates. This differential movement loosens bolts over time.
Check bolt tension monthly for the first season. After that, quarterly inspections catch problems before cameras shift. A drop of thread-locking compound on each bolt prevents loosening from vibration.
Eave mounts keep cameras dry but create maintenance challenges. You need ladder access for adjustments. Consider this before installing cameras 20 feet up.
Tripod and Portable Mounting Options
Temporary installations and locations requiring periodic repositioning call for tripod-based systems. Standard photography tripods fail in remote settings. You need surveying-grade tripods or heavy-duty video tripods.
Aluminum surveying tripods with pointed feet drive into soil for stability. The pointed feet penetrate several inches, resisting lateral movement. Rubber feet work on pavement but require sandbags or stakes for wind resistance.
Weight matters more than you expect. A 15-pound camera and housing on a 5-pound tripod will tip in moderate wind. The tripod should weigh at least half the camera system weight. More is better.
Leg locks must be tool-free but secure. Twist locks fail less often than flip locks in dusty or icy conditions. Flip locks freeze shut or gum up with debris.
For wildlife photography in changing locations, consider tripods with removable heads. Leave the head attached to your camera housing. Swap the entire assembly between tripod and vehicle mount without disturbing alignment.
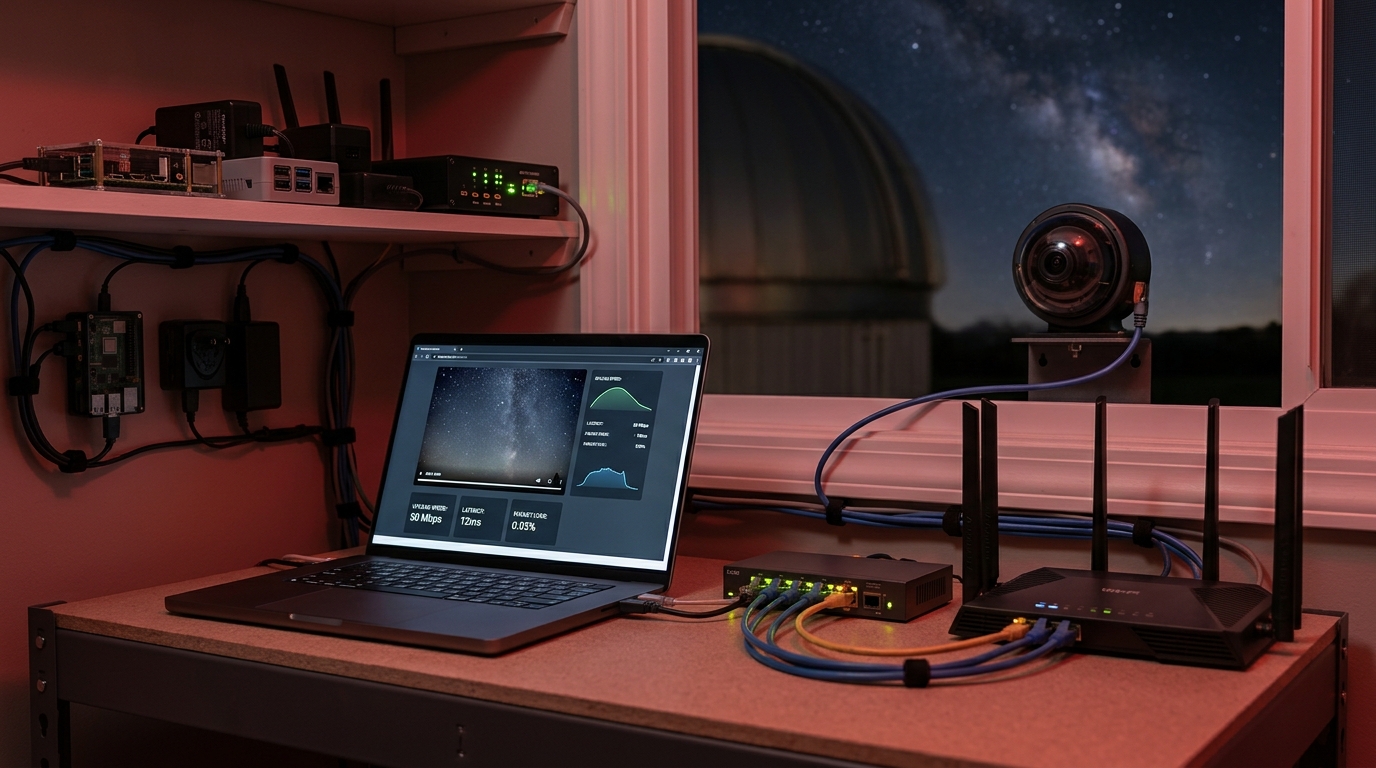
When setting up how to build your first remote observatory webcam system for under $300, portable tripod solutions let you test locations before committing to permanent installations.
Comparing Mount Types by Application
| Mount Type | Best Use Case | Typical Cost | Installation Time | Stability Rating |
|---|---|---|---|---|
| Pole mount in concrete | Permanent observatory cameras | $150-400 | 4-8 hours | Excellent |
| Wall bracket with backing plate | Building-mounted security | $50-150 | 1-2 hours | Very good |
| Surveying tripod | Temporary wildlife monitoring | $200-600 | 15 minutes | Good |
| Ground stake system | Seasonal trail cameras | $30-80 | 10 minutes | Fair |
| Custom fabricated frame | Unique terrain or multi-camera | $300-1000+ | 8-24 hours | Excellent |
Step-by-Step Installation for a Permanent Pole Mount
Getting a pole mount right the first time saves hours of troubleshooting later. Follow this sequence for reliable results.
- Mark the exact location and verify it provides clear sight lines to your target area without obstructions.
- Check underground utilities before digging using your local utility notification service.
- Dig a hole 12 inches in diameter and deep enough to reach below frost line plus 6 inches for gravel base.
- Add 6 inches of gravel and tamp it firm to provide drainage and prevent settling.
- Set the pole vertically using a level on two perpendicular sides and brace it with temporary supports.
- Mix concrete according to manufacturer specifications and pour around the pole.
- Recheck level as concrete sets and make final adjustments within the first 20 minutes.
- Allow concrete to cure for 72 hours minimum before mounting camera equipment.
- Attach mounting plate or bracket to pole using either welding or through-bolts with lock washers.
- Mount camera housing and verify alignment before final tightening of all connections.
The gravel base prevents water from pooling at the bottom of the concrete. Trapped water freezes and can crack the foundation.
Hardware Selection That Prevents Loosening
Stainless steel fasteners cost more but resist corrosion in outdoor installations. Grade 8 bolts provide higher strength than standard hardware store bolts.
Lock washers prevent vibration from loosening nuts. Split lock washers work adequately. Nord-Lock washers or similar wedge-locking designs perform better in high-vibration applications.
Thread-locking compounds come in different strengths. Blue (medium strength) allows disassembly with hand tools. Red (high strength) requires heat for removal. Use blue for camera mounts you might adjust. Use red for structural connections you never want to move.
Anti-seize compound on threads prevents galling on stainless steel fasteners. Stainless steel bolts threaded into stainless steel nuts can cold-weld together over time without anti-seize.
Nylock nuts combine a nylon insert with standard threading. The nylon creates friction that resists loosening. These nuts lose effectiveness after removal and reinstallation. Replace them rather than reusing.
Vibration Isolation Techniques
Some locations experience constant vibration from nearby equipment, traffic, or wind. Isolation mounts reduce transmitted vibration.
Rubber or polymer bushings between the camera and mount absorb high-frequency vibration. These work well for cameras near generators or HVAC equipment.
Mass damping adds weight to the mounting system. A heavier mount resists vibration better than a light one. Adding a 20-pound steel plate between camera and mount reduces vibration amplitude significantly.
Tuned mass dampers use a secondary weight on springs to counteract specific vibration frequencies. These require engineering but solve severe vibration problems. Building-mounted cameras near heavy machinery benefit from this approach.
For building a weatherproof enclosure for remote observatory equipment on a budget, vibration isolation becomes critical when equipment sits on wooden platforms or metal roofing.
Alignment Maintenance Over Time
Remote cameras drift out of alignment gradually. Thermal cycling, settling foundations, and hardware loosening all contribute.
Establish alignment reference points during initial setup. Photograph a distant fixed object at the edge of your frame. Check this reference monthly by comparing current images to your baseline.
Seasonal realignment may be necessary. Foundation settling happens most during the first year after installation. Check alignment weekly for the first month, then monthly for the first year.
Digital level apps on smartphones provide consistent angle measurements. Record pitch and roll angles during setup. Compare these values during maintenance checks.
Some camera systems support software-based alignment correction. This works for small drifts but cannot compensate for major movement. Physical realignment remains necessary when drift exceeds a few degrees.
Common Mistakes That Cause Mount Failure
Understanding failure modes helps you avoid them. These issues appear repeatedly in remote camera installations.
Undersized foundations top the list. A camera that weighs 10 pounds in a 30-pound housing needs a foundation sized for 50+ pounds to account for wind loading.
Ignoring thermal expansion causes seasonal alignment drift. A steel pole 6 feet tall expands about 1/16 inch between winter and summer temperatures. This shifts camera aim by measurable amounts.
Using indoor-rated fasteners leads to rust and failure. Zinc-plated bolts rust through in 2-3 years outdoors. Stainless steel or hot-dip galvanized fasteners last decades.
Mounting too high amplifies every problem. Wind force increases with height. Vibration increases. Maintenance becomes harder. Mount as low as your application allows.
Skipping cable strain relief transfers cable weight and wind drag to camera connections. Use cable clamps every 12 inches along the mount to support cable weight independently.
Specialized Mounts for Unique Situations
Standard solutions do not fit every scenario. Custom fabrication solves unusual challenges.
Tree-mounted cameras need to account for tree growth and movement. Use wide straps instead of bolts. The tree grows around straps without damage. Bolts create stress points that weaken branches.
Rooftop installations face extreme wind and thermal cycling. Ballasted mounts using concrete blocks or sandbags avoid roof penetrations. The weight must exceed wind uplift force by a factor of three for safety.
Cliff or steep slope mounting requires rock anchors or driven pins. Consult climbing equipment suppliers for appropriate anchor hardware. These installations often need professional rigging expertise.
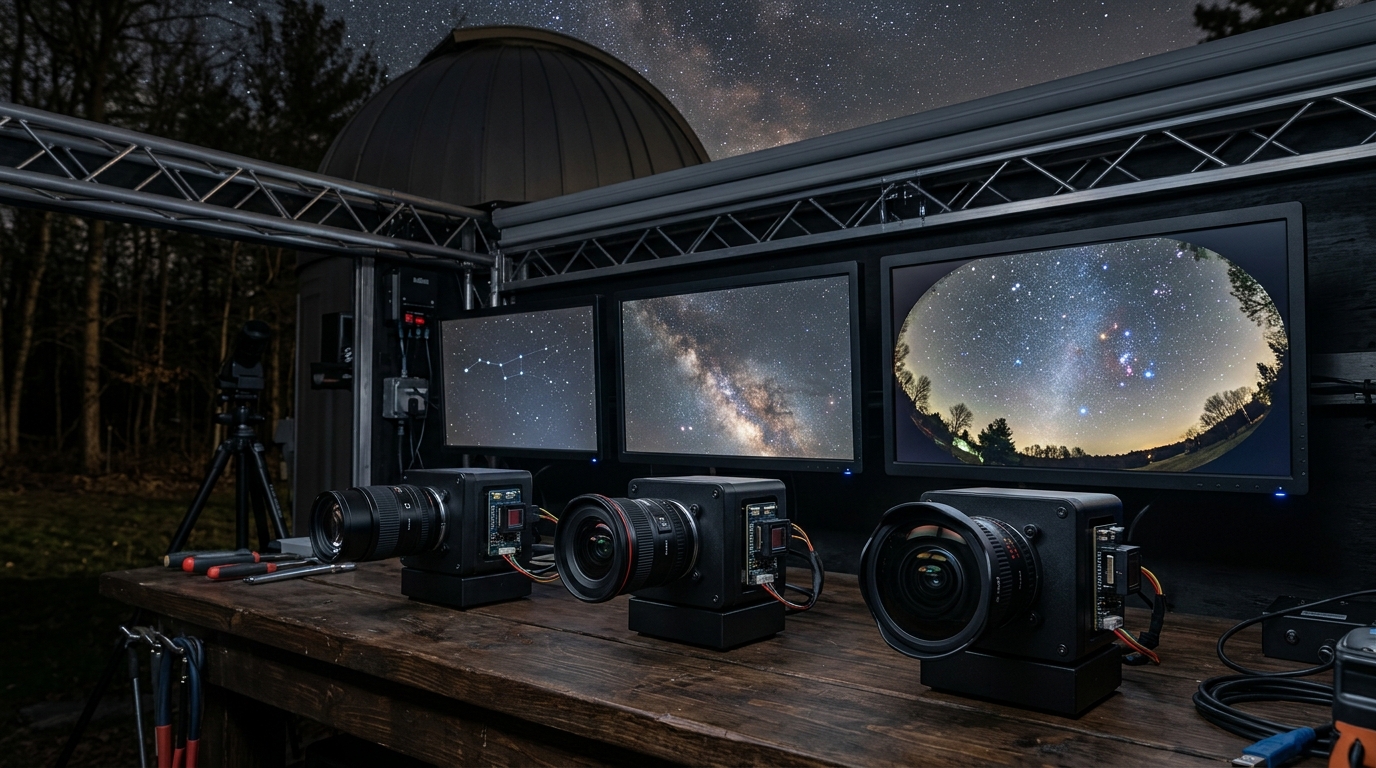
Multi-camera arrays benefit from custom-welded frames. A single rigid structure holds multiple cameras in fixed relationships. This works well for stereoscopic imaging or panoramic coverage.
For projects like comparing wide-angle lenses for night sky webcam installations, custom mounts let you test multiple lens configurations simultaneously.
Testing Mount Stability Before Trusting It
Never assume a new installation will perform reliably. Test it thoroughly before leaving equipment unattended.
Apply lateral force equal to expected wind loading. Push the camera housing from different directions. Movement should be imperceptible. Any flex indicates inadequate mounting.
Run the camera for 24 hours and check alignment before and after. Temperature cycling through day and night reveals thermal expansion issues.
Simulate ice loading by hanging weights equivalent to expected ice accumulation. A camera housing with 2 square feet of surface area can accumulate 10+ pounds of ice in freezing rain.
Check all fasteners after one week of operation. Vibration and settling cause initial loosening. Retighten everything, then check again after one month.
Document your testing process with photos and measurements. This baseline helps you identify problems during future maintenance.
Maintenance Schedules That Prevent Surprises
Proactive maintenance costs less than emergency repairs. Establish a regular inspection routine.
Monthly checks should include:
- Visual inspection for obvious damage or displacement
- Reference photo to verify alignment
- Cable condition and strain relief
- Fastener tightness on critical connections
Quarterly maintenance adds:
- Complete fastener inspection with torque wrench
- Cleaning of mounting hardware and camera housing
- Lubrication of adjustment mechanisms
- Foundation inspection for cracks or settling
Annual overhaul includes:
- Complete disassembly and inspection
- Replacement of wear items like lock washers
- Reapplication of thread-locking compound
- Foundation repair if needed
Keep maintenance logs. Note any adjustments made and conditions observed. Patterns emerge that help you predict problems.
Budget Considerations Across Mount Types
Cost varies dramatically based on mount type and installation requirements. Understanding the full cost picture helps with planning.
DIY pole mounts using salvaged materials can cost under $100. You need a pole, concrete, and basic hardware. Labor is your time.
Professional installation of permanent mounts runs $500-2000 depending on site conditions. Difficult access, rocky soil, or special equipment requirements increase costs.
Tripod systems front-load costs into the tripod itself but eliminate installation labor. A quality surveying tripod costs $300-600 but works at multiple locations.
Custom fabricated mounts vary wildly. Simple welded brackets cost $100-300. Complex multi-camera frames with precision alignment features can exceed $2000.
Factor in maintenance costs over the expected installation lifetime. A $200 mount requiring quarterly service visits costs more long-term than a $600 mount needing annual checks.
Making Your Mount Decision
Choosing the right remote camera mounting solution depends on matching your specific requirements to mount capabilities.
Permanent installations in accessible locations favor pole mounts. The upfront effort pays off in long-term stability and minimal maintenance.
Building-mounted cameras make sense when suitable structures exist and drilling is acceptable. They save foundation work but require careful attention to thermal expansion.
Portable applications need tripod systems despite their limitations. Accept the stability tradeoff for the flexibility to relocate.
Unique situations demand custom solutions. Budget extra time and money for engineering and fabrication.
Start with the simplest mount that meets your stability requirements. You can always upgrade later if conditions prove more challenging than expected. A well-installed basic mount outperforms a poorly installed premium system every time.
The stars will still be there tomorrow night. Your camera mount needs to be there too, pointing exactly where you left it.
Post Comment