Polar Alignment Without a Polar Scope: Three Proven Methods That Actually Work
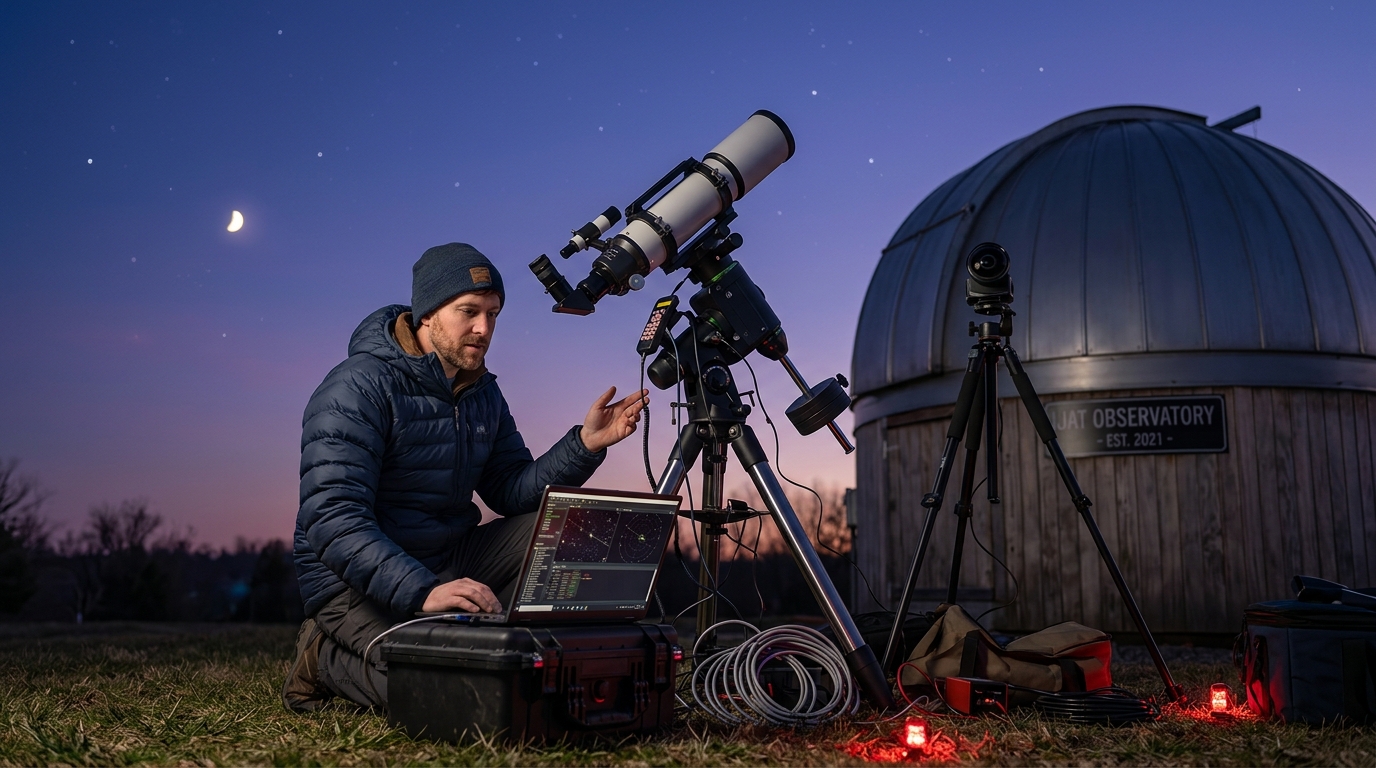
You don’t need a polar scope to get accurate polar alignment. In fact, some of the most precise methods don’t use one at all.
Many astrophotographers struggle with polar scopes because they’re hard to see through, difficult to calibrate, or simply missing from older mounts. The good news is that alternative methods can deliver excellent results, sometimes even better than a traditional polar scope.
Polar alignment without a polar scope is achievable through drift alignment, smartphone apps, and star trail photography. These methods range from beginner-friendly software solutions to advanced drift techniques that deliver sub-arcminute accuracy. Each approach works with standard equipment you likely already own, making precise polar alignment accessible regardless of your mount’s accessories.
Understanding Why Polar Alignment Matters
Polar alignment points your equatorial mount’s right ascension axis directly at the celestial pole. This allows the mount to track stars accurately as Earth rotates.
Poor alignment creates field rotation. Stars appear to drift in arcs rather than staying stationary. For visual observers, this means constant manual adjustment. For astrophotographers, it ruins long exposures.
The accuracy you need depends on your focal length and exposure time. Wide-angle lenses forgive alignment errors that would destroy images through a telescope. A 200mm lens might tolerate alignment within one degree. A 1000mm telescope needs precision measured in arcminutes.
Traditional polar scopes work by showing you a pattern of stars or a reticle. You adjust the mount until Polaris sits in the correct position. But polar scopes have limitations. They require calibration for date and time. The view through them can be dim and awkward. Some mounts don’t include them at all.
That’s where alternative methods come in.
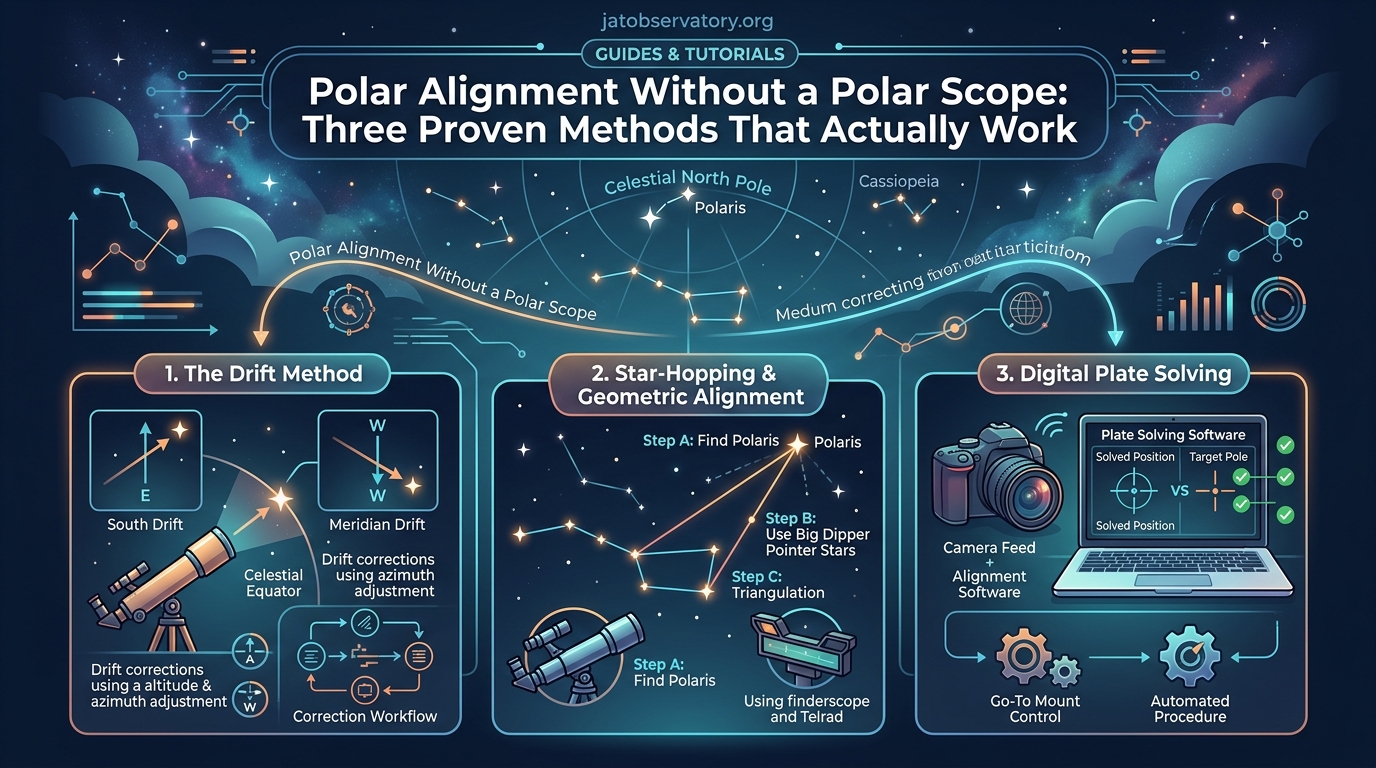
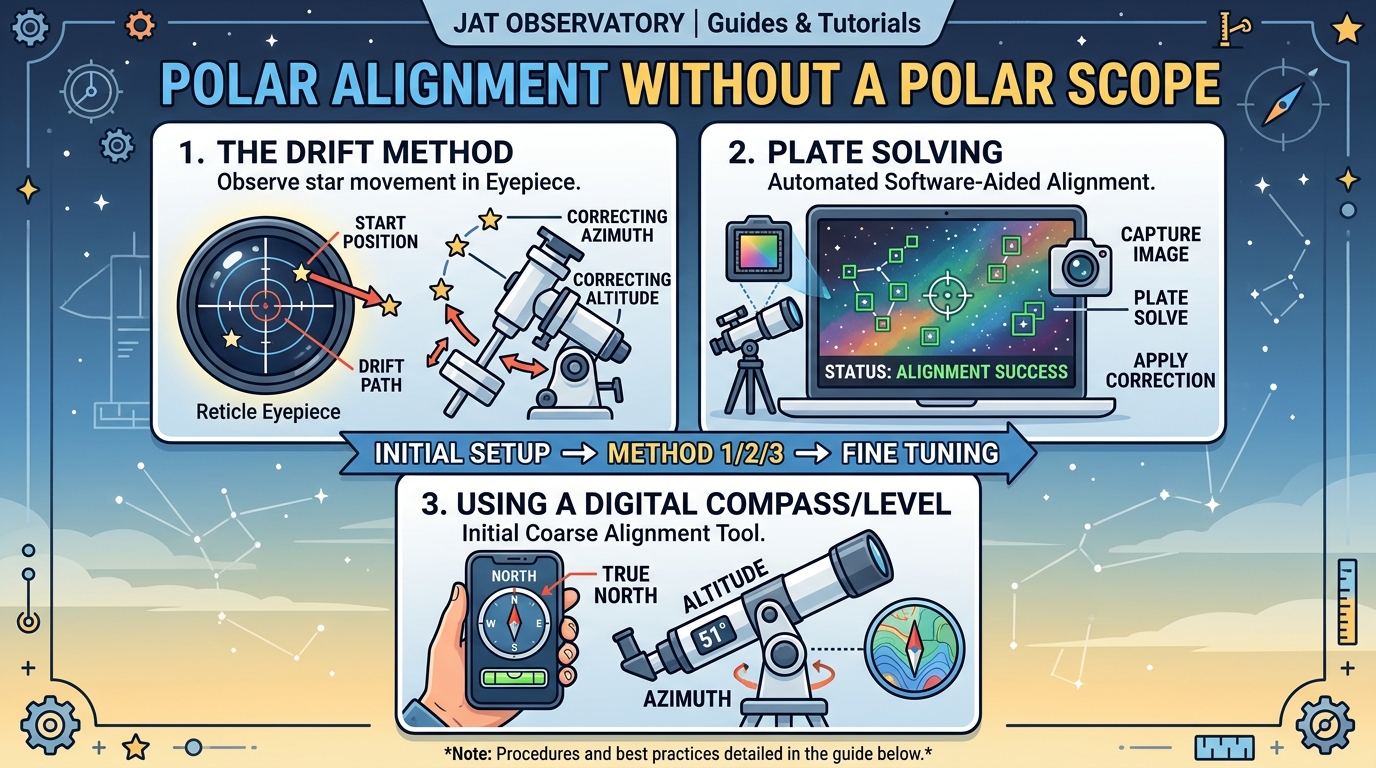
Method One: Drift Alignment for Maximum Precision
Drift alignment uses your telescope and camera as a precision measuring tool. You watch how stars drift over time, then make corrections based on that drift.
This method delivers the most accurate results possible. Professional observatories use variations of this technique.
Here’s how it works:
- Roughly point your mount at the celestial pole using a compass and your latitude setting
- Point your telescope at a star near the celestial equator and the meridian
- Center the star in your field of view
- Watch how the star drifts over 3-5 minutes
- Adjust your mount’s altitude or azimuth based on drift direction
- Repeat until drift becomes negligible
The drift pattern tells you what to adjust. A star drifting north means your mount’s axis points too far east. A star drifting south means it points too far west. You correct this with the azimuth adjustment.
For altitude errors, point at a star near the eastern or western horizon. Drift in declination reveals whether your mount’s axis points too high or too low.
Drift alignment takes patience, but it’s the gold standard. Once you learn to read the drift patterns, you can achieve alignment accurate enough for imaging at any focal length.
Modern software makes drift alignment easier. Programs like PHD2 and SharpCap include drift alignment assistants. They measure drift automatically and tell you exactly which way to turn your adjustment knobs.
The main downside is time. Expect to spend 20-40 minutes on your first attempts. With practice, you can complete the process in 10-15 minutes.
Method Two: Smartphone Apps That Actually Work
Smartphone polar alignment apps put a digital polar scope in your pocket. They use your phone’s GPS, compass, and gyroscope to show you where the celestial pole sits in real time.
Popular apps include Polar Scope Align, PS Align, and SkySafari. Most cost less than $10 or offer free versions with basic features.
The process is straightforward:
- Mount your phone on your tripod or hold it steady against your mount
- Open the app and let it acquire GPS location
- The app displays an augmented reality view showing the celestial pole position
- Adjust your mount until the pole marker aligns with the actual sky position
- Fine-tune using the app’s precision view
These apps work surprisingly well for visual observing and wide-field astrophotography. You can typically achieve alignment within 10-15 arcminutes, suitable for focal lengths up to 200mm with exposures under two minutes.
The accuracy depends on your phone’s sensors. Magnetic interference from metal mounts or electronic equipment can throw off the compass. Calibrate your phone’s compass before each session by waving it in a figure-eight pattern.
Apps shine for portability and speed. You can set up and align in under five minutes. They’re perfect for grab-and-go sessions or when you’re learning the process. If you’re working on photographing the Andromeda Galaxy from a suburban backyard observatory, these apps provide enough accuracy for shorter exposures while you build experience.
Method Three: Star Trail Photography for Beginners
Star trail photography reveals alignment errors visually. You take a series of short exposures, then examine how stars move across the frame.
This method works best for initial rough alignment. It won’t deliver the precision of drift alignment, but it gets you close enough for wide-field work.
Here’s the process:
- Set your camera on a tripod pointing at the celestial pole
- Use a wide-angle lens (24-50mm works well)
- Take exposures of 15-30 seconds at ISO 1600
- Stack several images or review them individually
- Observe the star trail pattern around the pole
- Adjust your mount to center the rotation point
Perfect alignment shows stars rotating around a single point. Misalignment creates elongated trails or an off-center rotation point.
You can do this without a mount, just using a camera on a tripod. Point roughly at Polaris (or Sigma Octantis in the southern hemisphere). Take test shots. Adjust your mount’s position based on where the rotation center appears.
This technique teaches you to visualize polar alignment. You develop an intuition for how alignment errors manifest in images.
Comparing the Three Methods
Different situations call for different approaches. Here’s how the methods stack up:
| Method | Accuracy | Time Required | Best For | Equipment Needed |
|---|---|---|---|---|
| Drift Alignment | Sub-arcminute | 20-40 minutes | Long focal length imaging | Mount, telescope, camera, alignment software |
| Smartphone Apps | 10-15 arcminutes | 5-10 minutes | Wide-field and visual | Smartphone with GPS and compass |
| Star Trails | 20-30 arcminutes | 15-20 minutes | Learning and rough alignment | Camera and tripod |
Your focal length determines which method makes sense. Wide-angle lenses below 100mm tolerate looser alignment. Smartphone apps provide plenty of accuracy for this work.
Telephoto lenses from 100-400mm need better precision. Apps still work, but drift alignment becomes worthwhile for exposures longer than one minute.
Telescope focal lengths above 400mm demand drift alignment. The narrow field of view magnifies any alignment error.
Common Mistakes That Ruin Alignment
Even with the right method, small errors can sabotage your results. Watch out for these issues:
-
Unlevel tripod: Your mount must sit level before you start. An unlevel base throws off all your adjustments. Use a bubble level on the mount’s base.
-
Loose adjustment knobs: Tighten altitude and azimuth locks after each adjustment. Loose knobs let the mount shift during observation.
-
Skipping the meridian: Drift alignment works best with stars near the meridian. Stars too far east or west give ambiguous results.
-
Magnetic interference: Keep phones and electronic equipment away from compass-based apps. Metal structures and power cables create magnetic fields.
-
Ignoring refraction: Atmospheric refraction bends starlight near the horizon. Use stars at least 20 degrees above the horizon for drift alignment.
-
Rushing the process: Accurate drift measurement takes time. Wait at least three minutes before judging drift direction.
Tools That Make the Process Easier
You don’t need expensive equipment, but a few items improve results:
-
Illuminated reticle eyepiece: Makes centering stars easier during drift alignment. Red LED illumination preserves night vision.
-
Electronic level: Digital levels show precise tilt angles. They’re more accurate than bubble levels.
-
Laptop or tablet: Larger screens make drift alignment software easier to use. Battery life beats phone screens too.
-
Right angle finder: Lets you view the eyepiece comfortably when pointing at the pole. Your neck will thank you.
-
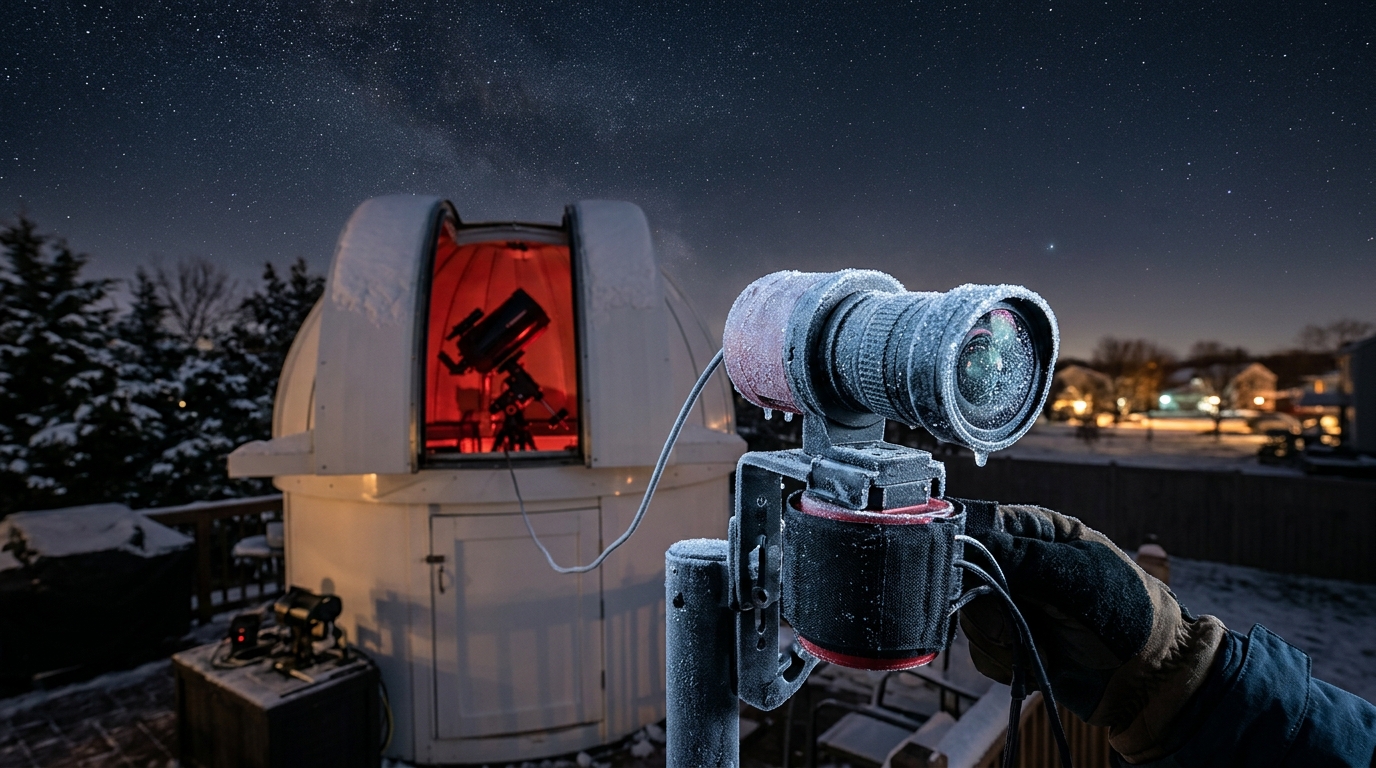
Alignment camera: Dedicated guide cameras with small pixels reveal drift faster than DSLRs.
Some astrophotographers build permanent piers with precisely leveled mounts. Once aligned, the mount stays accurate between sessions. This eliminates setup time for backyard observatories.
Refining Your Technique Over Time
Your first alignment attempt will feel clumsy. That’s normal. Each method has a learning curve.
Start with smartphone apps. They build confidence and teach you the basic concept. You’ll see how small mount adjustments affect alignment.
Graduate to drift alignment when you’re ready for longer exposures. The first session might take an hour. By your tenth attempt, you’ll finish in fifteen minutes.
Keep notes about what works. Record your location, date, method used, and final accuracy. Patterns emerge. You’ll notice that certain adjustments consistently improve results.
Consider using free sky mapping software to plan which stars to use for drift alignment. Having reference stars identified before dark saves time.
Troubleshooting Persistent Alignment Problems
Sometimes alignment refuses to improve no matter what you try. Look for these hidden issues:
Mount mechanical problems: Worn gears or loose components prevent accurate tracking. Test by locking both axes and checking for play. Any movement indicates mechanical issues.
Polar axis misalignment: Some mounts develop polar axis tilt over time. The axis might not be perpendicular to the mount base. This requires professional service or careful shimming.
Periodic error: All mounts have some periodic error from gear imperfections. This creates regular tracking variations that look like alignment problems. Periodic error correction in your mount’s firmware can help.
Flexure: Long telescopes flex under their own weight. This changes the pointing direction as you slew across the sky. Better balance and tube rings reduce flexure.
Differential flexure: The guide scope and main telescope flex differently. They point at slightly different spots. This makes guiding less effective even with perfect polar alignment.
If you’ve ruled out alignment and mechanical issues, the problem might be your imaging train or guiding setup.
Seasonal Considerations for Polar Alignment
Your alignment accuracy changes with temperature and season. Thermal expansion affects mount dimensions. A mount aligned at 70°F will be slightly off at 40°F.
For permanent observatory setups, check alignment monthly. Seasonal temperature swings can shift alignment by several arcminutes.
Portable setups need fresh alignment each session. Temperature, ground settling, and setup variations all affect accuracy.
Some observers align differently for different targets. Targets low in the south might benefit from slight alignment adjustments compared to overhead targets. This compensates for atmospheric refraction.
Software Solutions That Automate the Process
Modern astronomy software includes sophisticated alignment assistants. These tools automate much of the manual work.
SharpCap Pro offers polar alignment routines that work with any camera. The software takes three images, plate solves them, and calculates exact mount adjustments needed. You just turn the knobs by the specified amounts.
PHD2 guiding software includes drift alignment tools. It measures drift automatically and displays adjustment directions in real time.
NINA (Nighttime Imaging ‘N’ Astronomy) includes polar alignment modules that integrate with your entire imaging sequence. You can schedule alignment checks between targets.
These software solutions require plate solving capability. Your computer needs internet access or local star catalogs. The accuracy rivals manual drift alignment with much less effort.
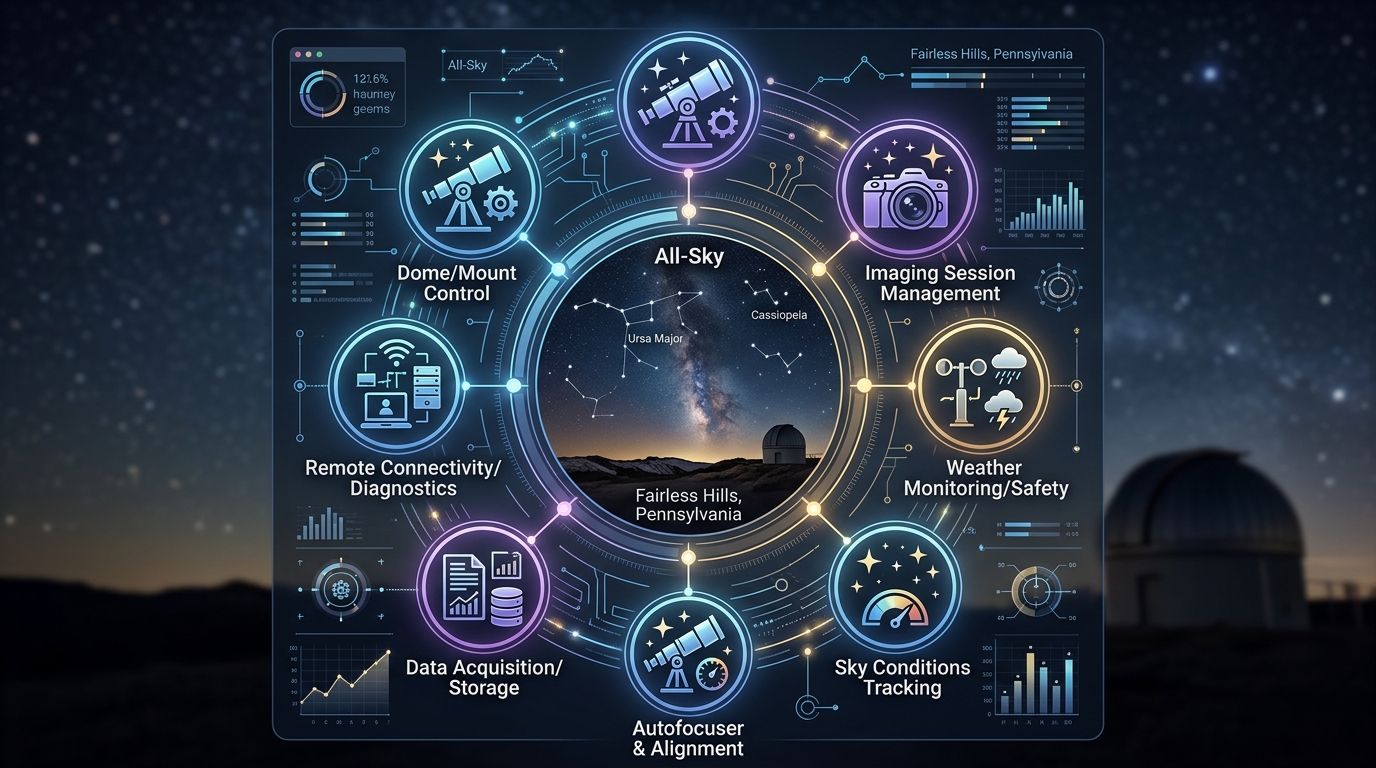
For those building automated systems, automating your backyard observatory with open-source software can include scheduled alignment verification routines.
Making Polar Alignment Part of Your Routine
Consistent alignment becomes second nature with practice. Develop a standard checklist for each session:
- Level the mount base
- Rough align using compass and latitude scale
- Run smartphone app for initial positioning
- Perform drift alignment if imaging above 200mm
- Verify alignment with test exposures
- Document final accuracy in your log
This routine takes 15-30 minutes depending on your method and target accuracy. The time investment pays off in better images and less frustration during the session.
Some observers align once, then use their mount’s park position to maintain alignment between sessions. This works if your mount stays in one location and you’re careful about parking procedure.
When Good Enough Really Is Good Enough
Perfect polar alignment isn’t always necessary. Match your effort to your goals.
Visual observers can get away with alignment errors of several degrees. The mount still tracks well enough to keep objects in the eyepiece.
Wide-field astrophotographers using lenses under 100mm need alignment within 20-30 arcminutes. Smartphone apps achieve this easily.
Medium focal length work from 100-400mm benefits from 5-10 arcminute accuracy. Drift alignment or software-assisted methods deliver this precision.
Long focal length imaging above 400mm demands sub-arcminute alignment. Only drift alignment or sophisticated software routines achieve this consistently.
Don’t spend an hour perfecting alignment if your 50mm lens would work fine with ten minutes of effort. Save the precision work for when it actually matters.
Bringing Precision Within Reach
Polar alignment without a polar scope isn’t just possible. For many situations, it’s actually better than using a polar scope.
Drift alignment delivers unmatched accuracy. Smartphone apps provide convenience and speed. Star trail photography teaches fundamental concepts. Each method has its place in your toolkit.
Start with the technique that matches your current equipment and goals. Build skills gradually. As your focal lengths increase and your ambitions grow, advance to more precise methods.
The mount doesn’t care whether you used a $500 polar scope or a free smartphone app. It only cares that the polar axis points at the celestial pole. These methods get you there without the traditional hardware.
Your next clear night is a chance to try one of these techniques. Pick a method, follow the steps, and see how your tracking improves. The stars will stay put in your frame, and your images will show the difference.
Post Comment