5 Essential 3D-Printed Accessories Every Remote Observatory Needs
Stargazing from a remote observatory offers unmatched clarity and detail. But setting up and maintaining such a setup can be challenging without the right tools. Thanks to advancements in 3D printing, hobbyists can now craft custom accessories that improve stability, convenience, and functionality. These DIY solutions are budget-friendly, easy to modify, and perfect for those who love tinkering. Whether you’re a seasoned astronomer or just starting out, integrating 3D printed telescope accessories can transform your observing experience.
3D printed telescope accessories empower amateur astronomers to customize and improve their remote observatories. These practical tools are affordable, easy to make, and can significantly enhance stability, safety, and ease of use during long observation sessions or astrophotography projects.
Why 3D printed accessories are a game changer for remote observatories
Traditional telescope accessories can be expensive or hard to find. Custom parts often require costly manufacturing or complex machining. With 3D printing, you can produce high-quality, tailored accessories right at home. This technology allows hobbyists to quickly iterate designs, adapt to specific equipment, and solve common problems like cable management, focus adjustment, or mounting issues.
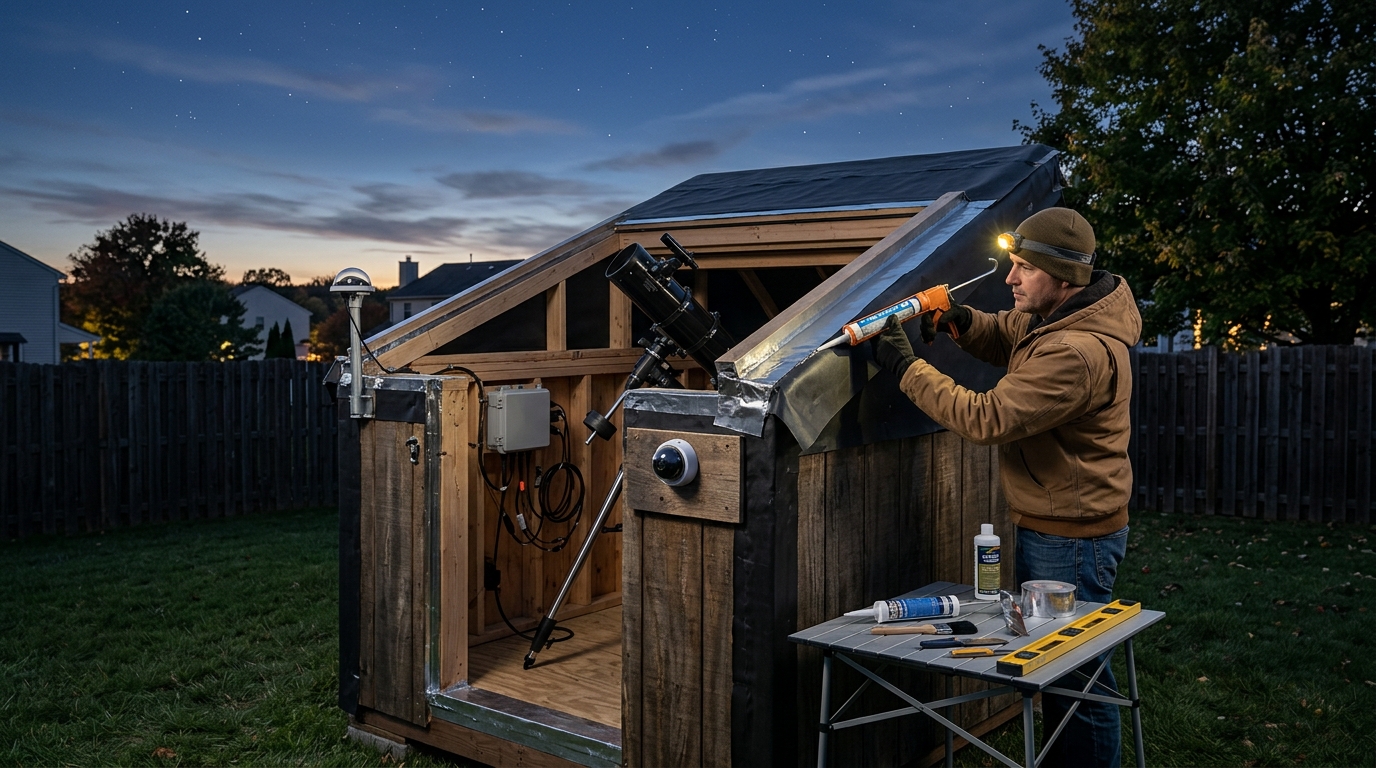
Moreover, 3D printed parts are lightweight yet durable. They can be printed in weather-resistant materials suitable for outdoor use. This means you can create enclosures, mounts, brackets, and adapters that withstand the elements, especially for remote setups where maintenance access is limited.
Essential 3D printed accessories to upgrade your remote setup
Here are some of the most useful 3D printed telescope accessories every remote observatory should consider. These upgrades address common challenges and boost the overall performance of your equipment.
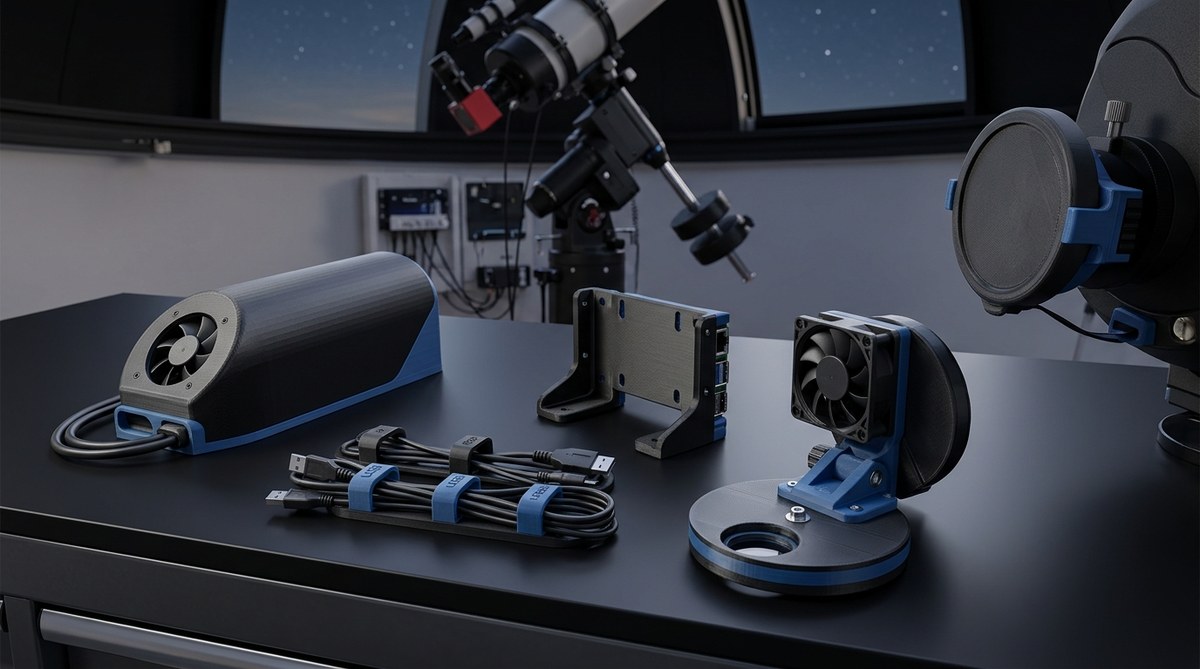
1. Custom cable management solutions
Long observing nights mean cables can get tangled or strained, risking damage to your equipment. Designing and printing cable clips, holders, or wraps tailored to your setup ensures cables stay organized and protected. Simple cable management accessories can be printed in flexible filament to handle outdoor conditions.
2. Focusers and adjustment brackets
Achieving precise focus is vital, especially in astrophotography. 3D printing allows you to create custom focusers or brackets that fit your specific telescope model. You can incorporate fine adjustment mechanisms or locking features to maintain focus during long exposures. Many hobbyists design modular parts that are easy to replace or upgrade over time.
3. Mounting brackets and adapters
Different telescopes and cameras have varying mounting standards. Instead of buying expensive adapters, you can print your own. Custom mounting brackets enable secure attachment of cameras, autoguiders, or sensors. They can be designed to match your equipment’s exact dimensions, reducing wobble and improving tracking accuracy.
4. Dew shields and dust covers
Weatherproofing is critical for remote observatories. Printing dew shields or dust covers tailored to your telescope’s diameter helps prevent moisture buildup and dust intrusion. Using UV-resistant filament ensures longevity, especially if the setup is exposed to sunlight or rain.
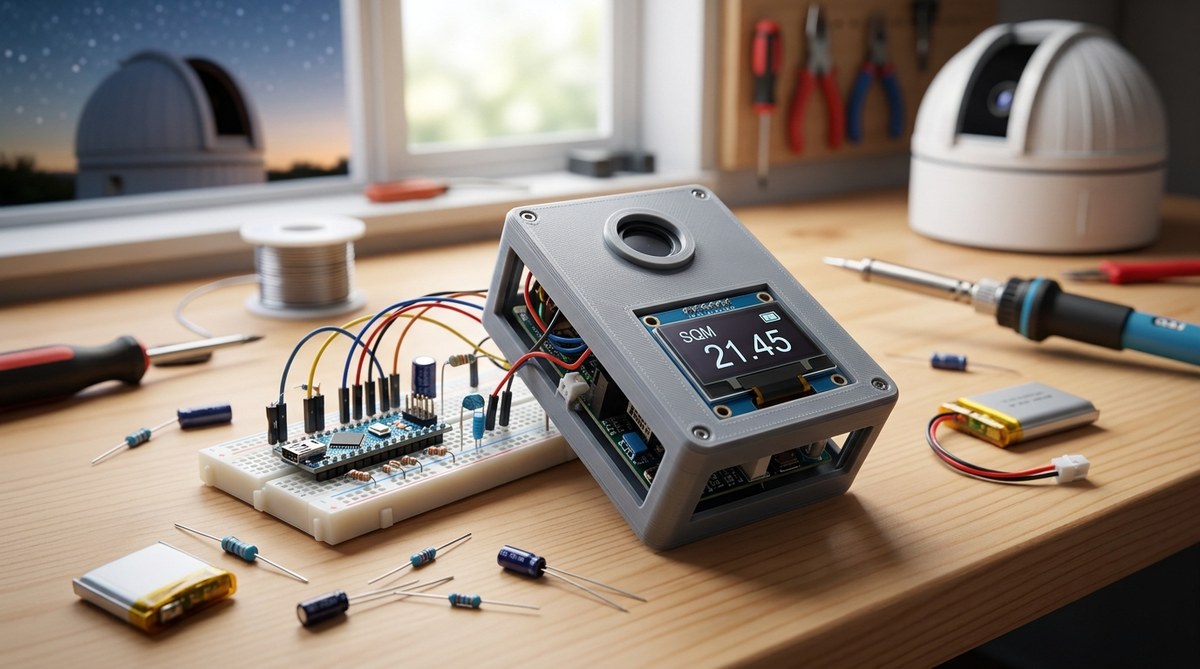
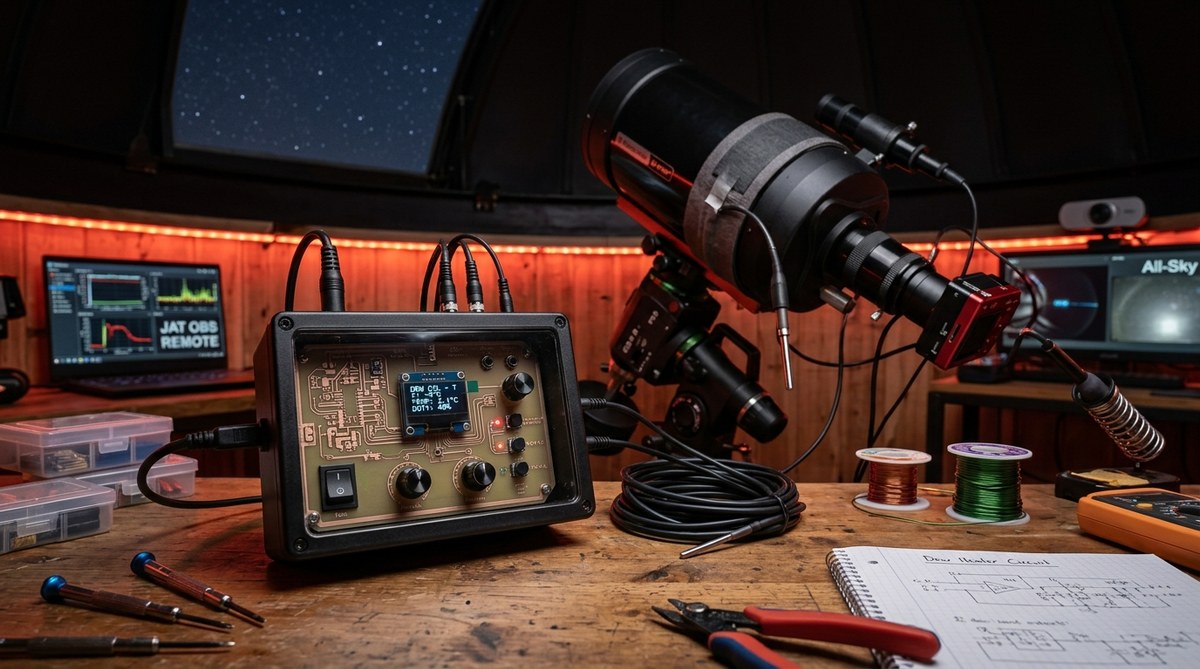
5. Enclosures for electronics
Remote observatories rely on electronics like cameras, filters, and control units. Custom enclosures protect these components from weather, insects, and physical impact. They can include ventilation features and cable ports, all printed to specific sizes and shapes.
Practical process for creating your own 3D printed telescope accessories
Building your accessories involves a few straightforward steps:
-
Identify your needs: Assess which parts are missing or could be improved in your current setup. Think about stability, cable management, or weather protection.
-
Design or find models: Use free CAD software like Fusion 360 or Tinkercad to create custom parts. Alternatively, browse repositories like Thingiverse for existing designs you can modify.
-
Print with suitable materials: Use durable, weather-resistant filaments such as PETG or ABS. Adjust print settings for strength and weatherproofing.
-
Test and refine: Fit your printed parts onto your equipment. Make adjustments to dimensions or design features as needed. Reprint if necessary.
-
Install and use: Attach your accessories, secure cables, and enjoy a more streamlined and stable observing experience.
Tips for successful 3D printing of telescope accessories
- Use high infill percentages for stress points to increase durability.
- Incorporate drainage or ventilation features in enclosures.
- Avoid over-tightening parts to prevent cracking.
- Regularly inspect printed parts for wear or damage, especially after harsh weather.
Common pitfalls and how to avoid them
| Technique | Mistake | How to avoid it |
|---|---|---|
| Designing parts | Overly tight fits | Measure accurately and leave clearance for thermal expansion |
| Material selection | Using brittle filament | Opt for PETG or ABS for outdoor use |
| Printing settings | Insufficient layer adhesion | Increase extrusion temperature and layer height slightly |
| Post-processing | Not sealing parts | Use weatherproof coatings or sealants |
“When designing 3D printed accessories, always consider the environmental conditions your setup will face. Proper material choice and thoughtful design can extend the lifespan of your parts and save time and money in the long run,” advises experienced hobbyist Mark Reynolds.
Final thoughts: making your observatory more adaptable
Integrating 3D printed accessories into your remote observatory opens up a world of customization and efficiency. It allows you to tailor parts to your unique setup, improve stability, and mitigate weather-related issues. Plus, the process of designing and printing fosters a deeper understanding of your equipment. As you experiment with different designs, you’ll find solutions that make your astronomy sessions smoother and more enjoyable.
Start by identifying what improvements can be made in your current setup. Then, explore online communities and repositories for inspiration and ready-made models. With a little patience and creativity, you can craft accessories that truly fit your needs. This hands-on approach makes your remote observatory more resilient, flexible, and ready for the next celestial event.
Post Comment