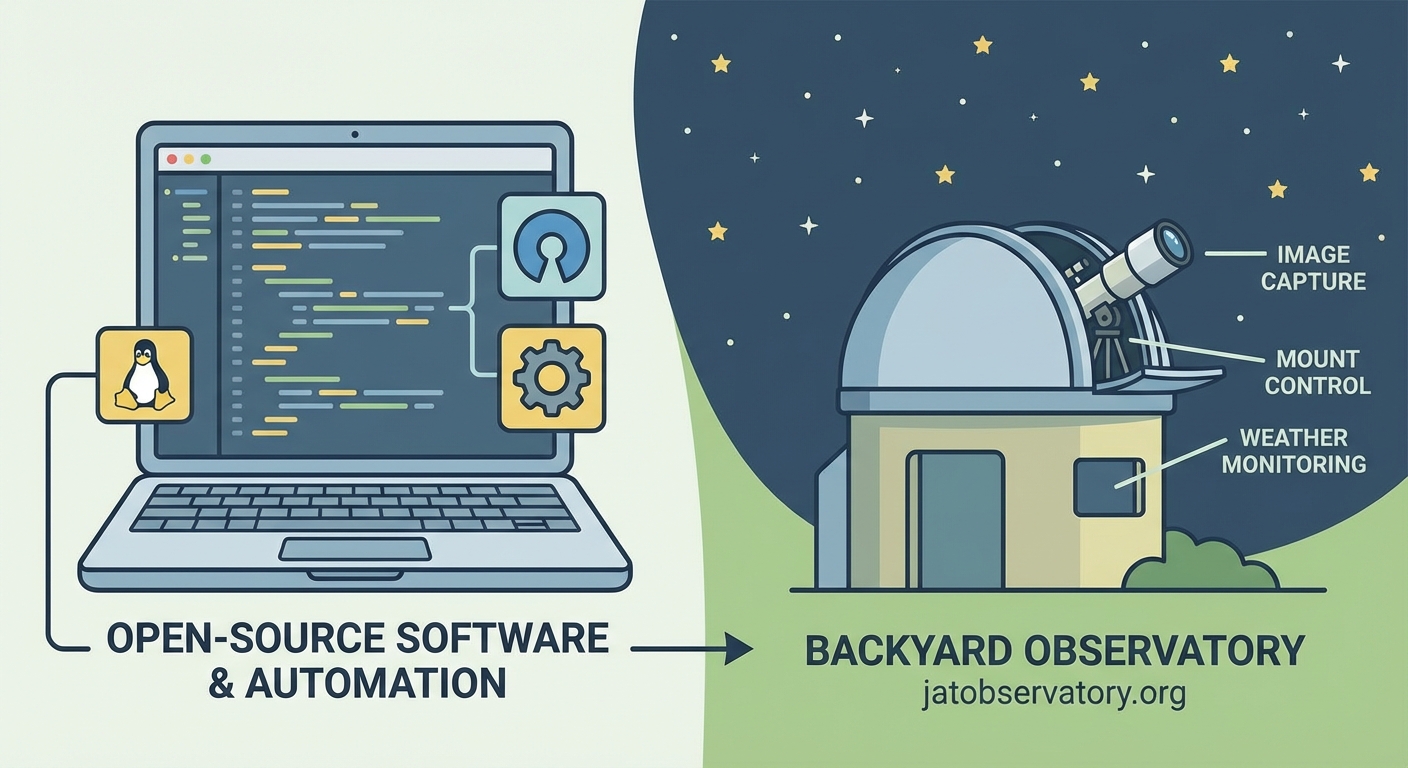
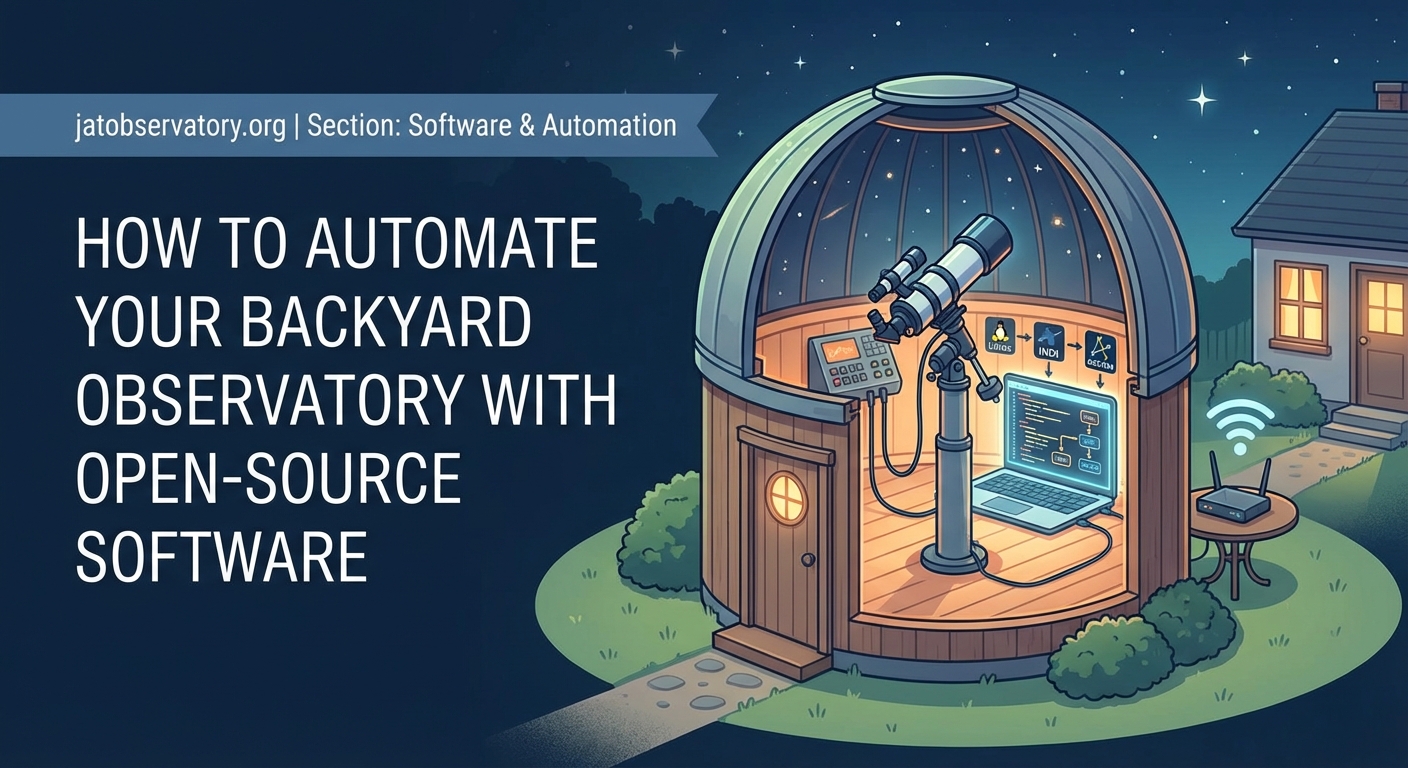
How to Automate Your Backyard Observatory with Open-Source Software
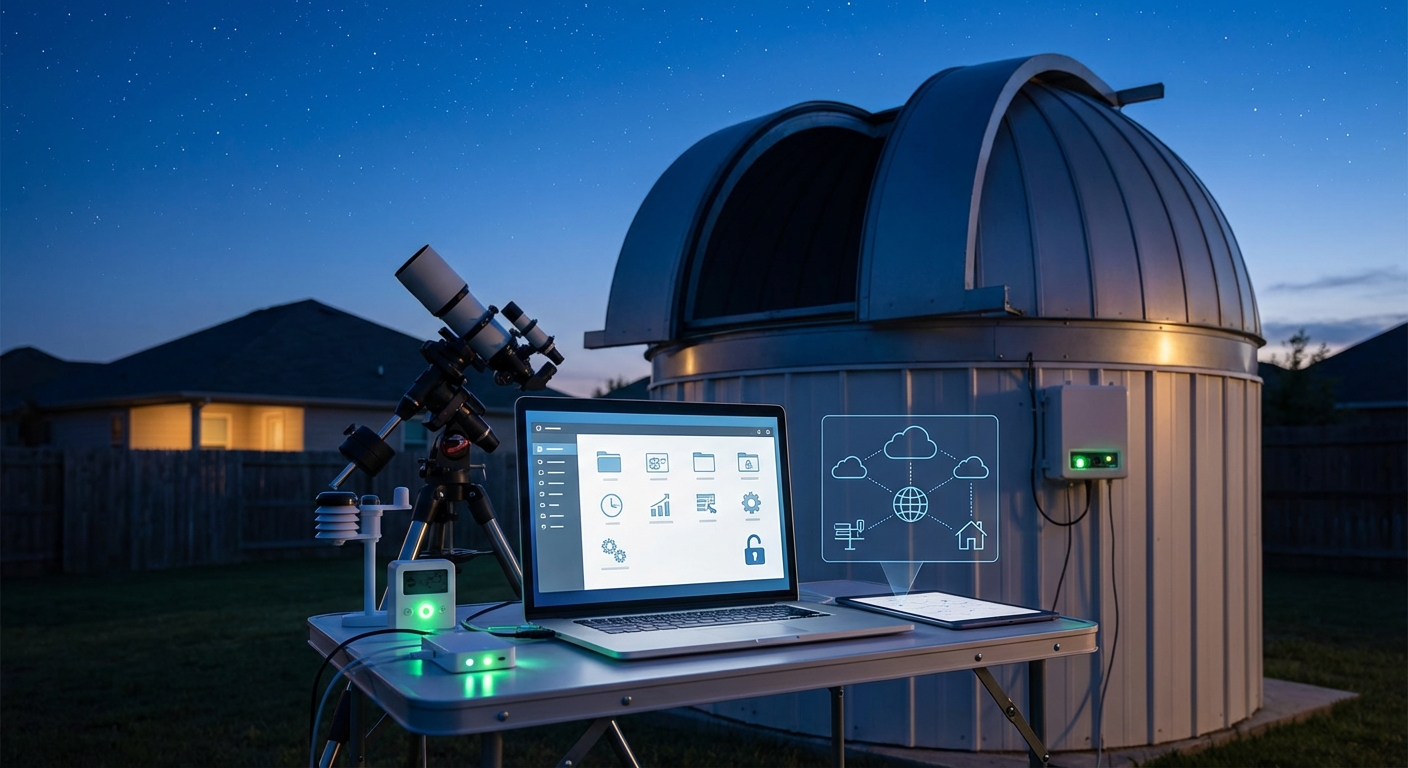
You spent months building your backyard observatory. The dome rolls smoothly. Your mount tracks perfectly. But you’re still running outside every clear night, manually slewing to targets, checking weather, and babysitting image sequences until 3 AM.
There’s a better way. Modern open-source software can automate backyard observatory operations from target selection to image capture, letting you sleep while your equipment does the work.
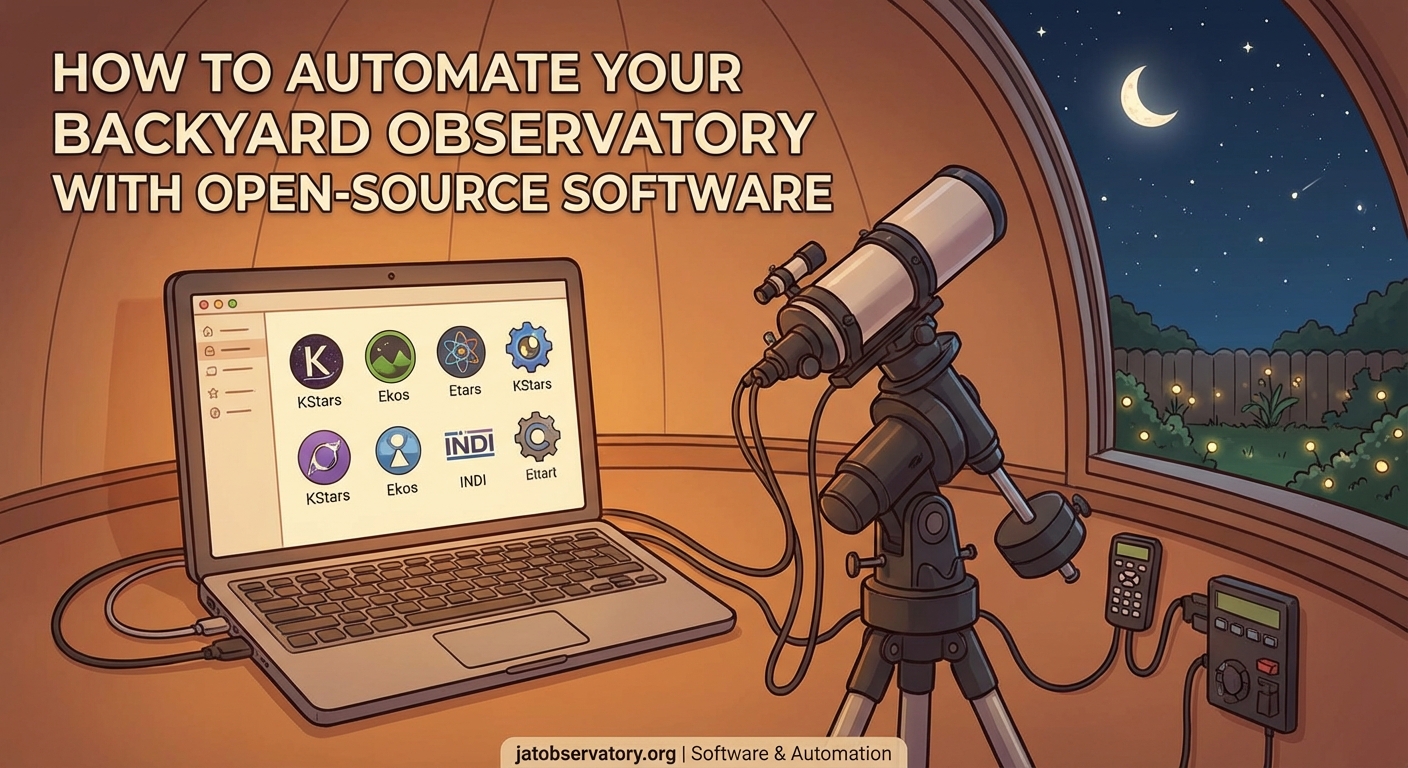
Automating your backyard observatory requires connecting your mount, camera, dome, and weather station through ASCOM or INDI drivers, then using scheduling software like NINA or KStars to plan imaging sessions. Open-source tools can handle everything from weather monitoring to automatic shutdown, letting you capture deep-sky images remotely or while you sleep without expensive commercial packages.
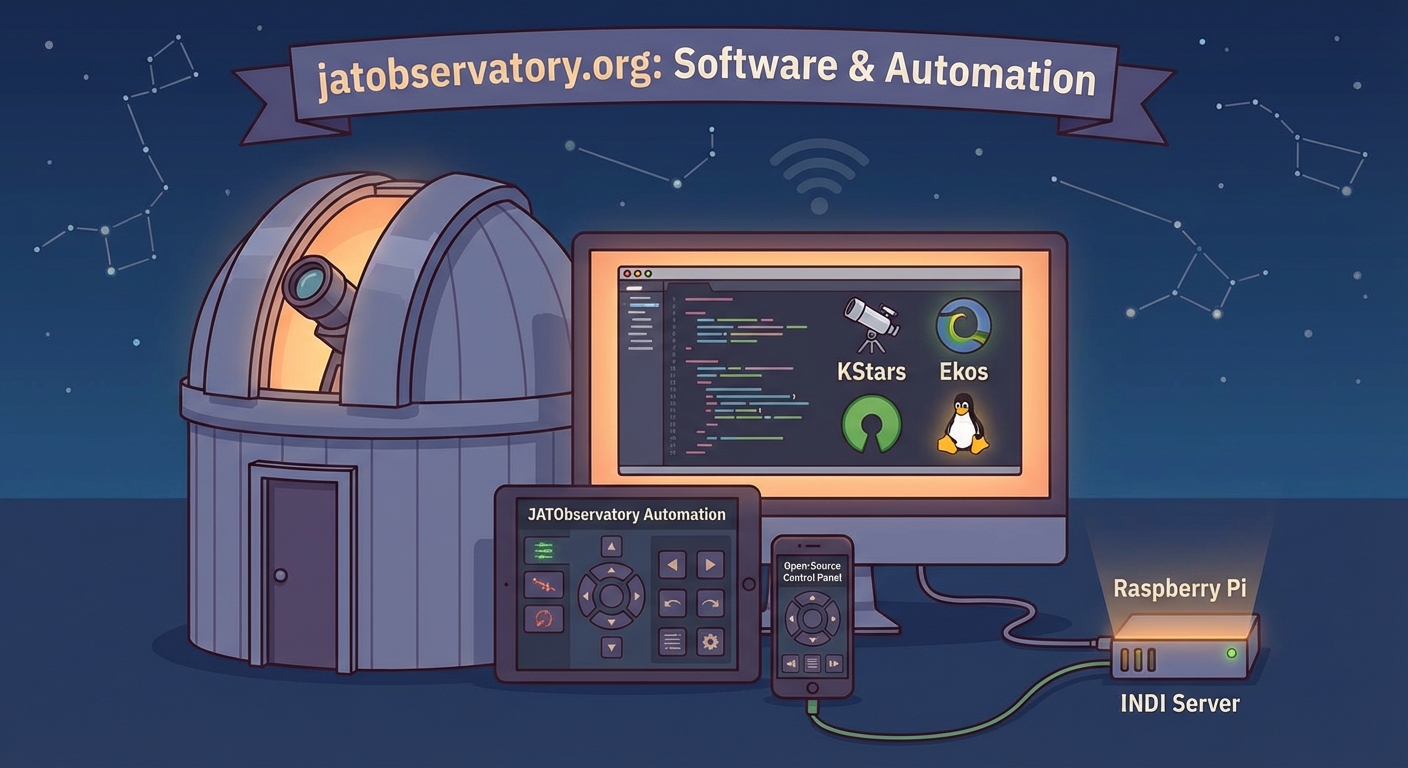
Understanding the Automation Stack
Observatory automation isn’t one program. It’s a collection of software layers working together.
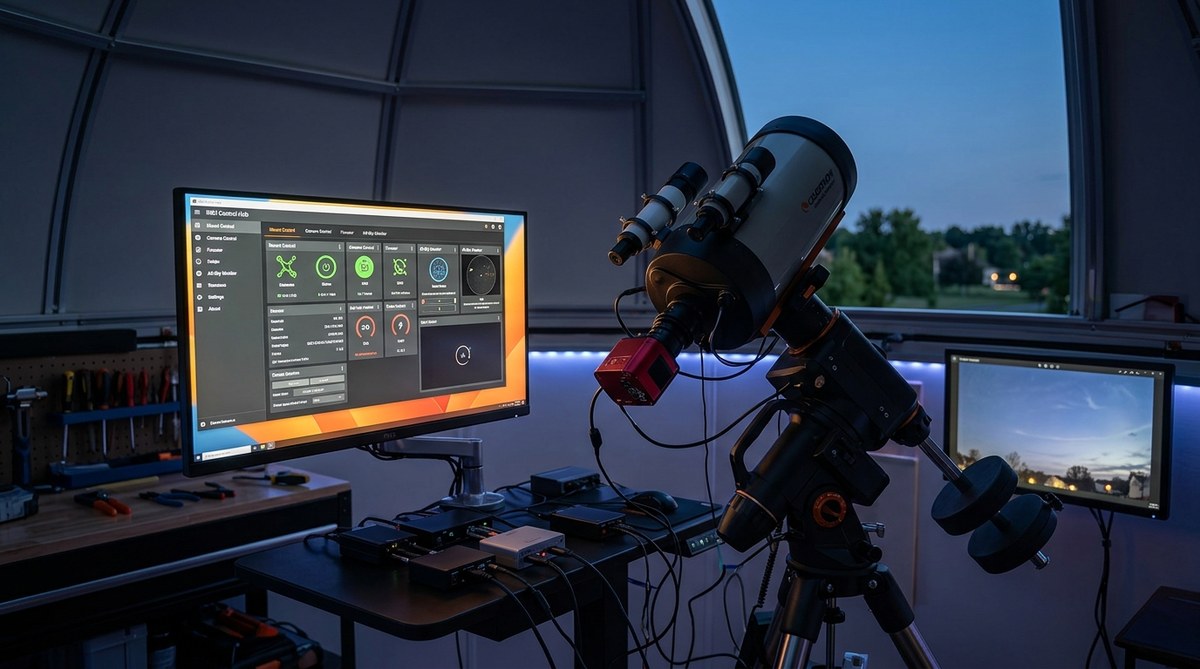
At the bottom sits your hardware: telescope mount, imaging camera, focuser, filter wheel, dome or roof controller, and weather station. Each device needs a driver that speaks a common language.
ASCOM drivers dominate Windows-based setups. Nearly every astronomy device manufacturer provides ASCOM-compatible drivers. The ASCOM platform acts as a universal translator between your hardware and control software.
Linux users rely on INDI (Instrument Neutral Distributed Interface). INDI offers similar device abstraction with network transparency built in. You can control equipment across multiple computers on your local network.
Mac users can run either system through virtualization or use native INDI clients.
Above the driver layer sits your control software. This is where automation happens. Programs like N.I.N.A. (Nighttime Imaging ‘N’ Astronomy), KStars with Ekos, or ACP Scheduler coordinate all your devices to execute imaging plans.
The top layer is your planning interface. You define targets, exposure times, filters, and constraints. The software figures out when conditions are right and executes your plan.
Setting Up Your Hardware Connections
Physical connections matter before software can help.
Your imaging camera connects via USB 3.0 for modern CMOS sensors or USB 2.0 for older CCDs. Use powered hubs if you’re running multiple devices. Voltage drops cause connection failures mid-sequence.
Telescope mounts typically connect through serial ports or USB-to-serial adapters. Older mounts use RS-232 cables. Newer models offer Ethernet connections, which work better for permanent installations.
Focusers and filter wheels usually daisy-chain through your camera or connect independently via USB. Check your camera manufacturer’s documentation for supported accessories.
Dome controllers vary wildly. Some use serial connections. Others need dedicated control boxes with Ethernet interfaces. Budget extra time for dome automation because every manufacturer does it differently.
Weather stations need clear sky views. Mount your sensor away from heat sources and obstructions. Most connect via USB or wireless protocols. The Boltwood Cloud Sensor and AAG CloudWatcher are popular open-source friendly options.
Power management is critical. Use network-controlled PDUs (power distribution units) or smart switches. Your automation software can power-cycle stuck equipment or perform emergency shutdowns.
Choosing Your Control Software
N.I.N.A. dominates Windows automation for good reason. It’s free, actively developed, and offers a plugin architecture for extending functionality.
The interface uses a sequencer model. You build instruction sets: slew here, autofocus, take 20 x 300-second exposures, move to next target. Templates save time for recurring tasks.
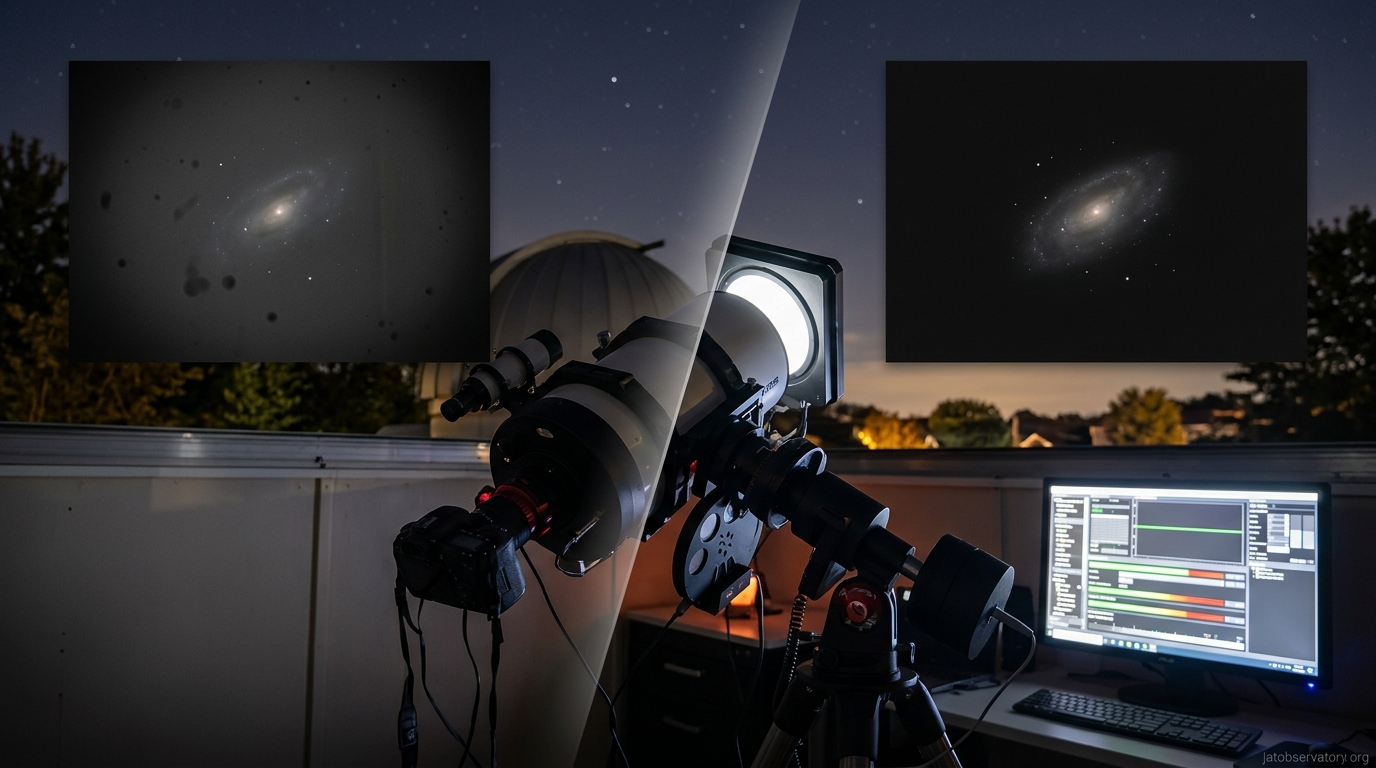
N.I.N.A. includes plate solving through local or cloud services. Plate solving photographs your current field, matches stars against catalogs, and calculates precise telescope pointing. This eliminates manual alignment on every target.
The Advanced Sequencer lets you add conditional logic. Skip targets below 30 degrees altitude. Abort if clouds roll in. Switch to narrowband filters when the moon rises.
KStars with Ekos suits Linux users. KStars is a planetarium program. Ekos is its astrophotography module. Together they provide scheduling, capture, focusing, guiding, and alignment.
Ekos uses INDI drivers natively. Setup is straightforward on Linux. The Scheduler module plans multi-target sessions based on altitude, moon phase, and twilight constraints.
The Ekos interface feels more technical than N.I.N.A. but offers powerful scripting through D-Bus. Advanced users can write custom automation in Python or bash.
ACP Observatory Control costs money but deserves mention. It pioneered many automation concepts now appearing in free tools. If you’re running a serious remote observatory and need bulletproof reliability, ACP remains the standard.
Building Your First Automated Sequence
Start simple. Automate one target before attempting all-night sessions.
-
Connect all devices through your chosen software and verify control. Slew the mount manually. Take a test exposure. Move the focuser. Confirm everything responds.
-
Set up plate solving. Download the required star catalogs. N.I.N.A. walks you through this. Test solving on a bright star field. Solving should complete in under 30 seconds.
-
Create a basic sequence: slew to target, plate solve and sync, autofocus, take exposures, download images. Run this sequence manually while monitoring.
-
Add error handling. What happens if focus fails? If clouds appear? If your hard drive fills up? Configure timeouts and retry attempts.
-
Test your sequence on multiple targets. Different sky positions reveal pointing model weaknesses and meridian flip issues.
Your first successful automated sequence feels magical. The mount slews. The camera captures. The focuser adjusts. You’re just watching.
Weather Monitoring and Safety
Never automate without weather protection.
Your software needs real-time weather data to make shutdown decisions. Cloud sensors, rain detectors, and wind monitors feed into your control program.
Set conservative limits initially. Close up if clouds exceed 20 degrees warmer than ambient. Shut down in any precipitation. Stop operations above 25 mph winds.
The most expensive equipment repair I’ve seen came from an amateur who disabled weather monitoring because “false alarms” interrupted imaging sessions. A sudden storm destroyed $15,000 of gear. Weather safety isn’t optional.
Create a shutdown sequence that executes automatically. Park the telescope. Close filter wheels. Warm the camera to prevent condensation. Close the dome or roof. Power down non-essential equipment.
Test your emergency shutdown monthly. Simulate bad weather. Verify every step completes correctly. Check that your dome actually closes and latches.
Some observatories use redundant weather systems. Two independent sensors must agree before shutdown. This prevents false positives but adds complexity.
Advanced Automation Features
Once basic sequences work reliably, add sophistication.
Meridian flips happen when your telescope crosses the meridian and must physically flip to continue tracking. Automate this transition. Your software should pause imaging, flip the mount, re-center the target, autofocus, and resume capturing without manual intervention.
Dithering improves image quality by shifting the target slightly between exposures. This eliminates hot pixels and walking noise patterns. Configure 3-5 pixel dithers between frames.
Autofocus routines should run periodically. Temperature changes throughout the night shift focus. Run autofocus every hour or after 10-degree temperature changes.
Flat field calibration frames need consistent illumination. Some observatories use automated flat panels that deploy at dawn. Others use the twilight sky with exposure automation that adjusts for changing brightness.
Multi-target scheduling optimizes your night. The software calculates which targets are best positioned, accounts for moon avoidance, and maximizes imaging time. You wake up to data from five different objects.
Common Automation Mistakes
| Mistake | Why It Happens | Better Approach |
|---|---|---|
| No backup power | Assumes grid stability | UPS for computer and mount, graceful shutdown script |
| Weak WiFi to observatory | Distance or interference | Run Ethernet cable or use point-to-point wireless bridge |
| Ignoring cable management | Gradual equipment additions | Use cable carriers, plan for rotation and movement |
| Overly aggressive schedules | Wanting maximum data | Leave buffer time, prioritize fewer targets |
| No log monitoring | Trust that automation works | Review logs weekly, watch for degrading performance |
| Skipping simulator testing | Eager to use real equipment | Test sequences in simulator mode first |
The weakest link in automation is usually something physical. A cable snags during rotation. Dew forms on corrector plates. A connector works loose from vibration.
Visit your observatory weekly during daylight. Check for wear. Tighten connections. Clean optics. Automation doesn’t eliminate maintenance.
Remote Operations and Monitoring
Full automation enables remote observing from your house or across the country.
VNC or Remote Desktop gives you full control of your observatory computer. This works but uses significant bandwidth and feels laggy.
Web-based interfaces work better. N.I.N.A. offers a web dashboard showing current status, recent images, and basic controls. KStars provides similar capabilities through its web manager.
Set up alerts for critical events. Email or text notifications when imaging starts, when sequences complete, or when weather triggers shutdown. Don’t spam yourself, but know what’s happening.
Cloud storage for images lets you review data without VPN connections. Sync completed sequences to Dropbox or Google Drive automatically. Check your captures from your phone.
Security cameras inside and outside your observatory provide peace of mind. Verify the dome opened. Check for intruders or animals. Confirm shutdown procedures completed.
Some amateurs stream their observatory operations on YouTube or Twitch. This creates accountability and shares the hobby, but consider privacy and security implications.
Maintaining Your Automated System
Software updates break things. Hardware drifts out of alignment. Automation requires ongoing attention.
Keep a change log. Document every software update, configuration change, or hardware adjustment. When something stops working, you’ll know what changed.
Backup your configuration files monthly. Export your sequences, equipment profiles, and settings. Store backups off-site. Rebuilding from scratch after a hard drive failure wastes weeks.
Monitor system performance. Track focus positions over time. Review pointing errors. Watch hard drive space. Degrading performance often signals developing problems.
Update software during bad weather or moon-bright periods. Never update the night before a planned imaging session. Test thoroughly after updates.
Join online communities for your control software. The N.I.N.A. Discord and INDI forums help troubleshoot issues. Other users have solved your problem before.
Getting Started This Week
You don’t need everything automated immediately.
Start with camera and mount control. Master manual sequences before adding automation. Learn your software’s capabilities and limitations.
Add autofocus next. This single feature dramatically improves results and reduces frustration. Spend time tuning your focus routine for your specific equipment.
Incorporate plate solving third. Accurate pointing eliminates the “is my target actually centered” anxiety. You’ll trust your equipment more.
Weather monitoring and automated shutdown come fourth. Don’t operate remotely without reliable safety systems.
Finally, add scheduling and multi-target sessions. This is where automation really shines, but it builds on everything else working reliably.
Making Your Observatory Work for You
Automation transforms astrophotography from an endurance test into a productive hobby.
You’ll capture more data in one automated night than a week of manual sessions. Your images will show better consistency because the software doesn’t get tired or cold.
Start small. Test thoroughly. Build complexity gradually. Your automated observatory will reward you with stunning images captured while you sleep.
The hardware you already own can do more than you think. The software costs nothing. The learning curve is real but manageable. Your next clear night could be your first automated session.
Post Comment