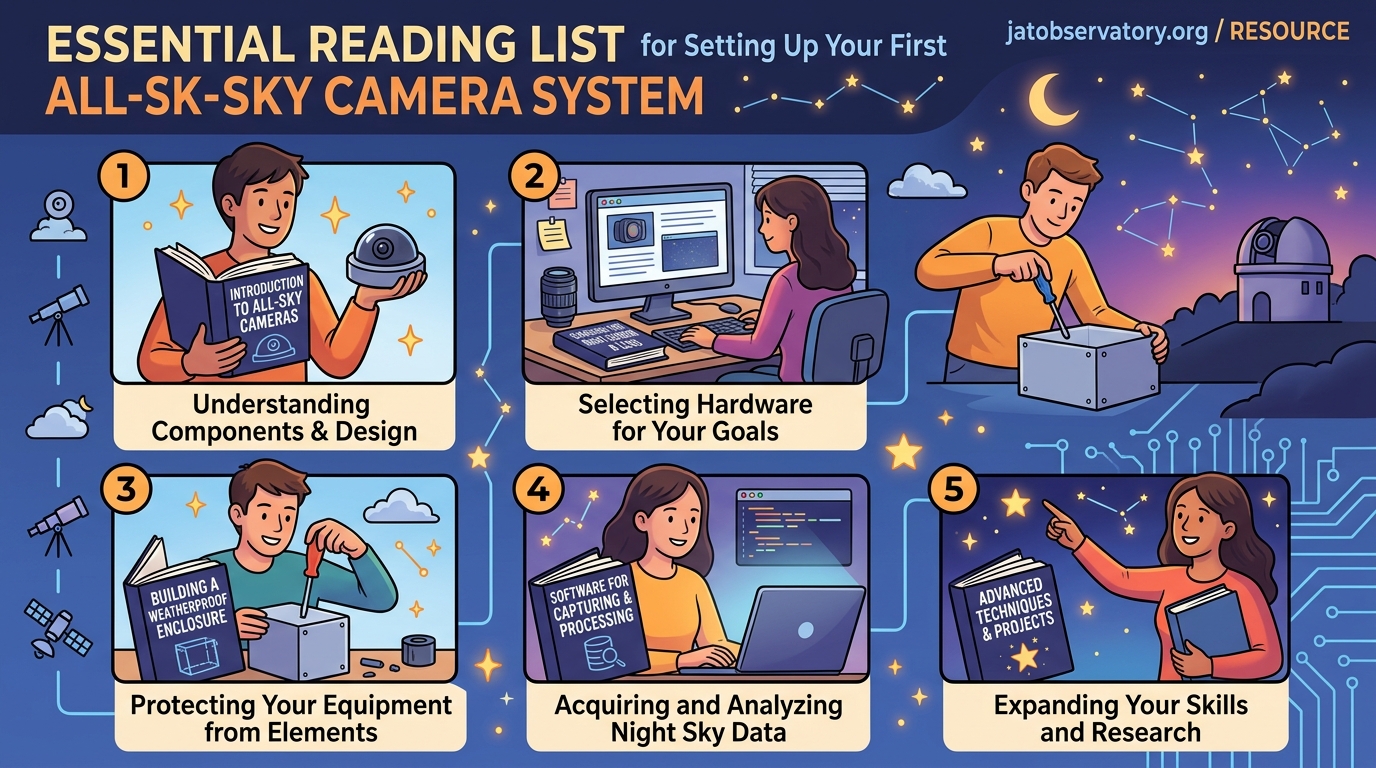
Essential Reading List for Setting Up Your First All-Sky Camera System
Setting up your first all sky camera system feels like opening a window to the universe that never closes. While most backyard astronomers sleep, your camera keeps watch, capturing meteors you’d otherwise miss, recording aurora displays from thousands of miles away, and documenting the slow dance of stars across the dome of night.
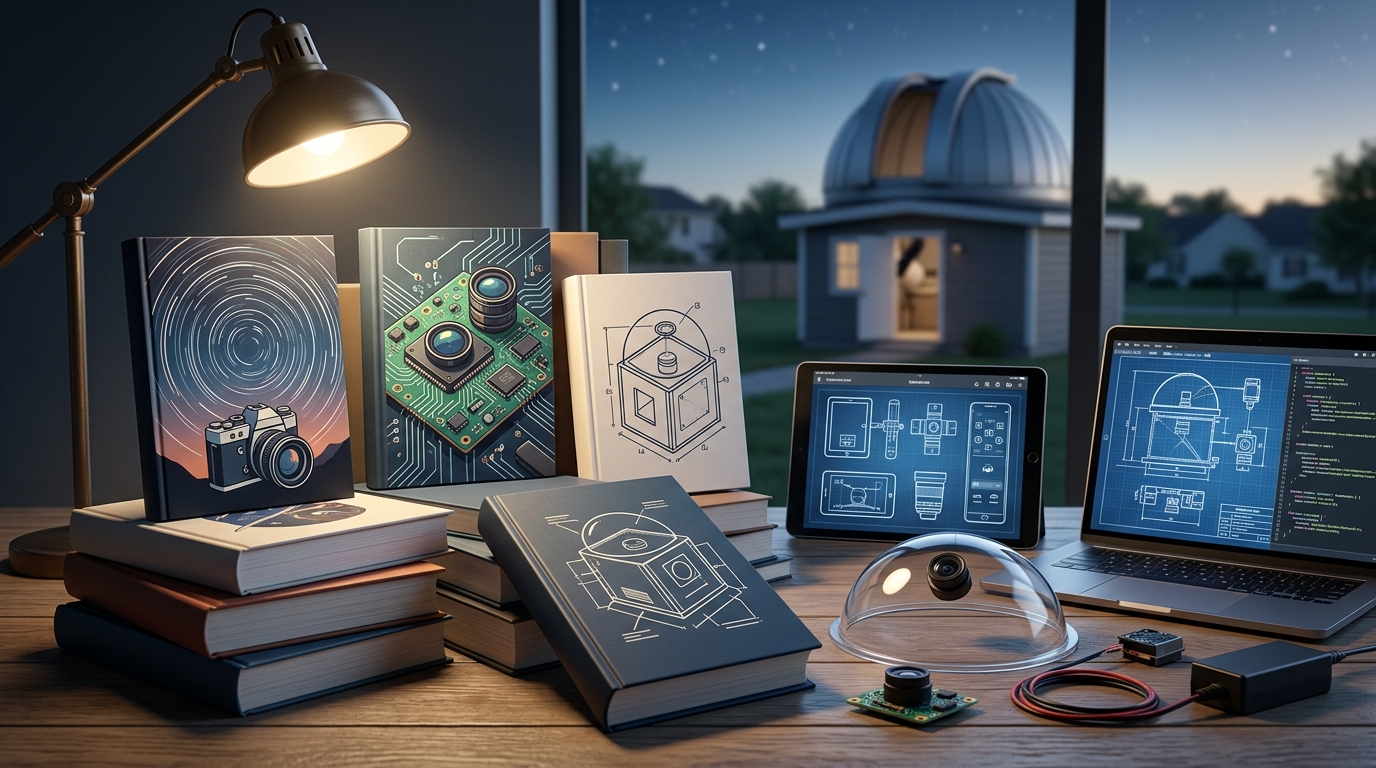
An all sky camera setup requires four core components: a camera with good low light performance, a fisheye lens for 180 degree coverage, weatherproof housing, and automation software. Most systems cost between $200 and $800 depending on whether you build or buy. Proper installation includes site selection away from obstructions, secure mounting, power management, and network connectivity for remote monitoring. Once operational, your system runs autonomously to capture celestial events.
Understanding What an All Sky Camera Actually Does
An all sky camera captures the entire visible hemisphere above your location in a single frame. Think of it as a security camera pointed at the sky instead of your driveway.
The fisheye lens creates a circular image showing horizon to horizon coverage. This wide field makes it perfect for meteor detection because you don’t need to predict where a shooting star will appear.
These systems run automatically. They start recording at dusk, capture frames throughout the night, and stop at dawn. Software analyzes the images to detect motion, changes in brightness, or specific events you’ve programmed it to watch for.
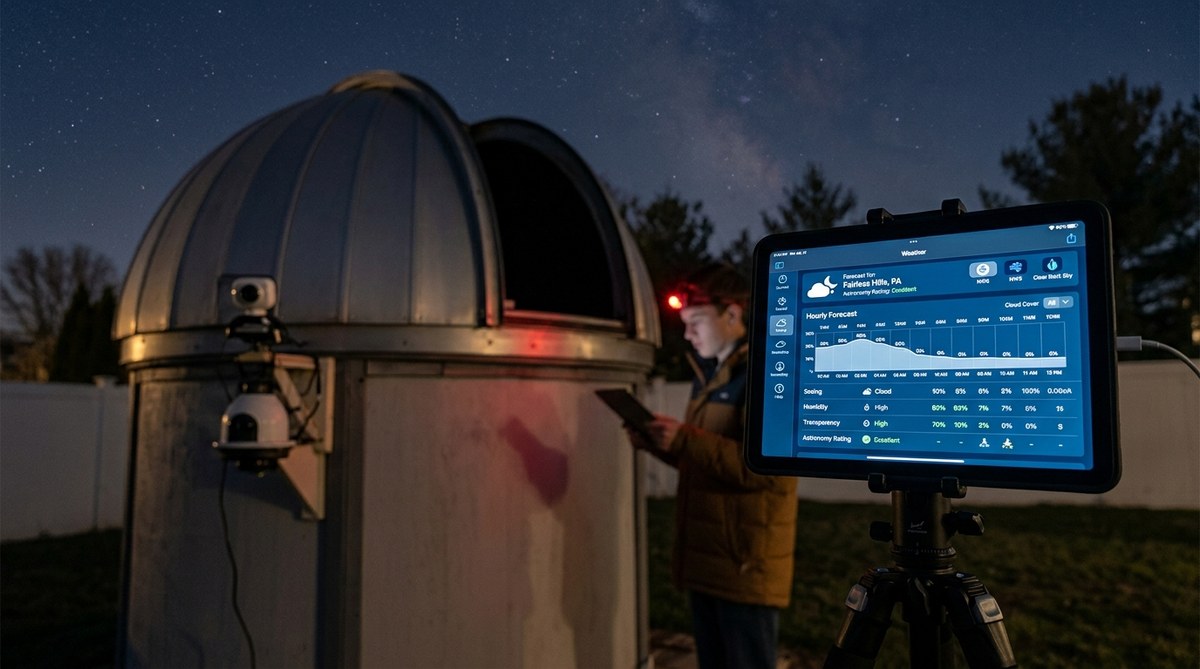
Many observers use all sky cameras to monitor weather conditions before opening expensive telescope equipment. Others focus on building an all sky camera system to monitor celestial patterns year round, tracking everything from planetary positions to unusual atmospheric phenomena.
Choosing Your Camera Hardware
Your camera choice determines image quality, sensitivity, and how much you’ll spend.
Security cameras with good low light performance make excellent starter options. Models like the Dahua IPC-EBW81200 or Hikvision DS-2CD2942F offer decent sensitivity without breaking the bank. These typically run $150 to $300.
Dedicated astronomy cameras provide better sensitivity but cost more. ZWO ASI cameras or QHY models designed for all sky work deliver superior star detection. Budget $400 to $600 for these options.
Raspberry Pi builds using the HQ camera module offer the cheapest entry point at around $100 total. You sacrifice some sensitivity but gain complete control over the system. The DIY all sky camera setup for under $200 approach works well for experimenters.
“Start with what you can afford and upgrade later. A working $200 system that captures data every night beats a $2000 system you haven’t finished building.” – Tom, amateur astronomer with 8 years of all sky monitoring experience
Key specifications to check include sensor size, minimum illumination rating, and whether the camera supports external triggering or continuous recording modes.
Selecting the Right Fisheye Lens
The lens matters as much as the camera body. You need true 180 degree or wider coverage to capture the full sky dome.
For cameras with CS mount, the Fujinon FE185C086HA-1 delivers excellent edge to edge sharpness. It costs around $250 but the optical quality justifies the price.
Budget alternatives include the 1.7mm fisheye lenses sold for security cameras. These run $40 to $80 and work adequately for meteor detection, though star images near the horizon get softer.
M12 mount options exist for Raspberry Pi and other small sensors. The 1.8mm or 2.1mm focal lengths provide sufficient sky coverage. Expect to pay $20 to $50.
Test your lens and camera combination before permanent installation. Point it at a building corner or doorway to verify you’re getting true 180 degree coverage. Some “fisheye” lenses only deliver 150 degrees, leaving blind spots at the horizon.
The comparing wide angle lenses for night sky webcam installations resource covers specific models and their performance characteristics.
Creating Weatherproof Housing
Your camera needs protection from rain, dew, dust, and temperature swings. Housing design makes or breaks system reliability.
Clear acrylic domes work well for top mounted installations. A 6 to 8 inch diameter hemisphere provides room for the camera while maintaining optical clarity. Source these from security camera suppliers or plastics vendors.
The camera mounts inside looking up through the dome. Leave a small air gap between lens and dome surface to prevent internal reflections. Some builders add a thin coating of Rain-X to the exterior to help water bead off.
Heating elements prevent dew formation. Small resistive heaters or heat tape wrapped around the dome edge, controlled by a thermostat, keep surfaces above dew point. Budget 5 to 15 watts for heating.
Ventilation matters for humidity control. Small vent holes with desiccant packs inside the housing reduce moisture without exposing electronics to rain.
PVC pipe housings offer another approach. A 4 inch diameter PVC tube with end caps creates a waterproof cylinder. Mount the camera inside and seal a clear acrylic window at one end. This design costs less but provides narrower field coverage unless you use an extremely wide lens.
For detailed construction techniques, check out building a weatherproof enclosure for remote observatory equipment on a budget.
Site Selection and Mounting
Where you install your all sky camera affects what you can capture and how long the system lasts.
Choose locations with minimal obstructions. Trees, buildings, and power lines block portions of the sky. A completely clear horizon in all directions provides the best coverage.
Roof mounting works well if you can safely access the location and run power and network cables. Flat roofs simplify installation. Pitched roofs need secure brackets that won’t damage shingles.
Pole mounting at ground level offers easier maintenance access. A 6 to 10 foot pole gets the camera above nearby obstacles. Bury the pole base in concrete or use a heavy weighted base for stability.
The camera should point straight up, perpendicular to the ground. Use a bubble level during installation to ensure proper alignment. Even small tilts shift the horizon circle and complicate image analysis.
Consider light pollution from nearby sources. Streetlights, porch lights, and security lights create bright spots that reduce contrast. While you can’t eliminate all light pollution, positioning the camera to minimize direct illumination helps.
Wind resistance matters for pole mounted systems. Mounting solutions that keep your remote cameras stable and aligned covers techniques for reducing vibration and movement.
Power and Network Infrastructure
Reliable power and connectivity keep your system running without constant intervention.
Power Options
Hardwired AC power from your home provides the simplest solution. Run outdoor rated cable in conduit to the camera location. Include a weatherproof junction box and GFIP outlet at the mounting point.
Power over Ethernet (PoE) cameras simplify installation by carrying both power and data over a single cable. PoE injectors or switches supply 15 to 30 watts, enough for most cameras plus heating elements.
Solar power works for remote locations without AC access. A 50 watt panel with a 12V battery bank and charge controller runs a typical all sky camera system. You’ll need to size the battery for several cloudy days of operation.
Uninterruptible power supplies (UPS) protect against brief outages. Even a small UPS providing 30 minutes of backup prevents data loss during storms. More robust solutions are covered in 5 essential power management solutions for unattended remote observatories.
Network Connectivity
Wired Ethernet connections offer the most reliable data transfer. Cat6 cable supports gigabit speeds over 300 feet from your router. Use outdoor rated cable for exposed runs.
WiFi works if signal strength at the camera location stays strong. Test with your phone before committing to wireless. Weather can affect signal quality, so wired connections remain preferable for critical installations.
For detailed networking guidance, see what network setup do you actually need for remote sky monitoring.
Software Configuration and Automation
The right software transforms your camera from a simple recorder into an intelligent monitoring system.
Recording Software Options
UFO Capture remains popular for meteor detection. The software analyzes each frame for moving objects and saves video clips when it detects motion. It runs on Windows and supports most camera types.
AllSkEye provides similar functionality with a more modern interface. It handles multiple cameras, generates sky quality measurements, and uploads images to websites automatically.
Raspberry Pi users often run custom Python scripts or tools like AllSky Camera software. These open source options provide complete control over image capture, processing, and storage.
Automation Steps
-
Configure the camera to start recording 30 minutes before sunset. This captures the transition from day to night and helps verify system operation before full darkness.
-
Set exposure times based on your goals. Meteor detection needs 5 to 15 second exposures to capture trail motion. Star trail imaging uses 30 to 60 seconds. Aurora monitoring benefits from 2 to 5 second exposures to freeze rapid movement.
-
Enable motion detection with appropriate sensitivity thresholds. Too sensitive triggers on clouds and aircraft. Too low misses faint meteors. Test and adjust over several nights.
-
Schedule automatic shutdown 30 minutes after sunrise. This saves disk space and reduces wear on the camera.
-
Set up automated file management to archive or delete old images. A typical all sky camera generates 10 to 50 GB per night depending on resolution and compression settings.
The how to automate your backyard observatory with open source software guide covers additional automation techniques applicable to all sky systems.
Image Processing and Analysis
Raw all sky images need processing to extract useful information and create compelling visualizations.
Basic processing includes dark frame subtraction to remove sensor noise, flat field correction for even illumination, and stretching to enhance faint stars. Most astronomy image processing software handles these steps.
Meteor detection software automatically identifies trails and catalogs them by time, brightness, and trajectory. You can submit confirmed meteors to databases maintained by organizations like the International Meteor Organization.
Time lapse creation shows the motion of stars, planets, and weather systems. Compile individual frames into video at 24 to 30 frames per second. A full night condenses into a minute or two of footage.
Some observers overlay constellation lines or celestial coordinate grids on their images. This helps viewers identify what they’re seeing and adds educational value.
| Processing Task | Software Options | Difficulty Level |
|---|---|---|
| Dark/Flat Calibration | PixInsight, Siril, GIMP | Moderate |
| Meteor Detection | UFO Analyzer, CAMS | Easy |
| Time Lapse Creation | FFmpeg, VirtualDub, Photoshop | Easy |
| Astrometric Calibration | Astrometry.net, PinPoint | Advanced |
| Cloud Coverage Analysis | Custom scripts, AllSky software | Moderate |
Common Setup Mistakes and How to Avoid Them
Even experienced observers make these errors when setting up their first all sky camera.
Insufficient heating causes dew formation. Water droplets on the dome scatter light and blur images. Always include heating with thermostat control. Test the system on humid nights before relying on it for important observations.
Poor cable management leads to water infiltration. Seal all cable entry points with silicone or cable glands. Create drip loops so water runs off before reaching connections.
Inadequate mounting allows wind vibration. Star trails should appear smooth, not jagged. Use rigid mounting hardware and guy wires for tall poles. Secure the camera firmly inside its housing.
Wrong exposure settings miss targets. Bright settings wash out stars. Dark settings miss faint meteors. Start with manufacturer recommendations and adjust based on your sky conditions and goals.
Neglecting regular maintenance degrades performance. Clean the dome monthly. Check heating elements before winter. Verify hard drive space weekly. Update software when new versions fix bugs or add features.
Capturing Your First Night of Data
Walk through these steps for your initial imaging session.
-
Power on the system two hours before sunset to verify all components work.
-
Check camera focus by examining star images near the zenith. Adjust if needed.
-
Confirm heating elements activate as temperature drops and humidity rises.
-
Verify network connectivity by accessing the camera feed remotely from inside your home.
-
Monitor the first hour of operation to catch any unexpected issues.
-
Review captured images the next morning to assess image quality, coverage, and any problems that occurred.
-
Make adjustments to exposure, sensitivity, or positioning based on the results.
-
Let the system run for a week to establish baseline performance before making major changes.
Your first successful captures might include unexpected meteor shower captures or other phenomena you weren’t specifically watching for. That’s the beauty of continuous monitoring.
Expanding Your System Over Time
Many observers start with a basic setup and add capabilities as they gain experience.
Multiple cameras provide overlapping coverage for triangulating meteor heights and trajectories. Coordinating with other observers creates a network for tracking fireballs across regions.
Specialized filters enhance specific observations. Infrared pass filters reduce light pollution effects. Narrowband filters isolate emission lines from aurora or airglow.
Automated weather stations integrated with your camera system provide context for observations. Temperature, humidity, wind speed, and cloud sensors help explain image variations.
Remote access capabilities let you check the system from anywhere. The complete guide to remote desktop solutions for observatory control explains options for monitoring and controlling equipment away from home.
Some advanced users develop custom analysis pipelines. 7 essential automation scripts every remote observatory operator needs provides starting points for automated processing and reporting.
Getting Support and Sharing Results
You’re not alone in this endeavor. Active communities support all sky camera operators worldwide.
Online forums like Cloudy Nights and the ALLSKY mailing list connect operators who share tips, troubleshoot problems, and coordinate observations. Experienced members often help newcomers debug setup issues.
Regional meteor networks welcome new stations. Groups like the American Meteor Society and the International Meteor Organization provide standards, software, and databases for contributing observations.
Social media groups focused on astrophotography appreciate all sky content. Time lapses of aurora, meteor showers, or simply the wheeling stars find engaged audiences.
Publishing your images to websites like Flickr or dedicated all sky portals documents your local sky conditions over time. These archives become valuable for researchers studying light pollution trends, meteor activity, and atmospheric phenomena.
Consider connecting with online astronomy forums and communities for backyard observers to find others running similar systems in your area.
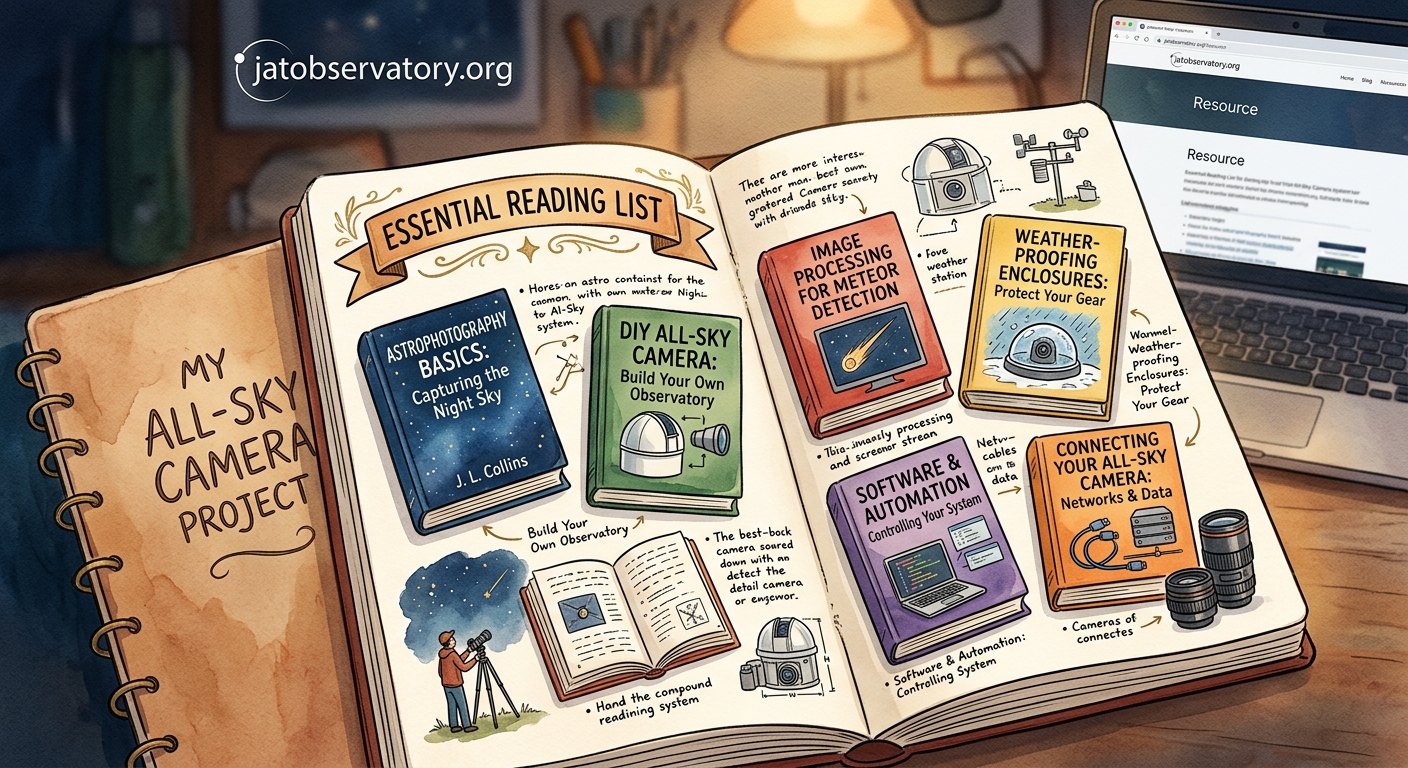
Resources for Continued Learning
Books, websites, and software documentation help you master all sky imaging techniques.
Technical manuals for your specific camera model contain specifications and troubleshooting guides. Read these thoroughly before installation.
Academic papers on meteor detection algorithms and atmospheric optics provide theoretical background. While not essential for basic operation, understanding the science improves your ability to interpret observations.
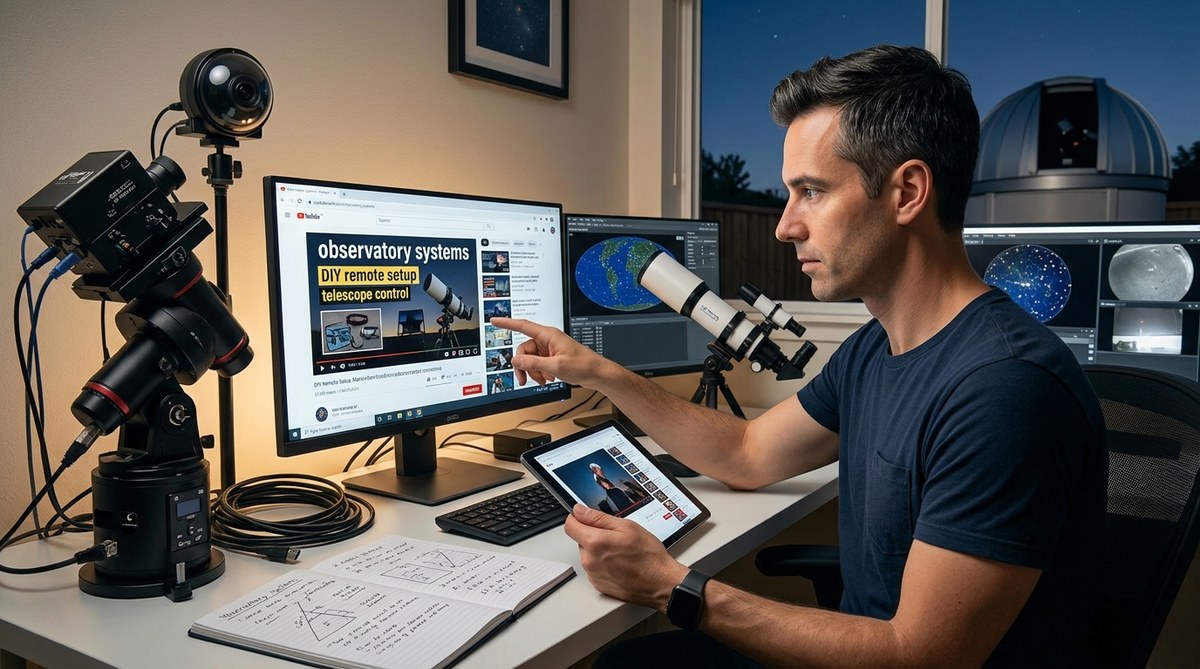
YouTube channels from amateur astronomers document their builds and share lessons learned. Watching others work through problems helps you avoid similar issues.
Free sky mapping software every remote observatory owner should know about includes tools useful for planning observations and analyzing results.
When Your Camera Starts Recording the Universe
Your all sky camera setup represents more than assembled hardware and configured software. It’s a commitment to watching the sky with tireless attention, capturing moments that happen whether anyone looks up or not.
The first morning you review footage and find a bright meteor you never saw, you’ll understand why observers maintain these systems. Each clear night adds to your archive. Patterns emerge. Rare events get documented. Your backyard becomes a scientific instrument.
Start simple. Get your basic system working reliably before adding complexity. Learn from each night’s data. Adjust your approach based on what you discover. The sky has been putting on shows for billions of years. Now you have a front row seat that never closes.
Post Comment