Building a Dew Heater Controller That Actually Works
Getting rid of dew on your telescope or camera lens is a common challenge for amateur astronomers. Dew can obscure your view and damage sensitive equipment. Building a dew heater controller that actually works is a game-changer. It might seem tricky at first, but with the right approach, you can create a dependable system that keeps your gear dry and ready for observation. Let’s walk through how to design and assemble a dew heater controller that performs reliably, so your nights under the stars stay clear and hassle-free.
Building an effective dew heater controller involves understanding your equipment’s needs, choosing reliable components, and fine-tuning your system. By following practical steps, you can create a dependable setup that prevents dew buildup during your astronomy sessions, ensuring clear skies and smooth observations every time.
Why a reliable dew heater controller makes all the difference
Dew formation is a persistent problem during clear nights, especially in humid or temperature-fluctuating environments. A poorly designed dew heater system can lead to uneven heating, power failures, or even damage to your equipment. When you build a controller that actually works, you gain a tool that maintains a stable temperature, prevents dew from forming, and keeps your focus on observing rather than troubleshooting. A good system is simple to operate, adjusts automatically, and is durable enough to withstand the elements.
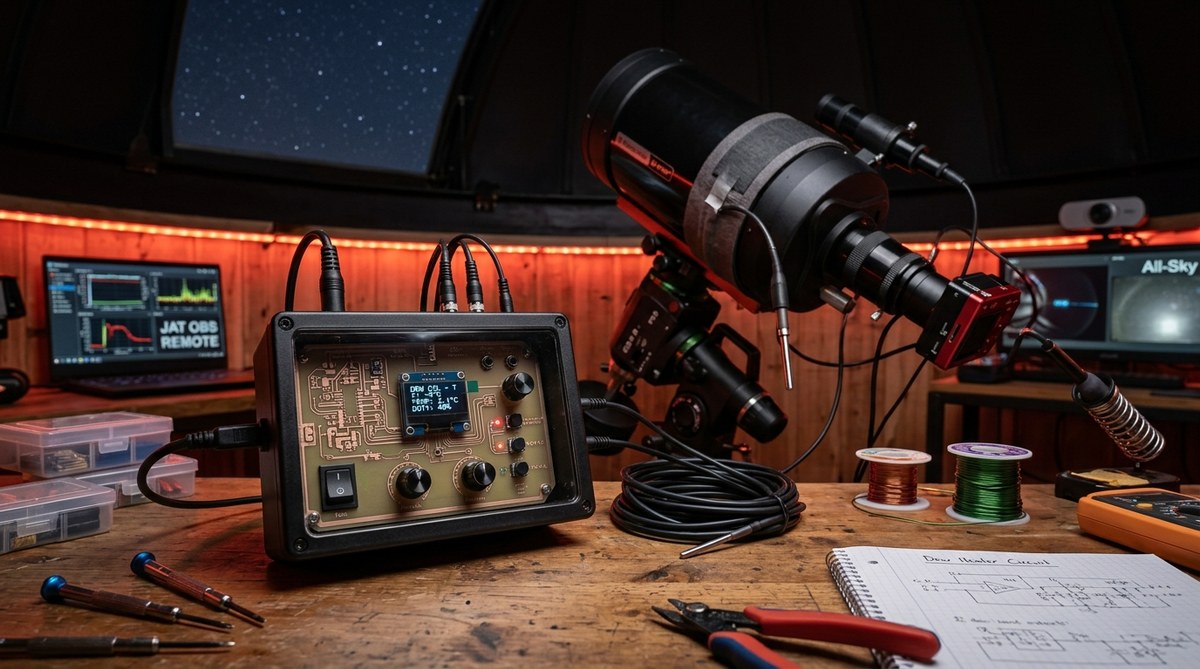
Essential components for building a dew heater controller
To create a dependable dew heater system, start with these key parts:
- Heaters: Flexible, adhesive-backed heating strips or cylindrical heaters designed for astronomy gear.
- Control circuit: Usually based on a microcontroller like Arduino or ESP8266 that manages power delivery.
- Temperature sensor: A reliable thermistor or digital sensor to monitor the temperature of your optics.
- Power supply: A stable 12V DC source capable of providing enough current for your heaters.
- Relay or MOSFET switch: To control high current loads efficiently.
- Display and controls (optional): Simple buttons, knobs, or a small screen for manual adjustments.
- Enclosure: Weatherproof case to protect electronics during outdoor use.
How to build a dew heater controller that actually works
Follow these practical steps to assemble your system:
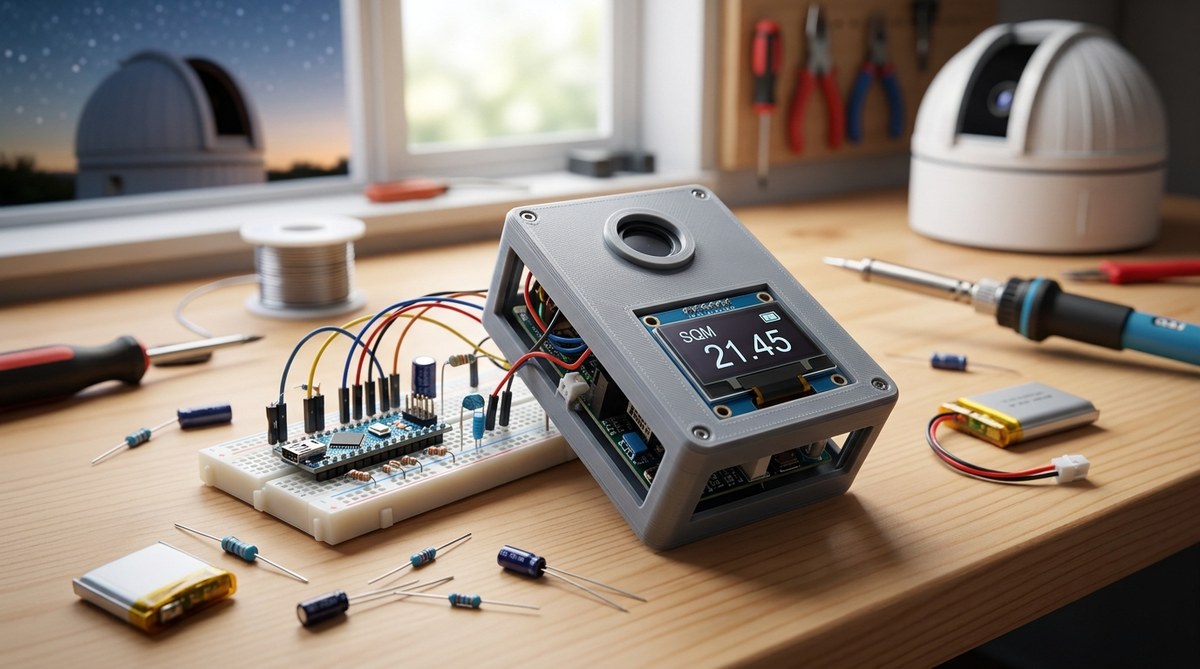
- Plan your layout: Map out where each component will go. Keep your temperature sensor close to the lens or mirror to get accurate readings.
- Connect the heating element: Attach the heater strip to your optics using the adhesive backing. Ensure good contact for uniform heating.
- Wire the control circuit: Connect your microcontroller to the relay or MOSFET, and wire the temperature sensor to the input pins.
- Power everything safely: Use a stable power source. Include fuses or circuit breakers to protect your system.
- Program your controller: Write or upload firmware that reads the temperature, compares it to a target, and adjusts power output accordingly.
- Test and calibrate: Run your system in a controlled environment. Adjust the temperature setpoints and observe how well the heater responds.
- Fine-tune your system: Use hysteresis or PID control algorithms for better stability and responsiveness.
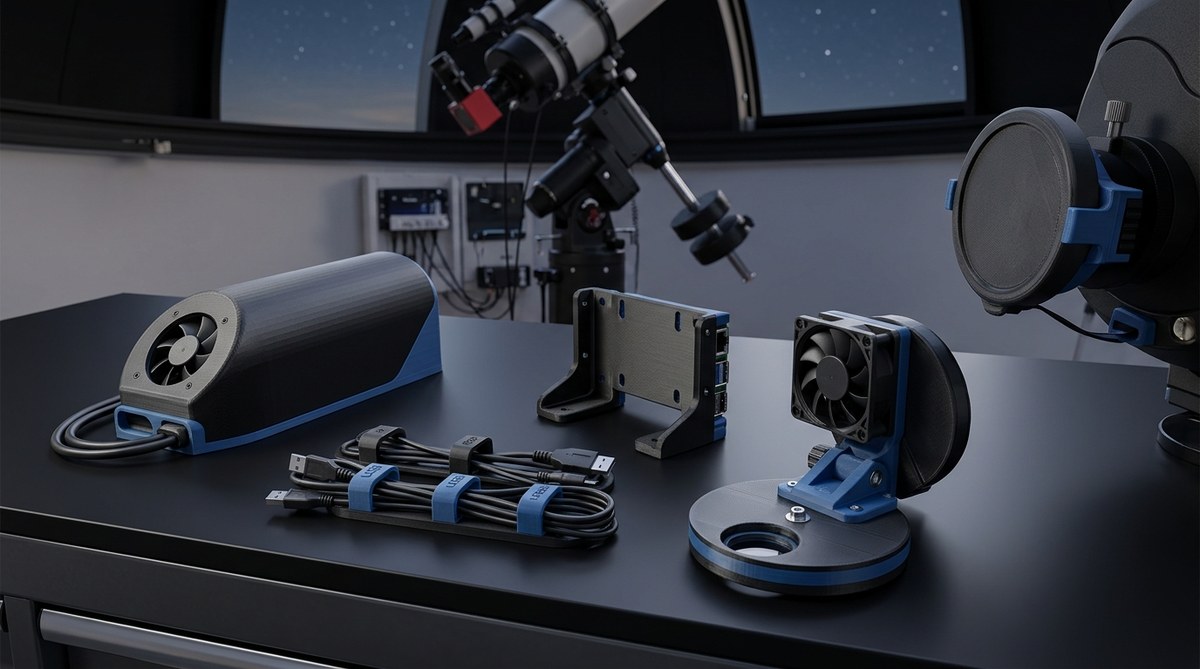
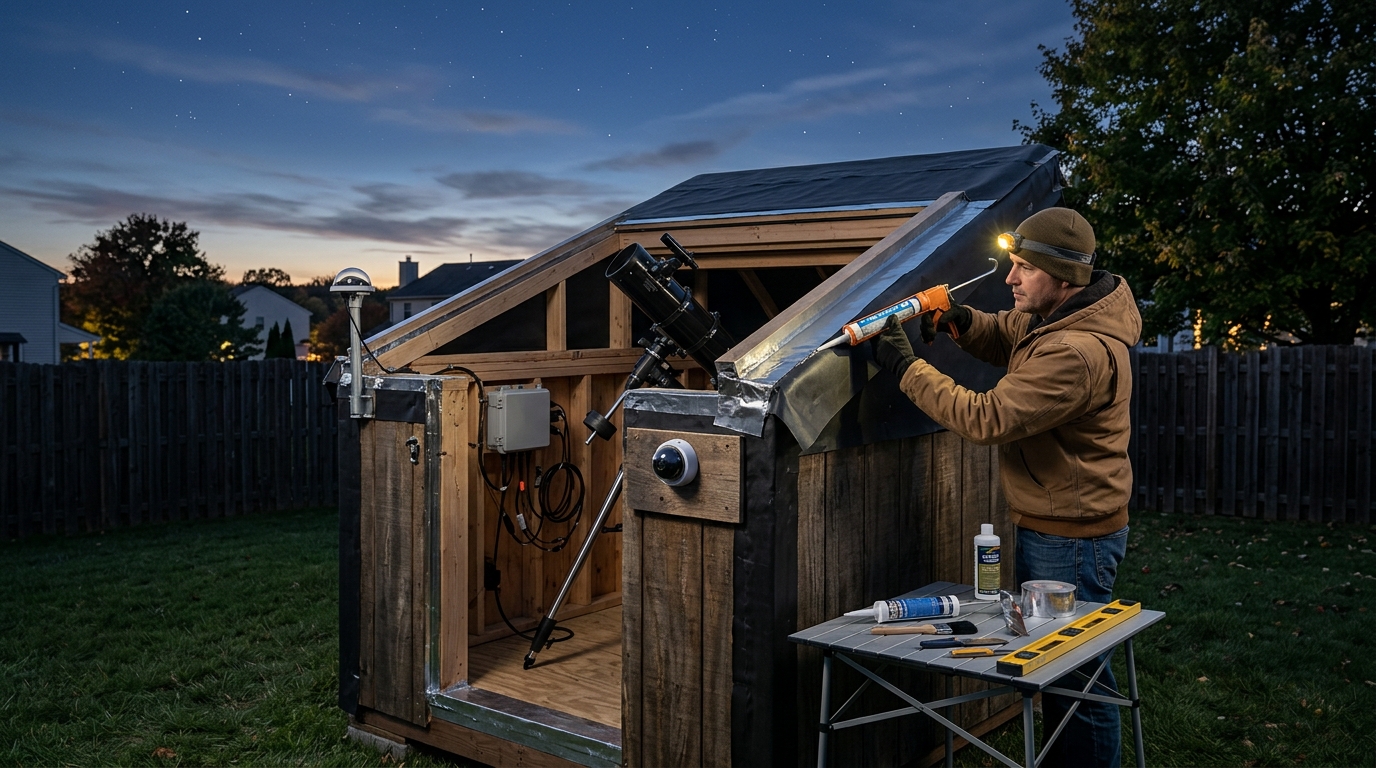
- Secure all components: Mount everything in a weatherproof enclosure. Keep wiring tidy and protected from the elements.
- Monitor and adjust: During actual use, keep an eye on performance. Make tweaks to your code or hardware setup if needed.
Tips for ensuring your dew heater controller actually works
- Use quality components: Cheap sensors or controllers can lead to inconsistent performance.
- Implement automatic control: Manual adjustments are fine for initial setup, but automation ensures stability.
- Test in real conditions: Simulate dew formation by lowering temperatures or adding moisture.
- Avoid uneven heating: Spread heaters evenly and check for hot spots.
- Use a PID controller: Proportional-Integral-Derivative algorithms help maintain a steady temperature without oscillations.
- Keep your firmware updated: Software improvements can enhance performance and reliability.
- Maintain your system: Regularly check connections and clean sensors for optimal operation.
Common mistakes and how to avoid them
| Mistake | How to avoid it | Impact |
|---|---|---|
| Using cheap sensors | Invest in accurate, weather-resistant thermistors | Inaccurate temperature readings cause ineffective heating |
| Overloading power supply | Calculate total current needs and choose a capable source | System resets or damage to components |
| Poor insulation | Ensure heaters are well attached and insulated | Uneven heating and dew formation |
| Ignoring environmental factors | Test system in conditions similar to your observing site | Unpredictable performance during actual sessions |
| No safety measures | Incorporate fuses, circuit breakers, and proper wiring | Risk of electrical failure or fire |
Expert advice for building a dew heater system that truly works
“The secret to a reliable dew heater controller is balancing simplicity with precise control. Use a PID algorithm and quality sensors, and your system will respond smoothly. Always test in conditions similar to your observing environment before going out under the stars.” – Skywatcher and electronics enthusiast
Final thoughts on keeping dew at bay
Building a dew heater controller that actually works involves careful planning, quality parts, and thoughtful programming. It’s a project that rewards patience with dependable performance. Once set up, your system will keep your optics clear, so you can focus on the beauty of the night sky. Remember to test thoroughly and make adjustments based on your specific conditions. With a little effort, you can enjoy many nights of uninterrupted observing and astrophotography.
Your next step in astronomy comfort
Don’t let dew ruin your nights. Take the time to craft a dew heater controller tailored to your equipment and environment. With reliable control, you’ll be free to enjoy the stars without worry. Keep experimenting, and soon you’ll have a system that works seamlessly every time. Happy stargazing!
Post Comment