How to Use Your All-Sky Camera to Track Astrological Transits
You spent weeks building your all-sky camera. You dialed in the focus, weatherproofed the enclosure, and wrote a script that captures a frame every 30 seconds. Now you have a beautiful time-lapse of the night sky, but you know you are only scratching the surface. Your camera can do more than just record stars drifting by.
It can catch transits.
A transit happens when an object moves across the face of the Sun, Moon, or in front of a bright background. The International Space Station does this. So do Starlink satellites, iridium flares, and even high-altitude balloons. With a properly configured all-sky camera, you can track these events automatically. You can log their timing, their path, and their frequency. And you can match that data against astrological interpretations if that interests you.
Let me show you how.
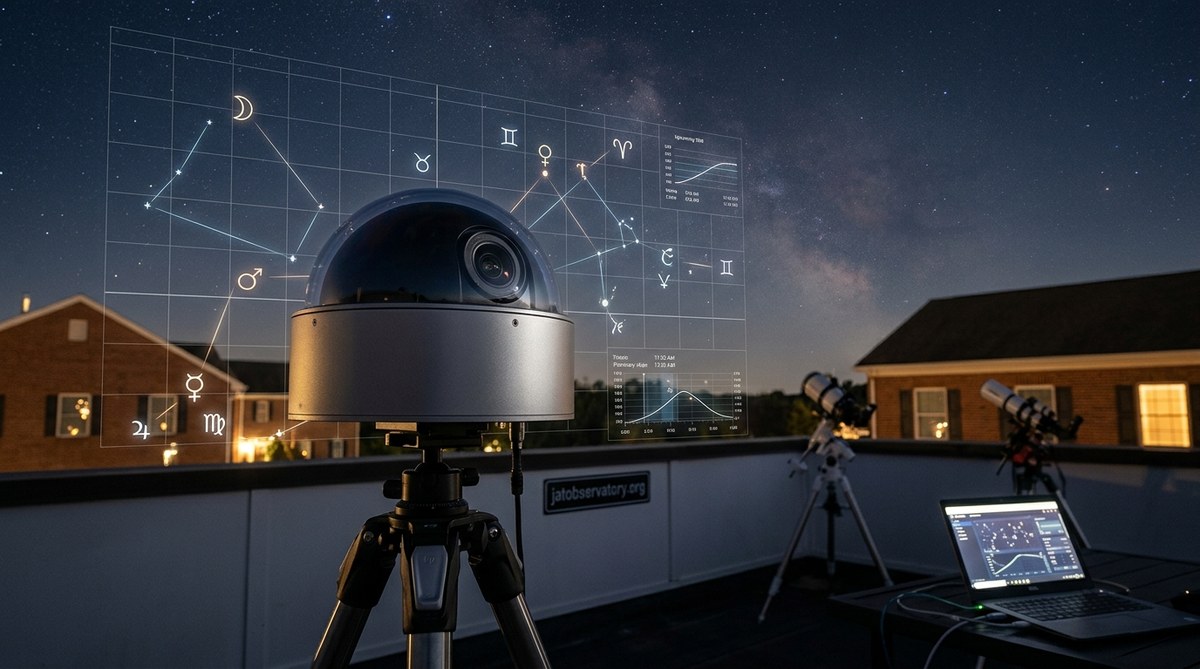
You do not need a telescope to track transits. A well-calibrated all-sky camera with the right software can capture satellite passes, lunar occultations, and even solar transits automatically. This guide walks you through the setup, the tools, and the common mistakes, so you can turn your sky monitoring system into a reliable transit observatory.
What Makes a Good Transit Capture Setup
Before you start chasing the ISS, you need your camera configured for moving targets. Most all-sky cameras use fish-eye lenses. That wide field of view is perfect for transit work because you can see a huge chunk of the sky at once. But that same wide view means objects cross the frame fast.
Here is what you need to prioritize:
- Exposure time below 2 seconds. Long exposures blur fast-moving satellites into streaks. For transit timing, you want a crisp dot or a short line. Set your exposure between 0.5 and 1.5 seconds.
- Continuous capture mode. Do not rely on motion detection. Just shoot frame after frame. You can always delete the empty ones later.
- Accurate time sync. Your camera computer must stay in sync with NTP servers. A drift of just a few seconds will ruin your transit timestamps. Set up a cron job or scheduled task to sync every hour.
- Good SNR at low light. Satellite transits against a dark sky need a sensitive sensor. If your camera struggles at ISO 800, boost your gain and accept a little noise.
The One Setting Most People Get Wrong
Gain. Many hobbyists crank gain to see faint stars, but that washes out the contrast between a satellite and the sky background. For transit tracking, you want a moderate gain that keeps the sky dark and the object sharp. Think of it like this: if you can see the Milky Way as a distinct band, your gain is about right. If the whole sky looks gray, back it off.
Software Choices for Automated Transit Detection
Your camera captures frames. Now you need software to scan them for transits. Manual review works for a single night, but for year-round tracking you need automation.
Here are the three most practical approaches, ranked by complexity:
- Use a dedicated transit detection tool. Programs like UFO Capture or Meteor Master can be configured to ignore meteors and flag linear streaks instead. They output CSV files with timestamps and coordinates.
- Run a Python script with OpenCV. If you have basic coding skills, you can write a script that subtracts a median background frame and looks for bright pixels that move along a line. This gives you full control over detection thresholds.
- Feed your frames into a time-lapse tool and manually review. For low-traffic nights, this is faster than you think. Programs like PIPP (Planetary Imaging PreProcessor) can stack frames and highlight changes.
I recommend starting with option one. It saves you months of debugging.
Expert advice from a veteran remote observatory owner: “I spent a year trying to build my own detection algorithm. I wish I had just used UFO Capture from the start. It catches 95% of satellite passes without false alarms from clouds or bugs. Save your coding energy for the fun part: analyzing the data.”
Interpreting What Your Camera Captures
Once you have a transit event logged, you need to interpret it. Here is a table that breaks down the common types of transits and what they mean for your observations.
| Type of Transit | What It Looks Like | Typical Duration Across Frame | Common Mistake |
|---|---|---|---|
| ISS pass | Bright, steady dot moving in a straight line. Usually brighter than any star. | 4 to 8 minutes | Mistaking a high-altitude airplane for the ISS. Check for blinking lights. |
| Starlink train | A line of dots, evenly spaced, moving in the same direction. | 2 to 5 minutes | Assuming it is a single fragmented object. Look for consistent spacing. |
| Iridium flare | A dot that brightens dramatically, then fades. Appears stationary for a moment. | 10 to 30 seconds (the flare itself is second) | Confusing it with a meteor. Flares are symmetrical in brightness. |
| Lunar occultation | A star or planet disappears behind the Moon’s edge. | Instantaneous | Missing the event because you blinked. Use a frame-by-frame review. |
| Solar transit (Mercury, Venus) | A small black dot moving across the Sun’s disk. | Hours (Mercury) to days (Venus) | Thinking it is a sunspot. Check the shape and motion. |
Why Timing Precision Matters for Astrology
If you are tracking transits to correlate with astrological events, timing is everything. Astrologers often want the exact minute a planet crosses a specific degree of the zodiac. Your all-sky camera can provide that timestamp with sub-second accuracy, which is better than any published ephemeris for local observation.
For example, if you capture a lunar occultation of Jupiter, you have a precise record of that conjunction event from your exact location. That is data you cannot get from a generic almanac.
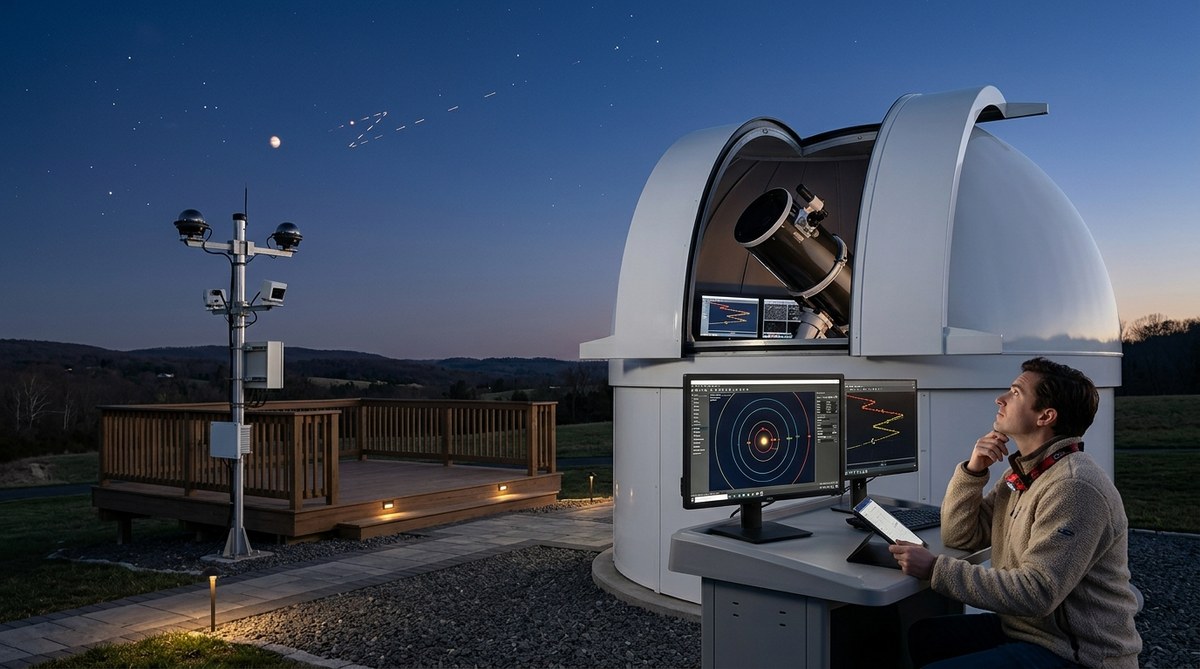
The Practical Workflow for Transit Tracking
Let me walk you through a typical evening of transit tracking. This is the workflow I use at my own setup in Pennsylvania.
Step 1: Pre-check your forecast. Open your weather dashboard. Clear skies are mandatory. Even thin clouds will scatter satellite light and make detection harder. Check the wind direction too. Strong wind can shake your camera mount slightly, introducing false movement in your frames.
Step 2: Look up predicted passes. Use a service like Heavens-Above or CalSky. Enter your coordinates. Filter for bright passes (magnitude brighter than 2.0). Make a list of the times. Give yourself 10 minutes of buffer before and after.
Step 3: Start your capture script. Make sure your all-sky camera is running in continuous mode. Set your frame interval to 1 second. Write the output files with the time in the filename (YYYYMMDD_HHMMSS format). This will save you hours later.
Step 4: Let it run. Go inside. Watch a movie. Check the camera feed once to make sure dew has not formed on the dome. If you have a dew heater controller, trust it.
Step 5: Post-process in the morning. Run your transit detection software on the night’s folder. It will spit out a list of events. Compare those events against your predicted pass list. Note any that you captured and any that you missed. Misses often happen because of cloud cover or a slight timing error.
Step 6: Log the results. Create a simple spreadsheet. Columns for date, time, object, duration, and notes. After a few months, you will have a dataset that shows patterns. You might notice that certain satellites pass more often during specific seasons, or that the ISS always dims as it enters Earth’s shadow at the same azimuth.
A Common Frustration and How to Fix It
Your camera captures a beautiful streak, but you cannot figure out which satellite it was. This happens constantly. The fix is cross-referencing with a satellite tracking catalog. Compare the time and direction of your streak against known passes. Most bright objects in low Earth orbit are tracked by NORAD, and the data is publicly available. If your streak matches a known Starlink launch within 30 seconds, you have your answer.
Bridging into Astrological Tracking
I said at the start that this guide is about transit tracking. But if your interest leans toward astrology, your all-sky camera becomes a powerful tool for confirming celestial positions. When an astrologer says Mercury is in transit across the Sun, you can actually see it. When they talk about a Mars opposition, your camera can show Mars rising exactly as the Sun sets.
That kind of direct observation grounds astrological claims in physical reality. It does not prove or disprove anything. But it does give you a personal reference point. You can build a record of planetary alignments and see how they match up with the astrological charts you follow.
Over time, you might notice correlations. That is the fun part. Your camera is not just a tool. It is a witness.
What Your Setup Can Reveal Over Time
After six months of consistent transit tracking, you will have a log of thousands of events. You will see which satellites are predictable and which ones drift. You will notice how the Moon’s phases affect visibility. You will catch the occasional surprise, like a bright meteor shower that your transit software flags as a train of objects.
That data is valuable. It teaches you the rhythm of the sky above your own backyard. No almanac can replace that.
Your All-Sky Camera as a Window to the Night Sky
You already own the most powerful tool for home transit observation. It sits on your roof or in your yard, recording the sky every night. The only missing piece is the workflow to extract transit events from all those frames.
Start with the software I mentioned. Run it for a week. See what you catch. Compare your captures against online transit predictions. Refine your exposure settings. And keep a journal.
The ISS does not care if you are watching. But when you know it is coming, and your camera catches it at the exact predicted second, that is a small victory. It means your system is working. It means you are truly connected to the movement of objects above you.
Set your camera to capture tonight. Tomorrow morning, check what you found. You might be surprised at how much is moving up there.
Post Comment