Why Your Remote Camera Needs Active Cooling for Better Night Sky Views
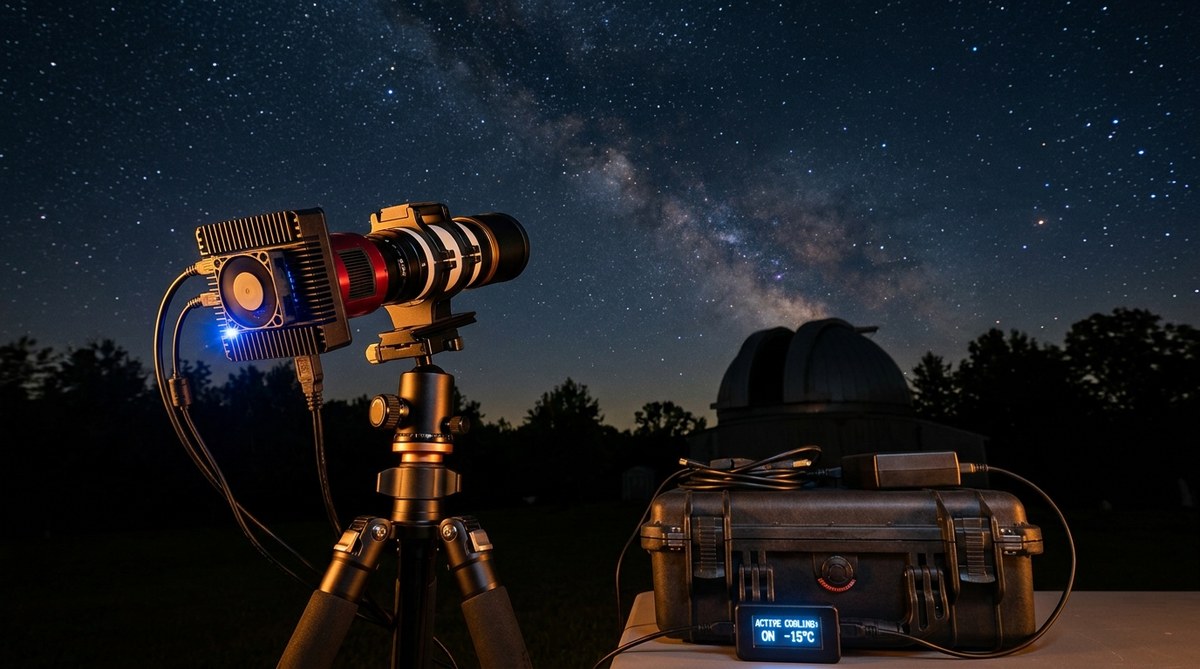
You finally get a clear night. Your remote camera is set up in the backyard. You fire off a series of long exposures of the Andromeda Galaxy. The next morning you download the files and zoom in. A grainy, speckled background masks the faint spiral arms. That noise isn’t your optics or your mount. It’s heat. Your camera sensor is cooking itself during those three-minute subs, and the thermal noise is destroying the detail you worked so hard to capture. This problem is real for every remote camera that sits outside for hours. The solution is active cooling, and it might be the best upgrade you ever make for your night sky imaging.
Active cooling for astrophotography lowers sensor temperature by 20 to 40 degrees Celsius, slashing dark current noise. Cooler sensors let you shoot longer exposures with cleaner backgrounds, stretch fainter detail, and reduce the number of rejected subs. Whether you retrofit a cooler or buy a cooled camera, the payoff is visible in every image.
What Sensor Heat Noise Does to Your Night Sky Images
Every digital camera sensor generates heat when it runs. The longer the exposure, the more heat builds up. That heat excites electrons in the silicon, creating a false signal that adds a random, grainy layer over your real data. Astrophotographers call this dark current. It looks like a rising tide of speckles that drowns out faint nebulae and dim stars.
The most obvious signs of heat noise in your remote camera images include:
- A washed-out or milky background in stacked images, even after subtracting dark frames
- Hot pixels that persist and vary in brightness across different temperatures
- Limited usable exposure length before the noise becomes unbearable
- Lower contrast between stars and the sky background, making processing harder
Remote cameras suffer more because they operate unattended. Without active cooling, a sensor that starts at 20 degrees Celsius can climb to 45 degrees Celsius inside a closed housing during a summer night. At those temperatures, dark current doubles roughly every six degrees. That means four times more noise than at a normal room temperature.
How Active Cooling Actually Works for Remote Cameras
Active cooling uses a thermoelectric cooler, often called a TEC or Peltier cooler. This device pumps heat away from the sensor when powered. One side gets cold, the other side gets hot. The hot side has a radiator and fan to dump heat outside the camera body.
Here is a practical step-by-step process to set up active cooling on a remote camera that does not have built-in cooling:
- Mount a TEC cooler module to the camera body. Use thermal paste between the cooler and the sensor housing. Make sure the module fits your enclosure and does not block lens movement or cable ports.
- Wire the cooler to a dedicated power supply. A 12-volt DC source works for most modules. A separate relay or smart switch lets you turn cooling on and off remotely through your automation scripts.
- Set a target temperature in your imaging software. Most cooled cameras let you dial in a set point. For remote setups, a delta of 15 to 20 degrees below ambient is safe. Going colder than 30 degrees below ambient can cause condensation inside the sensor chamber.
- Monitor the temperature and adjust power draw. Use a temperature sensor and software like ASTAP or N.I.N.A. to log data. If the fan creates vibration, run it at a lower voltage or use a vibration-damping mount.
The table below compares the three common approaches to managing sensor heat:
| Method | Effectiveness | Cost Range | Setup Complexity |
|---|---|---|---|
| Active cooling (TEC with fan) | High | $150 to $600 | Medium |
| Passive heatsink (no fan) | Low to moderate | $20 to $80 | Low |
| No cooling | Very low | $0 | None |
Passive heatsinks help a little but cannot overcome the heat buildup in a sealed remote camera housing. Active cooling is the only reliable way to keep the sensor at a consistent low temperature through a whole night of imaging.
Common Mistakes When Setting Up Active Cooling
Many beginner astrophotographers rush to install a TEC module and push the temperature too low. The result is not better images but ruined ones.
“Set your cooler delta to no more than 25 degrees Celsius below ambient temperature, especially in humid regions. Below that, moisture from the air condenses on the sensor window, causing soft halos and even water damage. Always run a dew heater on the camera window if your enclosure is not sealed with dry air.”
Three other mistakes to avoid:
- Ignoring fan vibration. A small balance issue in the fan creates micro-vibrations that show up as elongated stars. Use a vibration isolator or decouple the fan from the camera mount.
- Underpowering the cooler. Many USB-powered TEC modules cannot draw enough current. Run the cooler on a separate 12V supply rated for at least 5 amps.
- Forgetting to log temperature data. Without monitoring, you cannot tell if your cooling is stable. Add a simple Python script to your observatory controller that records sensor temperature every minute.
Choosing the Right Cooling Solution for Your Remote Camera
You have two main paths. The simplest is to buy a dedicated astro camera with built-in active cooling. Models from ZWO, QHY, and Player One come with regulated TEC coolers. These cameras are plug-and-play for most setups. A second option is to retrofit a cooling module onto a standard webcam or DSLR used for all-sky monitoring. This approach is cheaper but requires careful enclosure design to prevent condensation.
For a remote observatory, you want reliability over peak performance. A camera with a built-in cooling system that can hold a stable temperature within plus or minus one degree is ideal. If you build a DIY module, use a temperature controller like a PID loop to maintain the set point. Sudden temperature swings create inconsistent dark signals and reduce the quality of your calibration frames.
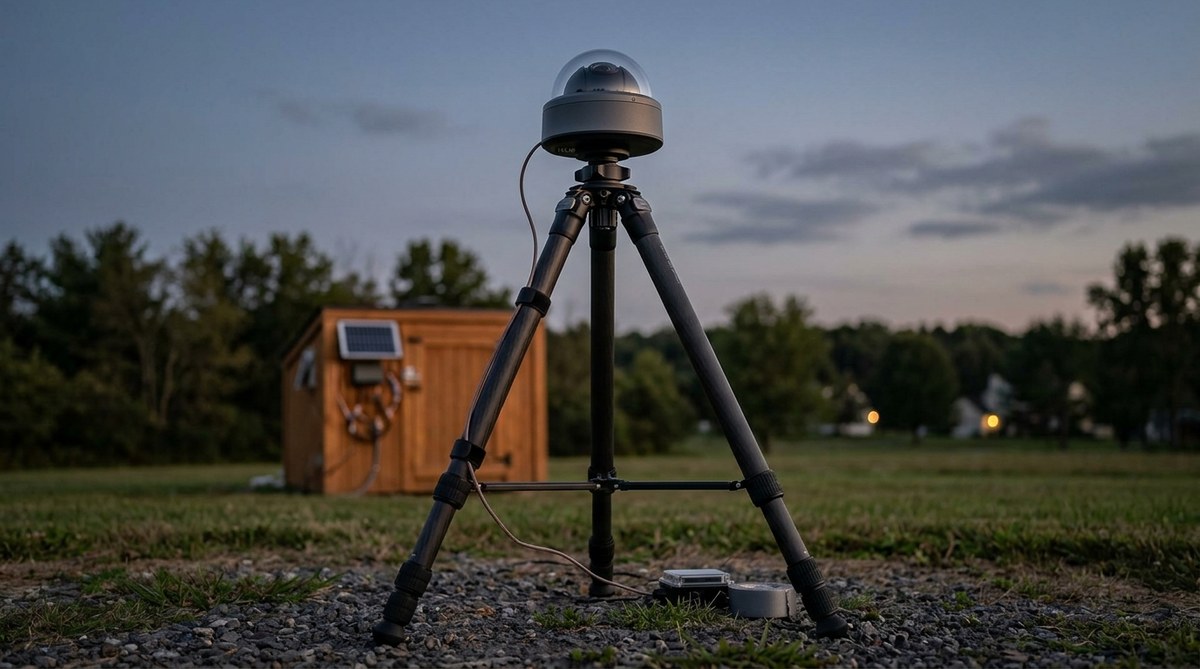
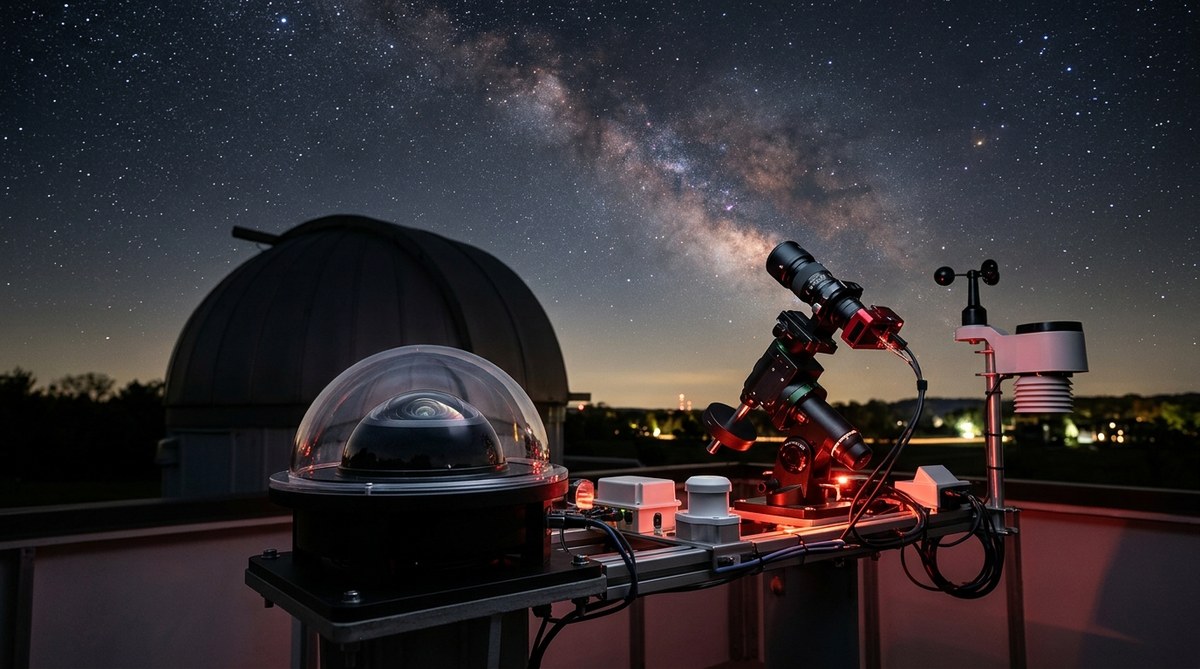
Practical Example: Cooling a Standard Remote All-Sky Camera
Let us say you have an all-sky camera running a Sony IMX290 sensor inside a weatherproof enclosure. Without cooling, the sensor runs at 40 degrees Celsius on a warm night. At that temperature, dark current is about 10 electrons per second per pixel. Your ten-second exposures show obvious noise. You install a small TEC module rated for 60 watts. You set the target temperature to 15 degrees Celsius. The cooler draws about 4 amps from the 12V supply. Now the dark current drops to roughly 0.5 electrons per second per pixel. The background of your sky image becomes smooth and clean. You can stretch much deeper to reveal fainter meteors and dimmer satellite tracks.
This kind of improvement directly affects the quality of data you collect. Whether you are tracking planetary transits for scientific study or astrological interest, consistent sensor performance helps you capture the nuance of each celestial object. Cleaner images mean more confidence in your observations.
The Real Improvement in Your Astro Images
The single biggest benefit of active cooling is that it lets you stack more subframes without accumulating noise faster than signal. Each subframe has a fixed amount of read noise and dark current. If you cool the sensor, you lower dark current so much that read noise becomes your only real limit. That means you can take shorter subs at higher gain and still get clean stacks. Or you can use longer subs to bring out faint details that were previously buried. For remote imaging, where you cannot babysit the setup, active cooling also reduces the number of frames you need to discard because of hot pixels or gradient shifts.
Your Next Steps for Cleaner Night Sky Images
Start by checking the temperature of your current camera during a typical imaging session. You might be surprised by how hot it gets. Then look at cooled astro cameras if you are ready to buy. If you already have a camera, research a TEC retrofit kit that fits your enclosure. Test the system on a humid night to ensure no condensation forms. Log the temperature readings and compare the noise levels before and after cooling.
For remote setups, small upgrades like a fan shroud or a better heat sink can make a difference, but only active cooling truly solves the heat problem. Your Andromeda image will show soft spiral arms against a smooth black sky. The only way to get that result is to keep your sensor cold. Give active cooling a try on your next clear night. Your future self, processing those deep stacks, will thank you.
Post Comment