Essential Cable Management Tips for a Reliable Remote Observatory Setup
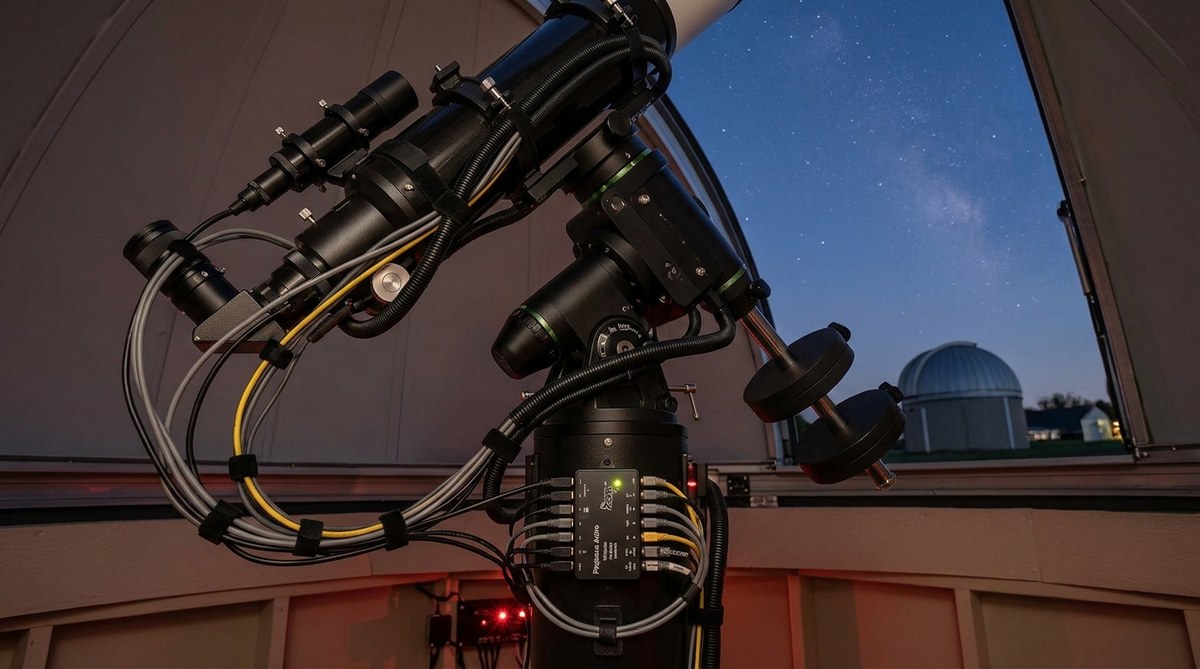
A single loose cable can turn a perfect imaging night into a frustrating remote rescue. You drive to your observatory, find gear tangled, a USB cable pulled loose, or a power connector shorted. That ruins the session and wastes hours driving back and forth. For anyone running a remote observatory, cable management is not optional. It is the foundation of reliability. When your telescope slews, cables must move with it. When wind shakes the mount, nothing should unplug. And when you are miles away, you need confidence that your setup will run from dusk to dawn without you touching a thing.
Good remote observatory cable management prevents snags, power loss, and USB disconnections. Use a centralized power hub, keep cables short and separated from signal lines, and secure everything with strain relief. Plan your routing so the mount can move freely. Test each night with a dry run before leaving your observatory unattended. Invest in quality connectors and cable sleeves for long term reliability.
Why Messy Cables Are Your Biggest Enemy at a Remote Site
At home you can catch a cable snag right away. At a remote observatory, you rely on automation. A single power interruption can cause the mount to lose alignment, the camera to stop capturing, and the session to fail. Worse, a cable that drags across a sharp edge can short out a dew heater or damage a USB port.
The biggest problems we see in the field:
- Telescope wrapping: A loose power cord wraps around the mount as it slews, eventually pulling connectors out or stripping the cable sheath.
- USB signal loss: Long or thin USB cables cause data errors, especially with high bandwidth cameras.
- Power drops: Undersized gauge wire or loose barrel connectors cause voltage sag at the camera or focuser.
- Dew heater interference: Coiled dew strap cables create electromagnetic noise that corrupts guide camera signals.
Let us walk through the exact steps to avoid every one of these issues.
A Step-by-Step Process for Organizing Your Observatory Cables
Follow this sequence when setting up or rewiring a remote observatory. It works whether you have a permanent pier or a roll off roof shed.
- Plan your cable routes on paper first. Sketch each device: mount, main camera, guide scope, focus motor, dew heaters, and any all sky camera. Decide where power and USB hubs sit. Aim for the shortest path from hub to device.
- Install a central power distribution unit. Use a fused power strip or a dedicated hub like a Pegasus or a RigRunner. Run one heavy gauge cable from the battery or AC supply to the hub, then distribute to each device. This keeps power clean and easy to disconnect.
- Mount a powered USB hub near the moving equipment. Place it on the telescope saddle or on the pier just below the mount. A USB hub with individual port switches lets you reset a stuck camera remotely without cycling power to everything.
- Route cables along the mount arm with adhesive cable clips. Attach short lengths of cable to the mount using stick on cable ties or zip ties with felt padding. Leave a service loop near the mount axis to allow movement without tension.
- Secure each connector with a locking mechanism. Use threaded USB connectors (like USB C with locking screws) or add a small zip tie behind the barrel connector so it cannot pull out. For power, use Anderson Powerpole connectors instead of cheap barrel jacks.
- Label both ends of every cable. Use a label maker or colored heat shrink. When you are troubleshooting remotely, you need to know which cable goes where.
- Run a full motion test before leaving the site. Send the mount to slew from eastern horizon to western, then back. Watch for tension, slack, or snags. Repeat with focuser travel.
Mistakes to Avoid vs. Best Practices
Here is a comparison of common errors and the smart alternatives.
| Mistake | Best Practice | Why It Matters |
|---|---|---|
| Using long, thin USB cables | Use short, shielded USB 3.0 cables under 5 meters; add active repeaters if needed | Prevents data corruption and dropped frames |
| Coiling excess power wire into loops | Tie up excess cable with Velcro straps in figure eight loops or straight runs | Avoids inductive noise that interferes with guiding |
| Running power and USB parallel for meters | Separate power and USB by at least 6 inches; cross at 90 degrees | Reduces electromagnetic interference |
| Using cheap barrel connectors | Upgrade to locking power connectors (Anderson or Powerpole) | Eliminates intermittent power loss |
| Leaving connectors exposed to weather | Seal connections with dielectric grease and heat shrink | Prevents corrosion and shorts |
| Mounting hubs in direct rain path | Place hubs inside weatherproof enclosures or under a roof edge | Keeps electronics dry |
Tools and Accessories That Make the Job Easier
You do not need a workshop full of specialized gear. These items deliver the most bang for your cable management effort.
- Velcro cable wrap: Reusable and easy to adjust. Wrap bundles of cables along the mount arm.
- Adhesive cable clips: Stick them to the mount or pier to keep wires in place. Choose the ones with adhesive foam to avoid scratching paint.
- Heat shrink tubing: Use it over connectors to add strain relief and waterproofing.
- Ferrite cores: Clip them onto power and USB cables near the hub to suppress radio frequency noise.
- Cable sleeves: Expandable braided sleeving bundles multiple cables into one neat assembly.
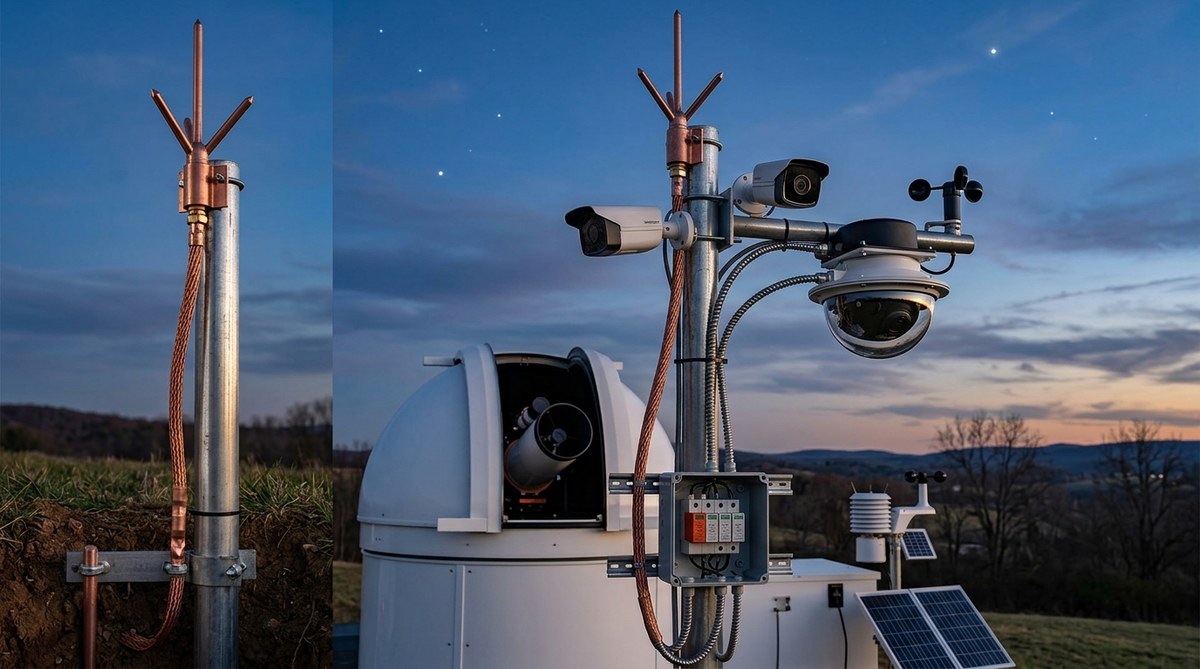
- Lightning arrestors: For outdoor Ethernet or coax runs, install surge protectors at both ends.
For more gear suggestions, see our guide on
The Importance of Strain Relief and Service Loops
“A cable that is stretched tight is a cable that will fail. Always leave a gentle loop at every joint so the cable can move with the equipment.” – veteran astrophotographer from the Cloudy Nights forums.
On a telescope mount, the rotation of the RA axis can twist a fixed cable until it breaks. The fix is simple: create a service loop. That is a loose loop of cable that hangs below the mount, giving the cable room to twist without pulling on connectors. Secure the loop at the top with a zip tie around the mount arm, but do not cinch it tight. Let the loop swing freely. For the declination axis, run the cable along the side of the tube and leave a similar loop near the pivot point.
This approach works for all cable types: USB, power, and even Ethernet. Test the loop by slewing the mount through its full range. The loop should never snag or pull taut.
Organizing the Static Side: From Pier to Control Box
The area under the pier or inside the observatory deserves as much attention as the moving parts. Keep these principles in mind:
- Mount a dedicated power panel and USB hub on the wall or inside a weatherproof box. Do not let cables lie on the floor where mice or moisture can reach them.
- Use a patch panel for network connections. Run a single outdoor rated Ethernet cable from the house to the observatory, then patch inside.
- Label everything. If a fuse blows at 3 a.m., you want to find the right circuit without a flashlight game of guessing.
Keeping Your Setup Reliable Through the Seasons
Cable management is not a one time job. Weather, critters, and wear take their toll. Add these checks to your regular maintenance schedule:
- Each spring and fall, inspect every connector for corrosion or loosening.
- Replace any cracked heat shrink or frayed sheathing.
- After a heavy storm, verify that no water entered your cable entry points.
- If you notice intermittent USB disconnections, replace the cable before it becomes a chronic issue.
For broader weatherproofing advice, read
Plan for Growth and Modularity
Remote observatories evolve. You will add an all sky camera, a cloud sensor, or a second focuser. Build your cable system with extra capacity. Use a power hub with at least two spare fuse slots. Choose USB hubs with more ports than you currently need. Run an additional pair of Ethernet cables from the observatory to the house even if you only need one now. These small investments save huge rewiring headaches later.
Bringing Order to the Night Sky Starts Under the Pier
Great astrophotography depends on a stable, predictable setup. When your cables are organized, you spend less time troubleshooting and more time collecting photons. Take the time to route, secure, and label each wire. Test every loop before you lock up the observatory. Your future self will thank you when you wake up to a full set of calibrated images instead of an error log.
Now go ahead and give your observatory the cable makeover it deserves. Start with one section at a time, and you will notice the difference on your very next clear night.

Post Comment