6 DIY Astrology Projects to Automate Your All-Sky Camera in 2026
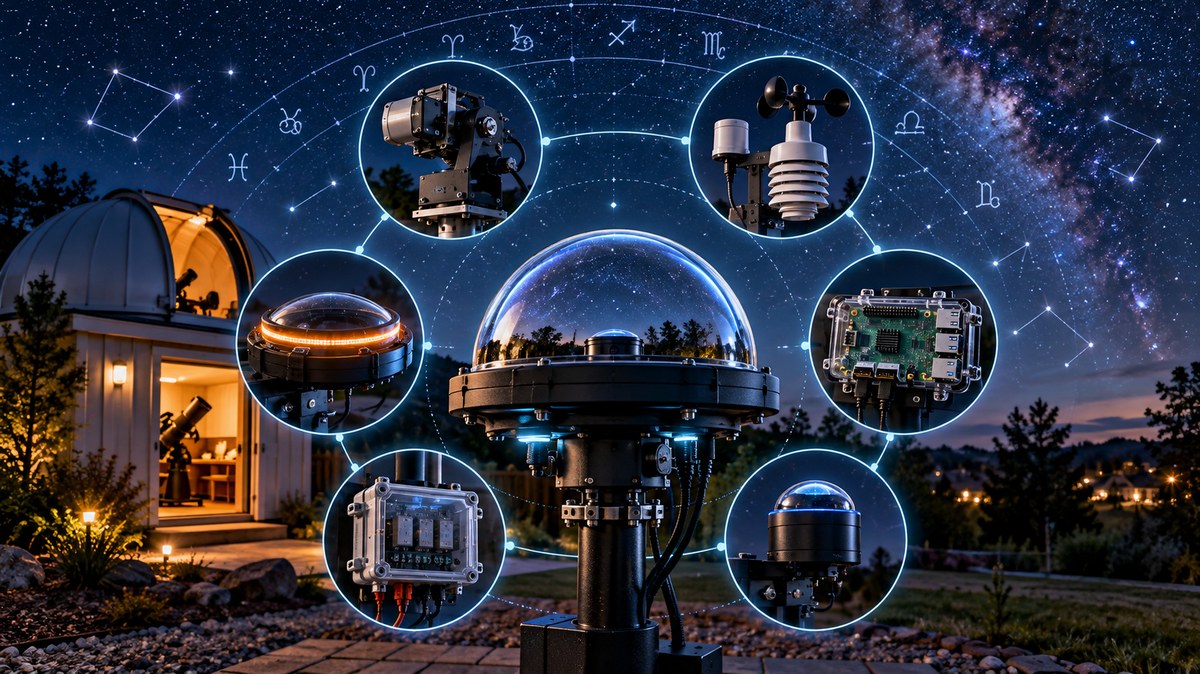
Building an all-sky camera with a Raspberry Pi is one of the most rewarding projects you can tackle as a backyard astronomer. You get a dedicated eye on the sky that runs every night, capturing meteors, satellites, and the slow dance of the stars without you having to sit outside in the cold. A few years ago, this kind of setup required expensive commercial hardware. Today, a capable DIY all-sky camera Raspberry Pi system costs less than a nice dinner out for two and gives you complete control over the software, scheduling, and image processing.
This guide walks you through building a fully automated all-sky camera using a Raspberry Pi, a camera module, and a fisheye lens. You will learn how to choose hardware, write simple Python scripts for night-only capture, set up a web interface to view images remotely, and weatherproof your rig so it runs all year with zero maintenance.
Why a Raspberry Pi Is the Right Brain for Your All-Sky Camera
The Raspberry Pi is the backbone of the amateur astronomy community for good reason. It is small, sips power, and runs Linux. That means you can install real astronomy software like INDI, AstroPi, or custom Python scripts. Unlike a laptop, a Pi can sit in a weatherproof box on a fence post for months without a reboot.
A standard Raspberry Pi 4 or the newer Raspberry Pi 5 handles the camera capture, file storage, and web serving all at once. You do not need a separate computer. The operating system can be configured to boot straight into the capture script when power is restored after a storm. That is the kind of reliability you want when your camera is mounted 20 feet up on a pole.
Hardware You Will Need for This Build
You do not need to spend a fortune. Here is a list of components that have proven themselves in our observatory and in builds shared by the community.
- Raspberry Pi 4 or 5 (4GB RAM is plenty)
- Raspberry Pi Camera Module 3 or the older High Quality Camera
- A 1.55mm or 2.1mm CS-mount fisheye lens
- A Pi HQ camera adapter if you are using the HQ module
- A 32GB or larger microSD card (SanDisk Extreme Pro is reliable)
- A weatherproof enclosure (Pelican-style cases work well)
- A 5V power supply with a long cable or a PoE hat for Power over Ethernet
- A small heatsink and fan for the Pi (the fan can be set to temperature control)
- A clear acrylic dome or a cheap glass bowl to protect the lens
Tips for Choosing a Lens
The lens makes or breaks your image quality. A 1.55mm fisheye gives you a full 180 degree field of view. The horizon will curve nicely and you will see the entire sky. A 2.1mm lens gives a slightly tighter view with less distortion but still covers most of the sky. We prefer the 1.55mm for meteor work because nothing gets cut off at the edges.
Step-by-Step Assembly Process
Follow these steps in order. Each step builds on the last.
- Prepare the Pi. Install the latest Raspberry Pi OS Lite (no desktop needed). Enable the camera interface and SSH. Connect to your home network.
- Mount the lens. If you are using the HQ camera, attach the CS-mount lens to the board. Tighten it gently until the image is sharp. Do not overtighten.
- Assemble the camera housing. Place the Pi and camera inside the weatherproof enclosure. Cut a hole in the lid for the lens. Seal the edge with silicone caulk. The lens should point straight up.
- Install the software. Run
sudo apt updateandsudo apt install python3-picamera2. This library works with the Camera Module 3 and the HQ module. - Write a capture script. Use Python to take a picture every 30 seconds during darkness. Save each image with a timestamp in the filename. Store them in a folder organized by date.
- Add a web server. Install
lighttpdornginx. Serve the latest image as a JPEG so you can check the camera from your phone. - Test during the day. Point the camera at a tree or a roof. Adjust the focus ring on the lens until leaves at infinity look sharp. Lock the focus with a drop of nail polish.
Automation Scripts That Make It Run Forever
A camera that requires manual intervention every night is not truly automated. The goal is to set it and forget it. Here are the scripts you need.
# Example: capture.py
from picamera2 import Picamera2
import time
from datetime import datetime
import os

cam = Picamera2()
config = cam.create_still_configuration()
cam.configure(config)

while True:
    now = datetime.now()
    folder = now.strftime("/home/pi/sky/%Y-%m-%d")
    os.makedirs(folder, exist_ok=True)
    filename = now.strftime("%H%M%S.jpg")
    path = os.path.join(folder, filename)
    cam.capture_file(path)
    time.sleep(30)
This script runs in a loop. It creates a new folder for each date and saves an image every 30 seconds. You can add a check for daytime by measuring the exposure time. If the camera uses a short exposure, the sun is up and you can skip the capture.
Scheduling with Cron
Add this line to your crontab to start the capture at sunset and stop it at sunrise.
0 0 * * * /usr/bin/python3 /home/pi/capture.py &
You can also use a Python library like astral to calculate sunrise and sunset times based on your latitude and longitude. That way the camera turns on and off automatically without a light sensor.
Common Mistakes and How to Avoid Them
Even experienced builders hit the same snags. Here is a table of the most frequent issues and their fixes.
| Mistake | Symptom | Fix |
|---|---|---|
| Lens not focused at infinity | Stars look like donuts | Focus during daytime on a distant object. Lock the ring. |
| Condensation on the dome | Images are foggy | Add a small 12V resistor inside the enclosure to warm the air. |
| Corrupted SD card after power loss | Pi does not boot | Use a read-only filesystem or a UPS hat for the Pi. |
| Overexposed night images | Sky is washed out | Reduce exposure time. Start at 10 seconds and adjust. |
| Wi-Fi dropout at night | No images uploaded | Use a wired Ethernet connection or a PoE hat. |
One piece of advice from years of running remote observatories: test your setup for a full week in your garage before mounting it outside. You will find the bugs while you can still reach the power button.
Comparing Capture Modes: Video vs. Still Images
There is a common debate among all-sky camera builders. Should you record video or take individual stills? Each approach has tradeoffs.
Still images give you higher quality per frame. You can stack them later to reduce noise. They are easier to process with programs like DeepSkyStacker. The downside is that you might miss a meteor that appears between frames if your interval is too long.
Video captures every moment. A 30 fps video will catch every meteor streak. But video files are huge. A single night of H.264 video can fill a 32GB card. You also lose some image quality due to compression.
We recommend still images at 15 to 30 second intervals for general sky monitoring. Switch to video during known meteor showers. You can automate this with a script that checks the date and changes the capture mode.
Setting Up Remote Access and Alerts
You want to see what your camera captured without walking outside. Set up a simple web page that shows the latest image. A lightweight web server like lighttpd can serve a single JPEG file. Point a cron job to copy the latest image to the web root every minute.
For alerts, use a Telegram bot or email. Have the script send a notification when it detects a bright streak. You can do this with basic pixel analysis. If a row of pixels is significantly brighter than the background, send yourself a message. This is how you catch a bright fireball at 2 AM without checking every image manually.
If you want to go deeper into remote observatory software, check out our guide on how to automate your backyard observatory with open-source software. It covers INDI drivers and full observatory control.
Protecting Your Camera from the Elements
Your all-sky camera will face rain, snow, wind, and curious raccoons. The enclosure must be sealed but also breathable. Moisture is the enemy. Use silica gel packets inside the box. Replace them every month during humid seasons.
A dome heater is essential for winter. You can build one from a 10 ohm resistor and a 5V power supply. Glue it to the inside of the dome. It will prevent frost from forming. Without it, your camera will be useless on cold, clear nights when the sky is at its best.
For mounting, use a sturdy pipe or a wooden post. The camera must be level. A bubble level from a hardware store helps. If the camera tilts, the horizon will be crooked in every image. That makes stacking and analysis harder.
When Light Pollution Affects Your Images
Even in suburban areas, light pollution can wash out fainter stars. A light pollution filter helps. You can screw a UHC or CLS filter onto the lens. These filters block common wavelengths from streetlights while passing the light from nebulae and stars.
If you live near a city, aim your camera to point at the darkest part of your sky. Sometimes just rotating the camera a few degrees makes a difference. You can also set the exposure to be shorter on moonlit nights to avoid washing out the fainter detail.
For a deeper look at how light pollution affects different targets, read our article on what light pollution filter should you actually use?
Using Your All-Sky Data for Astrology Tracking
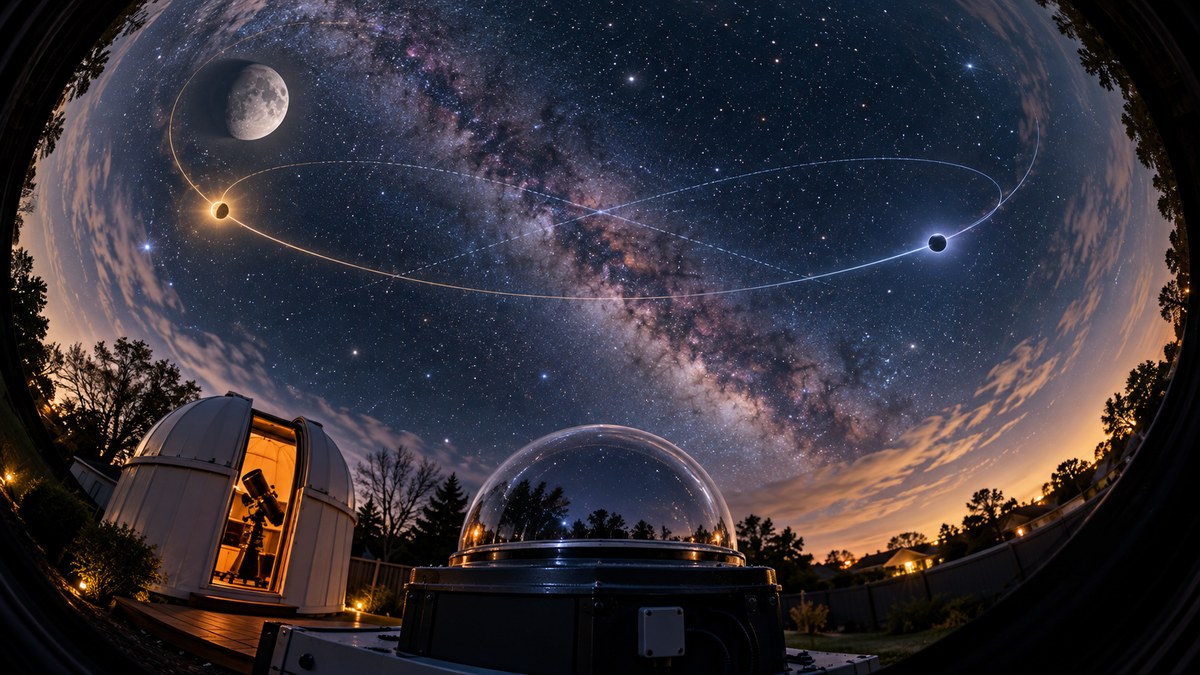
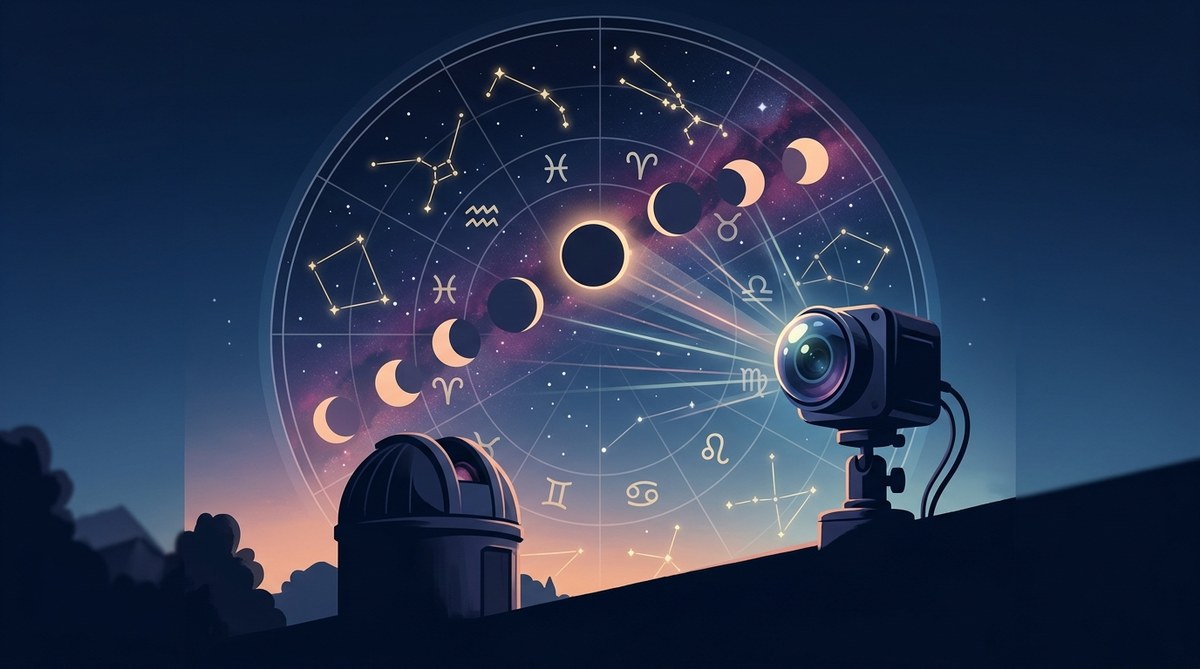
Many of our readers are interested in how the sky connects to astrology. An all-sky camera is a fantastic tool for tracking planetary movements, lunar phases, and the zodiacal light. You can set your camera to capture images at specific times to document a planet rising or a conjunction.
For example, during the 2026 Venus-Jupiter conjunction, your all-sky camera can take a frame every five minutes starting an hour before sunrise. You will see the two planets drift closer together over the course of a week. That visual record is powerful for anyone who wants to connect astronomical events with astrological interpretations.
We have a dedicated guide on how to use your all-sky camera to track astrological transits that explains the timing and positioning needed.
Essential Tools for Maintaining Your Camera
Keep a small toolkit near your observatory. You will need these items.
- A small Phillips screwdriver
- A can of compressed air for dust
- Extra silica gel packets
- A USB power bank to test the Pi on the bench
- A microSD card reader for backup
- A roll of electrical tape for emergency seals
Check the camera once a month. Wipe the dome with a microfiber cloth. Look for spider webs inside the enclosure. Make sure the fan is still spinning. These five minute checks prevent a week of lost data.
Your Camera Is Ready. Now What?
Once your DIY all-sky camera Raspberry Pi system is running, you will start collecting thousands of images. The real fun begins when you review them. Look for meteor streaks, satellite trails, and the subtle glow of the aurora if you live far enough north. You can also contribute your data to citizen science projects like the American Meteor Society.
If you want to see what other all-sky camera owners have captured, check out our post on 5 unexpected meteor shower captures our all-sky camera recorded this year. It will give you ideas for what to look for in your own data.
Building a Community Around Your Camera
Share your images online. Post a daily timelapse to a simple blog or a YouTube channel. Other astronomers love seeing the sky from different locations. You can even set up a live feed that updates every minute. The Raspberry Pi can handle this without breaking a sweat.
Join forums like Cloudy Nights or the Raspberry Pi astronomy subreddit. Post your build. Ask questions. Share your mistakes. The community is friendly and full of people who have already solved the problems you are facing.
Final Thoughts on Your All-Sky Camera Journey
Building a DIY all-sky camera Raspberry Pi system is not just about the hardware. It is about creating a window to the sky that works while you sleep. You will wake up to images of meteors you would have missed, satellite trains crossing the Milky Way, and the quiet beauty of a night that never stops moving. Start with the parts list above, take your time with the assembly, and let the automation do the rest. The sky is waiting.

Post Comment