6 Easy DIY Projects to Track Planetary Hours from Your Backyard Observatory
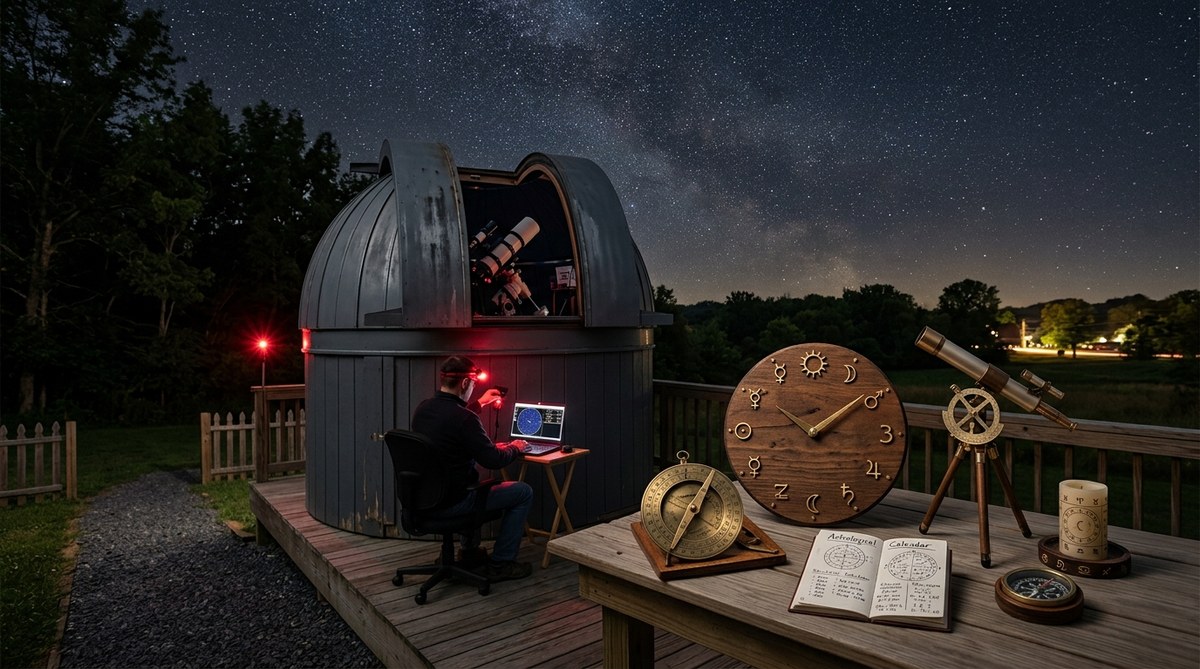
You stand under a clear night sky, your telescope aimed at Saturn, when a thought crosses your mind: people have been watching these same planets for thousands of years, but they didn’t just look. They timed their days by them. Planetary hours, also called planetary hours or astrological hours, divide daylight and nighttime into segments ruled by the seven classical planets. Saturn, Jupiter, Mars, the Sun, Venus, Mercury, the Moon. Each hour carries a different energy, and tracking them from your own backyard observatory connects modern stargazing to an ancient practice.
You don’t need expensive gear to track planetary hours. With a Raspberry Pi, a simple webcam, or even a printed wheel, you can calculate which planet rules any given hour from your backyard observatory. This guide walks through six DIY projects that make ancient timekeeping practical for amateur astronomers in 2026. No astrology degree required.
Why Planetary Hours Matter for Backyard Observers
Planetary hours follow a repeating 24-hour cycle based on the Chaldean order of the planets. The first hour of daylight on a Sunday belongs to the Sun. The first hour of Monday belongs to the Moon. Knowing which planet rules your observation window helps you plan sessions around specific celestial energies.
Say you want to photograph Jupiter. You check your planetary hours tracker and see that Jupiter rules the third hour after sunset on Tuesday. You set up your gear, and the timing aligns with when Jupiter sits highest in your local sky. This isn’t magic. It’s pattern recognition rooted in ancient astronomy.
For hobbyists who enjoy blending science with tradition, tracking planetary hours adds a layer of intentionality to every session. It turns a casual night of stargazing into a ritual tied to the solar system’s rhythm.
What You Need to Get Started
Before building anything, understand the basics. Planetary hours change daily because daylight and nighttime lengths shift with the seasons. A planetary hour in summer lasts longer than a planetary hour in winter. You need local sunrise and sunset times for your observatory’s coordinates.
Here is the core calculation:
- Find sunrise and sunset for your location on a given date.
- Divide the total minutes of daylight by 12. That is the length of one daylight planetary hour.
- Divide the total minutes of nighttime by 12. That is the length of one nighttime planetary hour.
- Assign the first daylight hour to the planet of the day. Sunday is the Sun, Monday is the Moon, Tuesday is Mars, Wednesday is Mercury, Thursday is Jupiter, Friday is Venus, Saturday is Saturn.
- Continue assigning planets in Chaldean order: Saturn, Jupiter, Mars, Sun, Venus, Mercury, Moon. Repeat until all 24 hours are filled.
That is the manual method. Now let us automate it.
Project 1: The Printed Planetary Hour Wheel
This is the simplest project and costs under $10. You print a wheel that shows the Chaldean order and the planet of the day. You rotate an outer ring to match your local sunrise and sunset.
Materials:
– Cardstock or heavy paper
– A brass brad fastener
– A printer
Steps:
1. Download a planetary hours template from an online source or draw your own.
2. Cut two circles. The inner circle lists the seven planets in Chaldean order. The outer circle has 24 slots for hours.
3. Mark your local sunrise and sunset on the outer ring.
4. Fasten the circles together with the brad.
Each day, you rotate the inner circle so the planet of the day aligns with the first daylight hour. The wheel shows you which planet rules any hour. Keep it near your observatory computer for reference.
This project works well for beginners who want a tactile reference before moving to digital tools.
Project 2: A Raspberry Pi Planetary Hour Display
If you already run a Raspberry Pi for your observatory’s automation, this project adds a planetary hours readout to your setup. The Pi pulls sunrise and sunset data from an online API, calculates the planetary hours, and displays the current ruler on a small screen.
Parts list:
– Raspberry Pi 4 or 5
– Small OLED or LCD display
– Internet connection (or cached sunrise data)
Code approach:
1. Use Python to fetch sunrise and sunset times from the NOAA solar calculator API.
2. Calculate the length of each planetary hour.
3. Determine the planet of the day using the day of the week.
4. Assign planets in Chaldean order.
5. Display the current planetary hour on the screen.
Here is a simplified code snippet to get you started:
import datetime
import requests

# Fetch sunrise/sunset for your lat/lon
response = requests.get("https://api.sunrise-sunset.org/json?lat=40.1&lng=-74.9")
data = response.json()
sunrise = data["results"]["sunrise"]
sunset = data["results"]["sunset"]

# Calculate daylight and nighttime minutes
# ... (parse times, calculate differences)
# Then assign planets using Chaldean order
Mount the display inside your observatory. The screen updates in real time, showing you which planet rules the current hour. This is the most popular DIY project among our readers because it integrates directly with existing observatory hardware.
For a deeper look at setting up automated displays, read our guide on building an all-sky camera system to monitor celestial patterns year-round.
Project 3: The Spreadsheet Tracker
Not everyone wants to code. A Google Sheets or Excel spreadsheet can calculate planetary hours for any date and location. This is ideal for amateur astronomers who prefer planning sessions weeks in advance.
Setup steps:
- Create columns for date, sunrise, sunset, daylight minutes, nighttime minutes, and hour length.
- Enter a formula that divides daylight minutes by 12.
- Use a lookup table for the planet of the day.
- Generate a 24-hour schedule for each date.
Pro tip: Add a column for your local time zone offset. Planetary hours are tied to local solar time, not your clock time. If you live in a time zone with daylight saving time, account for the shift.
You can print the spreadsheet and keep it in a binder next to your telescope. Or share it with your local astronomy club. One spreadsheet covers an entire year.
Common Mistakes When Tracking Planetary Hours
Even experienced observers make errors. Here is a table of the most frequent mistakes and how to avoid them.
| Mistake | Why It Happens | How to Fix It |
|---|---|---|
| Using clock hours instead of planetary hours | Planetary hours change length daily. Clock hours are fixed. | Calculate hour length from sunrise and sunset. |
| Forgetting daylight saving time | Your clock shifts but the Sun does not. | Use UTC for all calculations. Convert to local time after. |
| Assigning the wrong planet of the day | The planetary week starts at sunrise, not midnight. | The first daylight hour on Sunday belongs to the Sun, not Saturday night. |
| Ignoring twilight | Civil twilight affects when daylight hours begin. | Use sunrise and sunset times that match your definition of day. |
| Using the wrong Chaldean order | The sequence must be Saturn, Jupiter, Mars, Sun, Venus, Mercury, Moon. | Write the order on your workspace until it becomes automatic. |
“I spent three weeks wondering why my planetary hour readings felt off. Turned out I was using the wrong planet of the day because I started counting at midnight instead of sunrise. Fixing that one detail made everything click.”
* Tom S., backyard observer from Ohio
Project 4: The Analog Sundial Companion
A sundial shows solar time. With a few modifications, it can also indicate which planetary hour you are in. This project appeals to hardware enthusiasts who enjoy working with their hands.
What you need:
– A flat wooden or stone base
– A gnomon (the shadow-casting piece)
– Engraved planetary hour marks
Construction:
1. Calculate the shadow angles for each planetary hour on the equinox. These angles change throughout the year, so mark the base for at least four key dates: the equinoxes and solstices.
2. Engrave the planet symbols next to each mark.
3. Align the sundial true north using your observatory’s compass.
This project takes a weekend to build but lasts for years. It also makes a great conversation piece when other amateur astronomers visit your observatory.
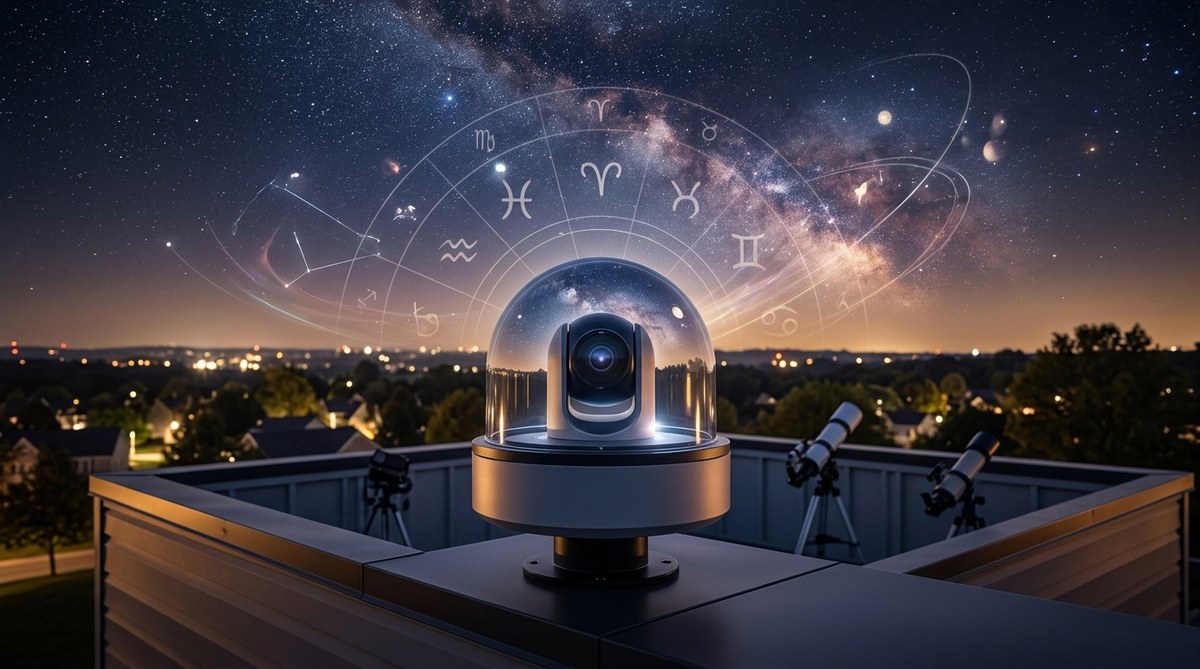
Project 5: The All-Sky Camera Overlay
If you run an all-sky camera, you can overlay planetary hour information directly onto your live feed. This gives you a visual reference while you monitor the sky remotely.
How it works:
1. Your all-sky camera software captures frames every minute.
2. A script calculates the current planetary hour.
3. The script overlays the planet name and symbol onto the image.
4. The final image uploads to your observatory website or local archive.
This project combines two popular observatory tools: live sky monitoring and planetary timekeeping. Check out our guide on how to use your all-sky camera to track astrological transits for more ideas on integrating these systems.
Project 6: The Smartphone Widget
For observers who want planetary hours on the go, build a simple web app that runs on your phone. No app store submission needed. Just a responsive HTML page hosted on your observatory’s local server.
Features to include:
– Current planetary hour display
– Next hour preview
– Planet of the day
– Custom location input
Tech stack:
– HTML, CSS, JavaScript
– A free sunrise-sunset API
– Host it on your Raspberry Pi or a free static host
This widget is especially useful when you are away from your observatory and planning a session. Check your phone, see that Mars rules the next hour, and decide to focus on red planet observations.
Building a Complete Planetary Hours Tracking System
You do not have to choose one project. Many observatory owners combine several. They use the Raspberry Pi display indoors, the smartphone widget on the go, and the printed wheel as a backup when technology fails.
Here is a practical workflow:
- Sunday evening: Check the spreadsheet for the week ahead.
- Set up the Pi display to show real time updates.
- When observing, glance at the all-sky camera overlay to confirm the current planetary ruler.
- Log your observations with the planetary hour noted.
This system takes about two weekends to build from scratch. The cost ranges from $10 for the printed wheel to around $80 for the Raspberry Pi setup.
How Planetary Hours Enhance Specific Observations
Different planets rule different hours. Aligning your observation with the corresponding planetary hour can make the session feel more intentional.
- Saturn hours: Best for contemplative, slow-paced observation. Saturn rules the hour, so take your time with sketches.
- Jupiter hours: Ideal for imaging. Jupiter’s hour often coincides with good seeing conditions.
- Mars hours: Great for tracking surface details during opposition.
- Venus hours: Use these for twilight observations when Venus is visible.
- Mercury hours: Challenging but rewarding. Mercury hours are short and often near the horizon.
- Moon hours: Perfect for lunar photography. The Moon rules these hours.
- Sun hours: Reserved for solar observation with proper filtration.
If you want to see how planetary alignments look through a telescope, read our article on how planetary alignments actually look through a backyard telescope.
Troubleshooting Your Planetary Hours Setup
Even well built trackers have hiccups. Here are common issues and solutions.
The display shows the wrong planet. Double check the planet of the day calculation. Sunday is always the Sun, Monday is the Moon, and so on. If you started counting at midnight instead of sunrise, the entire schedule shifts.
The hour lengths seem off. Verify your sunrise and sunset times. A one minute error in sunrise can throw off the entire day’s calculations. Use a reliable source like the US Naval Observatory.
The spreadsheet won’t update. Check your time zone settings. If you entered UTC times but your formulas expect local time, the results will be wrong.
The sundial disagrees with the digital tracker. This is normal. Sundials show apparent solar time, while digital trackers use mean solar time. The difference, called the equation of time, can be up to 16 minutes.
Taking Your Tracking to the Next Level
Once you have a working system, consider these upgrades:
- Add a weather feed that suggests the best planetary hours for the current conditions.
- Connect your telescope mount to the planetary hours tracker so it automatically slews to the ruling planet.
- Log your observations with timestamps and planetary hours to look for patterns over months or years.
- Share your data with other backyard observers. Many clubs maintain shared logs of planetary hour observations.
If you enjoy automating your observatory, our guide on how to automate your backyard observatory with open-source software covers the tools you need to integrate planetary hours into a fully automated system.
Bringing Planetary Hours Into Your Regular Observing Routine
Start small. Pick one project from this list and build it over a weekend. Use it for a week. See how it changes your relationship with the night sky. You might find that tracking planetary hours turns a scattered observing session into a focused practice.
The ancient astronomers who developed this system did not have Raspberry Pis or all-sky cameras. They used the Sun, the Moon, and the stars. You have those same tools plus modern technology. That combination is powerful.
Set up your planetary hours tracker. Let it guide your next observation. Whether you are imaging Jupiter’s bands or watching a meteor shower, knowing which planet rules the hour adds depth to the experience. The sky has been keeping this rhythm for millennia. Now you can track it from your own backyard observatory.

Post Comment