Mapping Your Birth Chart to the Night Sky: A Practical Telescope Guide
Your birth chart is a map of the sky at the exact moment you took your first breath. Every planet, every degree, every house cusp points to a real star or planet that was shining somewhere above Earth that day. For years you have studied your Sun sign, your Moon sign, and your rising sign on paper. Now imagine standing under that same sky with a telescope and seeing those points of light with your own eyes. It changes everything.
This birth chart telescope guide walks you through the five steps to turn your natal chart into a real observing plan. You will learn how to translate zodiac degrees into celestial coordinates, choose the right eyepiece for planets versus stars, and avoid the most common mistakes beginners make when mixing astrology and astronomy. By the end you will have a repeatable method you can use tonight.
Why Your Birth Chart Is Already an Observing Plan
Your birth chart contains everything you need to start looking. Each planet sits at a specific ecliptic longitude, measured in degrees of the zodiac. For example, if your Sun is at 15 degrees Leo, that point lies about 15 degrees east of Regulus, the heart of the Lion. Your rising sign marks the eastern horizon at your birth time, which is a line you can see as the sky rotates. Even your house cusps correspond to actual sky positions that change with your birth location.
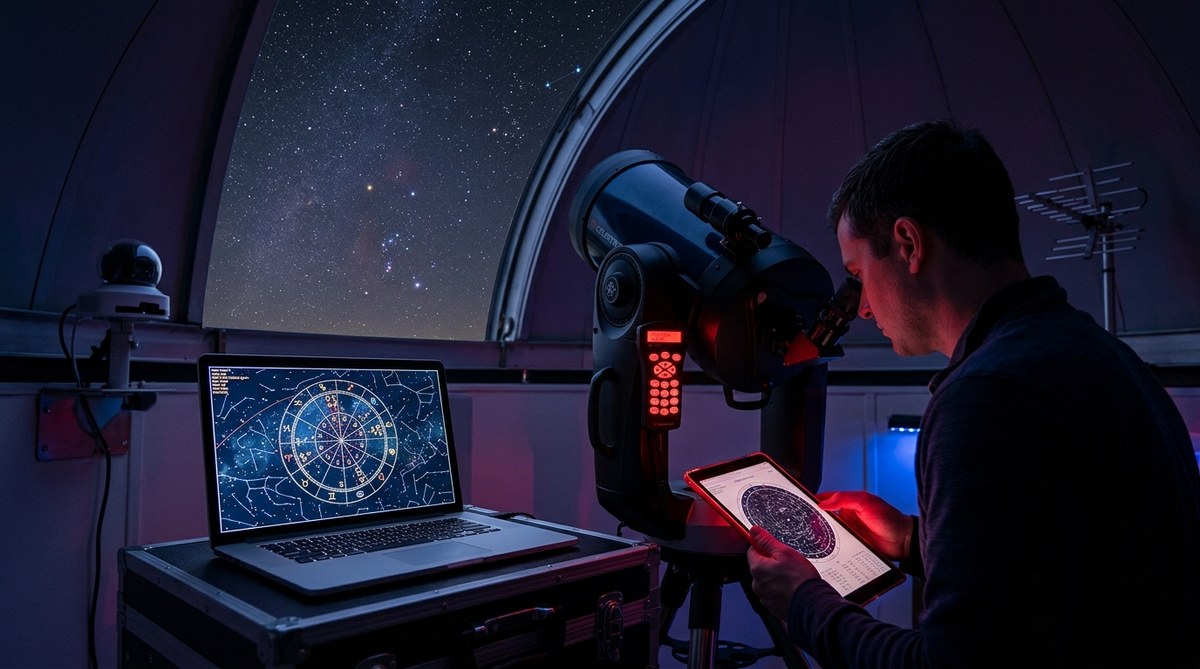
The trick is knowing how to translate those astrological symbols into right ascension and declination, the coordinates astronomers use. Most free birth chart calculators give you the tropical zodiac positions. You can plug those into any planetarium software, or use a phone app like Stellarium or SkySafari, and the app will show you exactly where to point your telescope.
We have a full guide on free sky mapping software every remote observatory owner should know about that works great for this purpose.
Step by Step: Translating Your Chart to the Sky
Follow these five steps to go from a printed birth chart to a successful observing session.
-
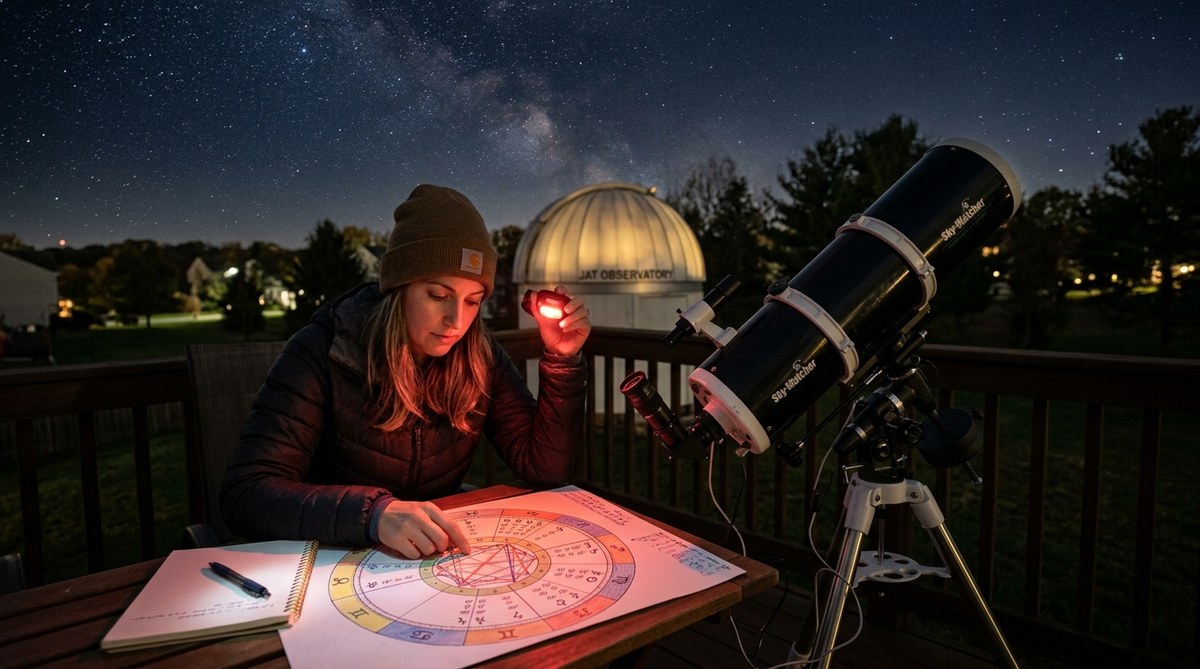
Get your precise birth chart positions. Use a reliable website like astro.com or astro-seek.com. Make sure you enter your exact birth time and location. Write down the zodiac degree and minute for each planet, your Ascendant, and your Midheaven. Also note the Moon’s north node if you like to work with it.
-
Convert zodiac degrees to approximate right ascension. Each zodiac sign spans 30 degrees of ecliptic longitude. Aries starts at 0 degrees, Taurus at 30, Gemini at 60, and so on. Add the degrees within the sign to the offset for that sign. For 15 Leo, Leo starts at 120 degrees, so add 15 to get 135 degrees ecliptic longitude. That number is very close to right ascension in degrees (divide by 15 to get hours, but software does this automatically).
-
Open a planetarium app. Set your location to where you were born, or where you plan to observe. Some apps let you set the time to your birth moment. That is helpful for seeing the sky exactly as it was. But for practical viewing tonight, set the time to now and enter the ecliptic longitude of each target. The app will show you where those points are in the current sky.
-
Create a prioritized list. Planets that are bright like Venus, Jupiter, Saturn, and Mars will show up clearly even in a small telescope. Outer planets like Uranus and Neptune are fainter but still visible with a 4 inch scope under dark skies. Stars on your chart (like fixed stars conjunct your planets) require a bit more precision. Start with the easy ones first.
-
Go outside and find them. Use a red flashlight to preserve your night vision. Start with the brightest naked eye planet or star near your target, then use your telescope’s finder to hone in. Use the lowest magnification eyepiece to get your bearings, then switch to higher power for details.
“The first time I put my eye to the eyepiece and saw Jupiter exactly where my birth chart said it should be, I felt a direct connection to the cosmos that no book could have given me.” — Sarah M., amateur astrologer and telescope owner.
What You Can Expect to See Through the Eyepiece
Not everything in your birth chart looks equally impressive through a telescope. Some planets show detail, some show only a colored dot, and some require practice to find at all. The table below summarizes what each type of object looks like in a typical 6 inch or 8 inch Dobsonian telescope. Keep in mind that light pollution and atmospheric conditions affect visibility.
| Object Type | What You Will See | Typical Equipment Needed | Common Mistake |
|---|---|---|---|
| Moon (always in your chart but moves | Craters, maria, terminator shadows | Any telescope, even a small refractor | Forgetting that the Moon changes position each night; check its current location. |
| Inner planets (Mercury, Venus) | Phases like a tiny Moon | 3 inch or larger | Trying to observe Mercury too close to the horizon or during daytime. |
| Mars | Small orange disk, occasional dark markings near opposition | 6 inch or larger at high power | Expecting to see canals at any time; surface detail is seasonal. |
| Jupiter | Cloud bands, Great Red Spot (if facing Earth), four Galilean moons | 4 inch or larger | Using too high magnification before finding the planet at low power. |
| Saturn | Rings, Cassini Division in good seeing, some moons | 4 inch or larger | Not letting the telescope cool down to outside temperature; image shimmers. |
| Uranus and Neptune | Small blue-green or blue disks, no detail | 6 inch or larger under dark sky | Confusing them with nearby stars; use a detailed star chart. |
| Pluto | Not visible in most backyard telescopes | 10 inch or larger + dark site + accurate coordinates | Expecting to see anything but a faint star-like point. |
| Fixed stars (e.g., Regulus, Spica, Aldebaran) | Sharp points of light, some show color (red/blue) | Any telescope | Not knowing that stars always appear as points even at high magnification. |
| Star clusters on your chart (e.g., Pleiades) | Dozens to hundreds of stars in a group | Low magnification, wide field eyepiece | Using too much power so the cluster does not fit in the field of view. |
Common Mistakes When Following a Birth Chart Telescope Guide
Even experienced stargazers make errors when they first try to link astrology with telescope use. Here are the most frequent pitfalls and how to avoid them.
-
Mixing up tropical and sidereal zodiac. Most Western astrology uses the tropical system, which is based on the seasons. The sidereal system used in Vedic astrology aligns with the actual constellations. If you use a sidereal birth chart to look for the constellation Aries, you will be about 24 degrees off from the tropical position. Double check which system your chart uses before you go outside.
-
Forgetting about precession. The Earth’s axis wobbles slowly over 26,000 years. That means the positions of the fixed stars shift about 1 degree every 72 years. Your birth chart is cast for a specific date, but the sky tonight has moved slightly. Modern planetarium software accounts for precession when you set the date to your birth year. Always use the “for epoch of date” setting, not “J2000” unless you are comparing to old star atlases.
-
Ignoring your latitude. Your Ascendant and house cusps depend on your birth location’s latitude. If you now live hundreds of miles north or south of where you were born, the rising sign you see on the eastern horizon tonight may be different. To see the same rising star, you need to go to your birthplace, or use software that lets you simulate that location.
-
Trying to observe during the wrong season. A planet or star that was on your Midheaven at birth might now be invisible because it is too close to the Sun or below the horizon at night. Your birth chart telescope guide should include a visibility window. Most planetarium apps show you when each object rises and sets for the current date. Plan your session for when your target is at least 20 degrees above the horizon.
-
Forgetting the Moon. Your birth chart Moon sign is based on the Moon’s position at your birth. But the Moon moves about 13 degrees per day. To see the Moon exactly as it was at your birth, you would have to wait for a month when it returns to that same zodiac degree. However, you can still observe the Moon in the general sign area and feel the connection.
A Scan of Key Points to Check Before You Observe
Use this checklist before you head out to make sure you are prepared.
- Your telescope is cool enough (at least 30 minutes for a reflector, 15 for a refractor).
- You have a red flashlight and a printed or phone based star map.
- Your finder scope is aligned with the main telescope during daylight.
- You know the local time of sunset and when your target will be highest in the sky.
- You have a comfortable chair or stool for long sessions.
- You wear enough layers; even summer nights get chilly.
- You have a plan B if clouds roll in (checking weather radar apps counts).
The Best Times to View Your Birth Chart Planets
Each planet has an optimal observing window. Venus and Mercury are morning or evening objects only. Mars, Jupiter, and Saturn are best near opposition, when they are opposite the Sun in our sky. You can find opposition dates for each year in astronomy magazines or online.
For fixed stars, the best time is when they cross the meridian, the imaginary line from north to south overhead. That is when they are highest and least affected by atmospheric turbulence. A simple rule: if a star is on your Midheaven (top of the chart), it will be near or at the meridian at your birth time. Tonight, find a star that has a similar right ascension to the current sidereal time.
If you enjoy tracking celestial events, you might also like our article on 5 celestial events that shaped astrological traditions and how to observe them today. It gives historical context for what you are seeing.
Making the Experience Personal
This birth chart telescope guide is about more than just pointing a lens. It is about feeling the weight of the sky. When you look at the same Jupiter that was rising when you were born, you are witnessing a truth that transcends time. The photons hitting your eye left the planet about 40 minutes ago (give or take depending on its distance). They traveled across the solar system to meet you.
For a deeper connection, try this: set up your telescope at the same time of day you were born, on a date when the sky aligns closely with your birth chart. Use software to find the current position of your natal planets. Then just sit and watch. You do not have to take notes. You do not have to photograph anything. Just let the light in.
If you want to photograph what you see, our guide on how to photograph the Andromeda galaxy from a suburban backyard observatory offers techniques that translate well to planetary and lunar imaging too.
Your Birth Chart Sky Is Waiting
You already have all the information inside your birth chart. The degrees and symbols are not just abstract concepts. They are coordinates to a real sky that exists above you. Use the steps in this birth chart telescope guide to take the abstract and make it tangible. Start with the brightest planet in your chart. Find it tonight. Look at it. Let that moment land.
The stars that marked your entrance into this world are still there, shining the same light they have for billions of years. They are not just part of your chart. They are part of your story. Go outside and read that story with your own eyes.
Post Comment