DIY Guide to Building a Portable Sky Quality Meter for Remote Observatories
Building a reliable sky quality measurement device can significantly improve your remote observatory’s performance. Whether you want to monitor light pollution, assess sky conditions, or support your astronomy projects, creating a portable sky quality meter offers a practical and cost-effective solution. This guide walks you through the process of designing and assembling your own device, helping you obtain accurate sky brightness readings from off-grid locations.
A DIY sky quality meter allows remote observatory operators to measure sky brightness accurately. It is portable, affordable, and adaptable for various environments, enhancing your ability to monitor light pollution and optimize observing conditions effectively.
Understanding the Importance of a Sky Quality Meter
A sky quality meter (SQM) is an instrument that quantifies the brightness of the night sky. For remote observatories, knowing the sky’s darkness level is crucial. Light pollution can drastically affect the quality of astronomical data, especially when observing faint objects like galaxies or nebulae. By building your own sky quality meter, you gain a tailored device suited to your specific needs and environment.
An effective sky quality measurement helps in planning observations, choosing optimal nights, and documenting changes in light pollution over time. When you operate from off-grid locations, having a portable and reliable device becomes even more important. It provides real-time feedback, allowing you to make informed decisions about when and where to observe.
Components Needed for Your DIY Sky Quality Meter
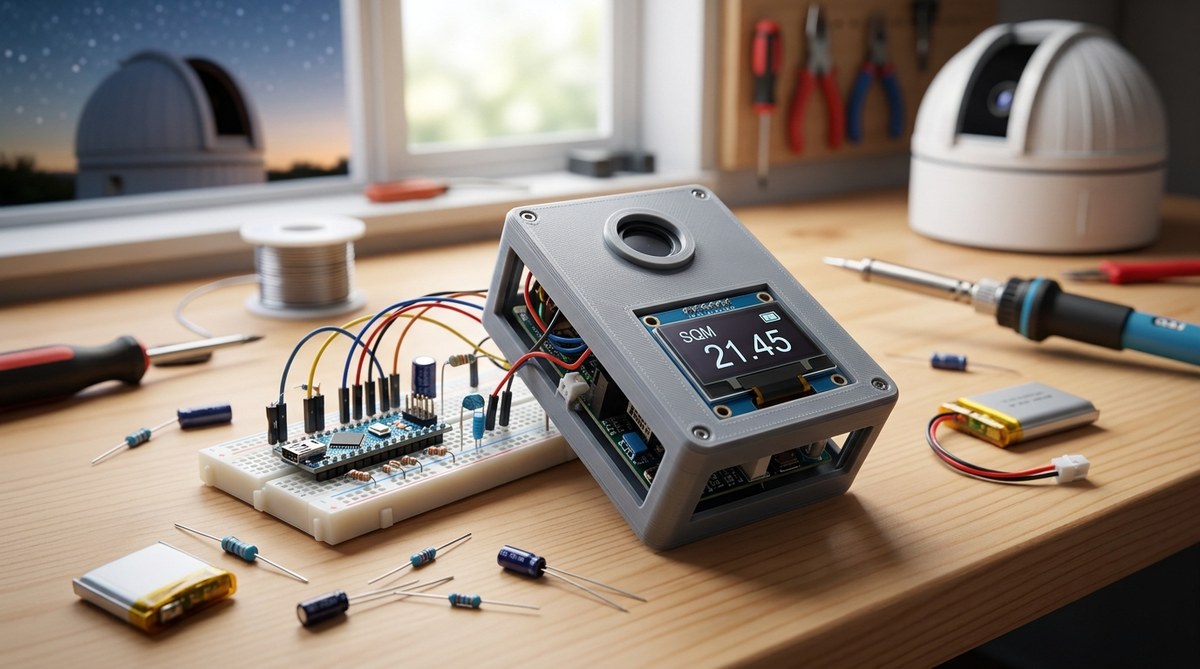
Creating a sky quality meter involves selecting the right hardware components. Here is a list of essentials:
- Photodiode or Light Sensor: Sensitive to low light levels, a photodiode or a silicon light sensor forms the core of your device.
- Microcontroller: A small, programmable device like an Arduino or Raspberry Pi will process sensor data.
- Display Module: An LCD or OLED screen to show real-time sky brightness readings.
- Power Source: Batteries or portable power packs to ensure mobility.
- Enclosure: Weatherproof box to protect electronics during outdoor use.
- Connectivity: Optional components like Bluetooth or Wi-Fi modules for data logging or remote monitoring.
When selecting sensors, look for those with spectral response similar to the human eye or the standard used in professional SQMs. Many hobbyist sensors are compatible with open-source platforms, making integration straightforward.
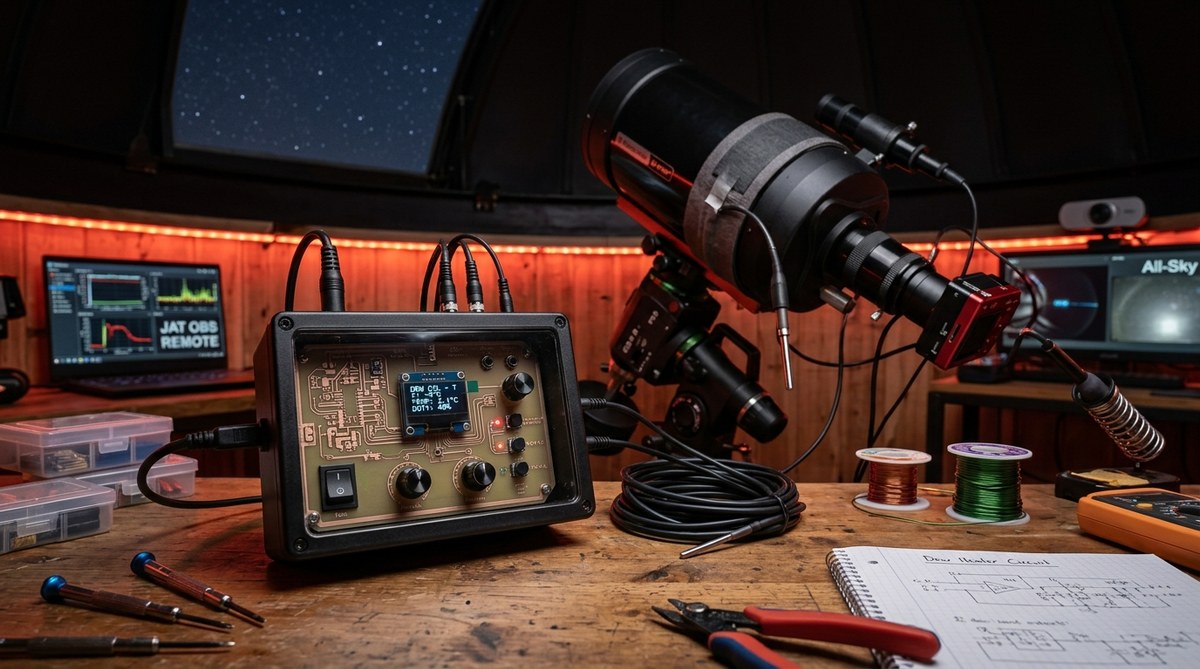
Building Your Portable Sky Quality Meter: Step-by-Step Process
Constructing your device involves a few practical steps. Here is a clear process to guide you:
-
Choose the Right Sensor: Select a photodiode or light sensor with high sensitivity to low light and a spectral response close to the human eye. Popular options include the TSL2591 or BH1750 sensors.
-
Setup the Microcontroller: Program your Arduino or Raspberry Pi to read data from the sensor. Utilize open-source libraries to simplify coding.
-
Connect the Display: Attach an LCD or OLED screen to display sky brightness readings. Test the display separately before integration.
-
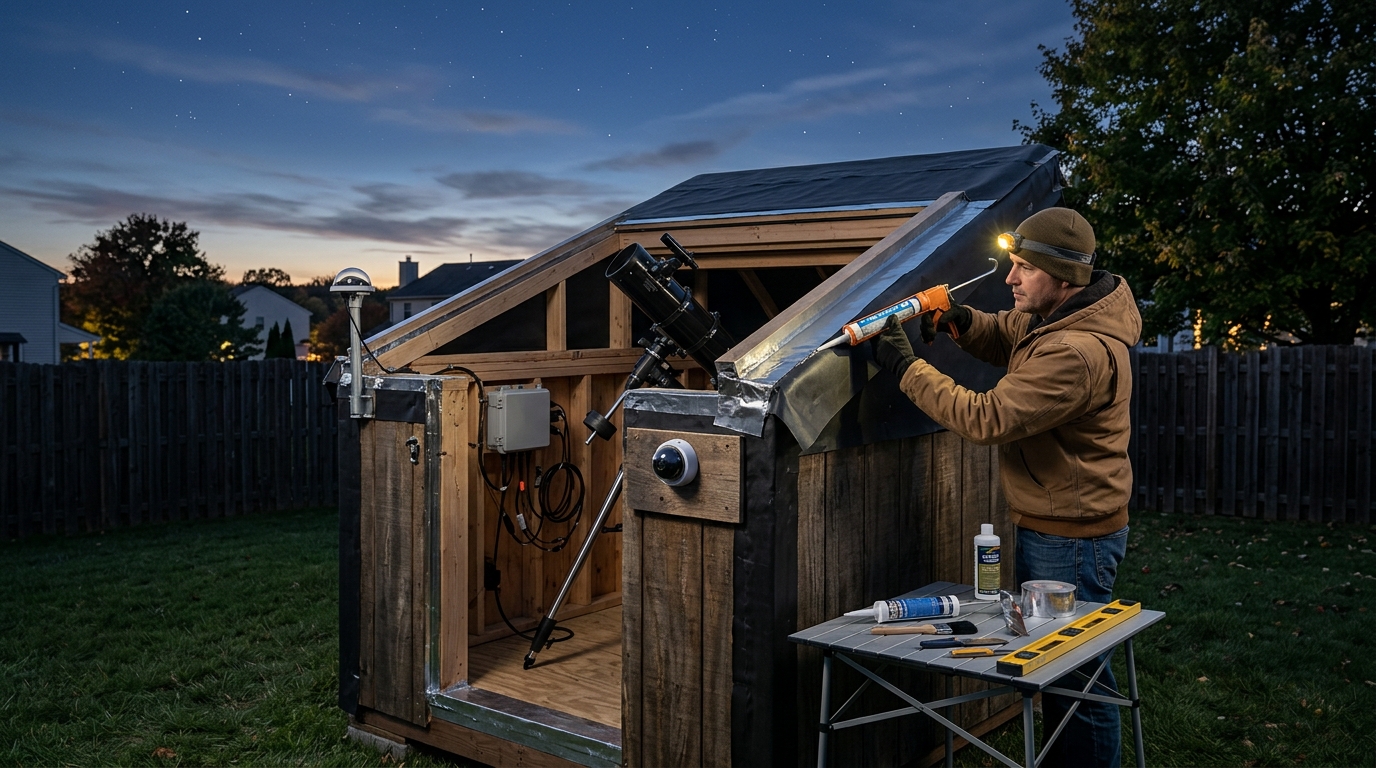
Assemble the Components: Mount all parts securely inside a weather-resistant enclosure. Ensure the sensor has an unobstructed view of the sky.
-
Power Up and Calibrate: Connect the power source and calibrate your device by comparing readings against a known standard or a professional SQM. Calibration ensures accuracy in measurements.
-
Implement Data Logging: For extended monitoring, add data logging capabilities via SD cards or wireless modules. This helps track sky conditions over time.
-
Test in the Field: Take your device outside during different nights. Record and analyze the data to confirm performance and make adjustments if necessary.
Practical Tips for Success
- Use a light-tight or shaded housing to prevent stray light from skewing results.
- Position the sensor at a fixed height and orientation for consistency.
- Regularly calibrate your device, especially if used over long periods.
- Document your build process and calibration procedures for future reference.
Techniques to Maximize Measurement Accuracy
Accurate sky brightness readings depend on proper setup and calibration. Here are some techniques and common mistakes to avoid:
| Technique | Mistake | Explanation |
|---|---|---|
| Proper sensor calibration | Skipping calibration | Always compare your readings to a professional SQM or known dark sky standard. |
| Consistent sensor placement | Moving sensor location | Keep the sensor fixed in the same position and orientation for reliable data. |
| Shielding from direct light sources | Exposing sensor to nearby lights | Prevent local light pollution from influencing measurements by shielding or shading the sensor. |
| Regular maintenance and calibration | Ignoring calibration schedule | Over time, sensors drift; recalibrate regularly for consistent results. |
| Using weatherproof enclosures | Leaving electronics exposed | Protect the electronics from moisture and dust to avoid damage and measurement errors. |
Expert tip: For best results, perform calibration under clear, dark sky conditions and keep detailed logs of your calibration process. This ensures your measurements remain trustworthy over time.
Troubleshooting Common Challenges
While building your own sky quality meter is rewarding, you might encounter some issues. Here are typical challenges and solutions:
- Sensor not responding: Check all connections; ensure your code correctly reads sensor data.
- Inconsistent readings: Calibrate regularly; verify sensor placement and shielding.
- Device not turning on: Test power supply; ensure batteries are charged and connections are secure.
- Data not logging properly: Confirm storage media is formatted correctly; review your code for errors.
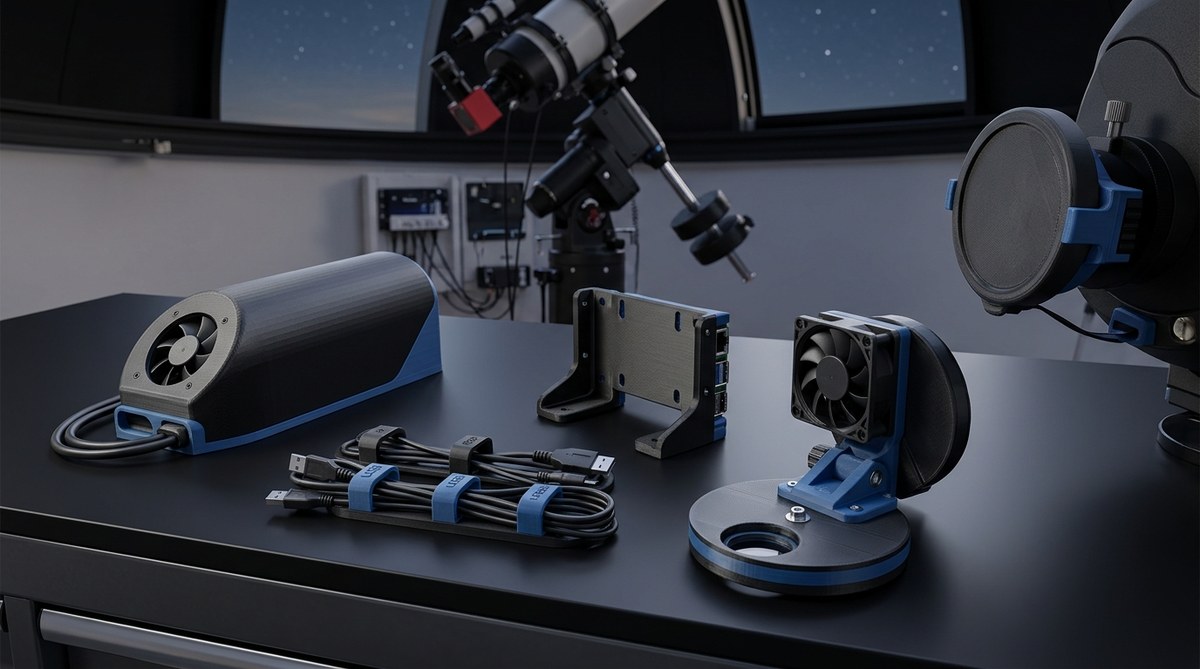
Enhancing Your Sky Monitoring Capabilities
You can expand your DIY sky quality meter by adding features such as remote data access, automated logging, or integrating with other observatory systems. For example, combining your device with a weather station can help correlate sky brightness with atmospheric conditions.
Some builders use open-source software like Open Sky Network or custom scripts to automate data collection and visualization. This approach provides a comprehensive understanding of your observing environment.
Final Thoughts on Building a Portable Sky Quality Meter
Constructing your own device empowers you to monitor sky conditions precisely from remote locations. It enables better planning, improves data quality, and deepens your understanding of light pollution impacts in your area.
Start with simple components, calibrate carefully, and gradually add features as you gain confidence. Remember, the key to effective sky measurement is consistency and regular calibration.
Your homemade sky quality meter can become an essential tool in your astronomy toolkit, helping you make the most of every clear night. Grab your tools, gather your components, and begin crafting a device that will serve your astronomical pursuits for years to come.
Tracking Light Pollution and Supporting Your Astronomy Passions
Monitoring sky brightness with a DIY sky quality meter not only improves your observational results but also contributes valuable data to the broader community. By sharing your findings, whether through online forums or citizen science projects, you help raise awareness about light pollution and advocate for darker skies.
Remember, the journey of building your own sky quality meter is as rewarding as the data you collect. With a little patience and ingenuity, you can create a reliable, portable device that enhances your remote observatory’s capabilities and deepens your connection to the night sky.
Post Comment