Is Your Remote Observatory Ready for Fully Automated Run Mode?
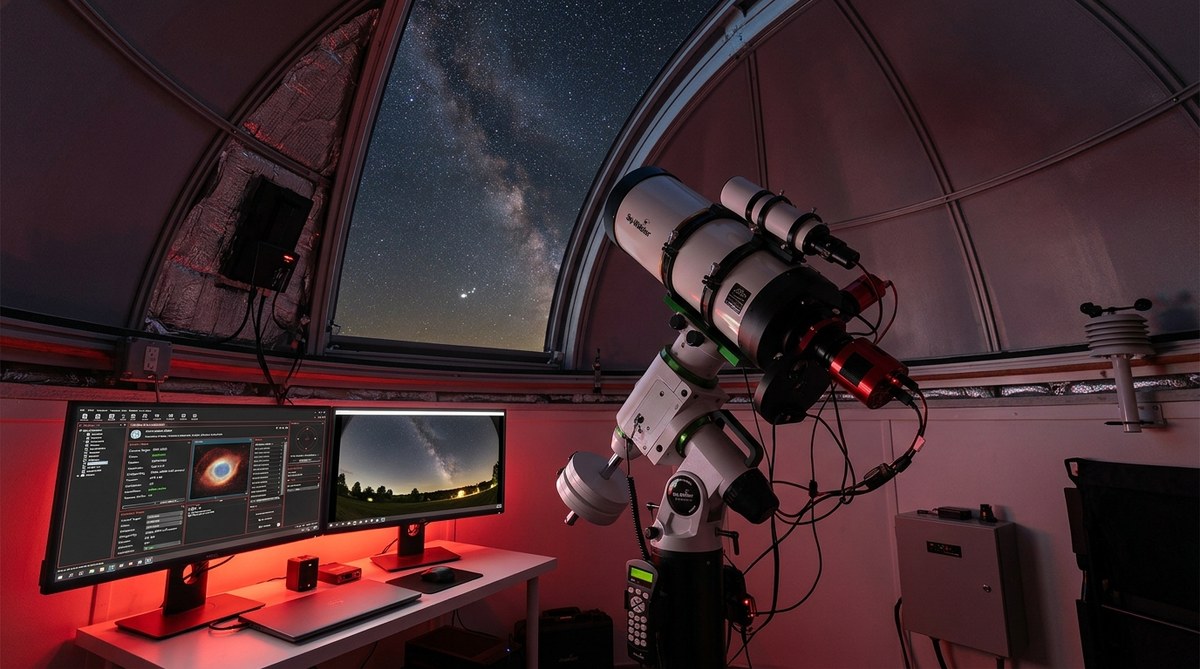
Your observatory sits out in the backyard, or maybe it is hours away at a dark site. You drive out, set up, tear down, and drive back. That routine works when you have free time. But what about when the weather turns perfect on a Tuesday night and you are stuck at work? That is where remote observatory automation changes everything. Going fully automated lets your gear work for you, not the other way around. You can start imaging as soon as the roof opens, without standing next to the mount. The question is: are you ready?
Automation is more than buying a smart controller. You need reliable hardware, robust software, fail safes, and a mindset shift. This guide walks through the core components, common pitfalls, and a practical checklist to get your remote observatory running hands off. Whether you are starting from scratch or upgrading an existing setup, these steps will help you avoid costly mistakes and enjoy the night sky more.
What Does Fully Automated Operation Actually Mean?
Full automation means your observatory can run a session from start to finish without human input. The roof opens, the mount unpacks, the camera cools and starts your sequence, the focuser adjusts, the filter wheel changes, the guiding kicks in, and when dawn hits, everything parks and closes. You press one button (or set a schedule) and walk away. No late nights hunched over a laptop.
The Three Pillars of Automation
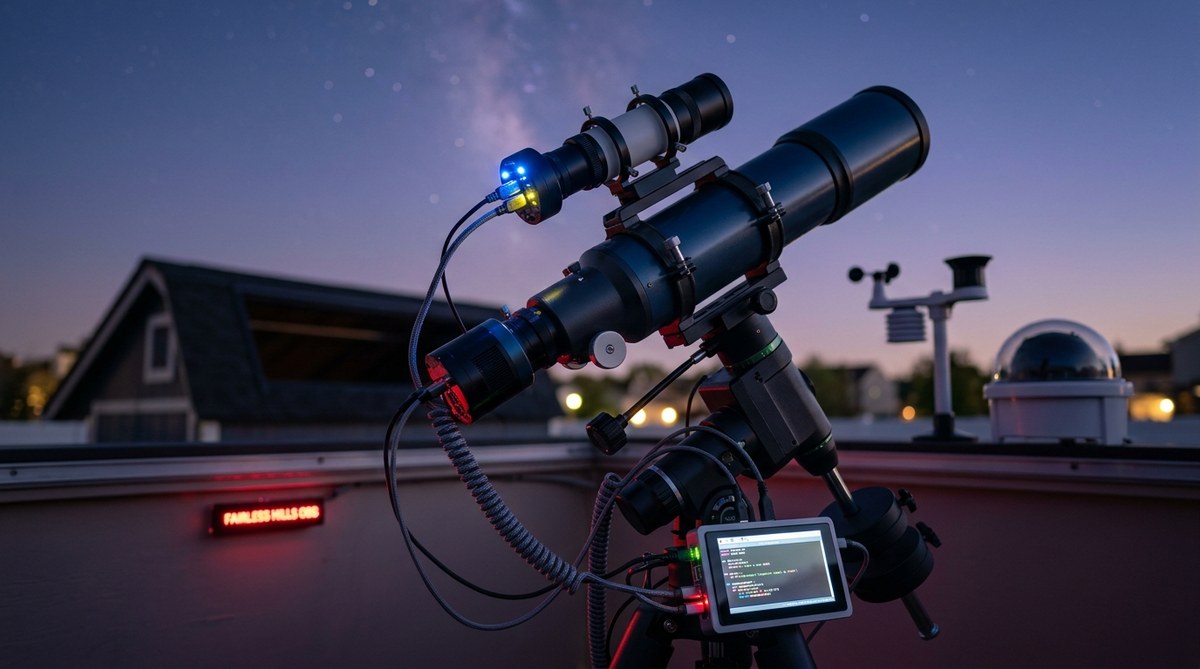
- Robust Hardware – Mount, camera, focuser, filter wheel, roof controller, power distribution, and weather sensors. All must be reliable and remotely controllable.
- Intelligent Software – An automation suite that orchestrates the sequence, monitors conditions, and handles errors gracefully.
- Trustworthy Infrastructure – Network connectivity, power backup, remote access, and fail safe logic that keeps your gear safe when something goes wrong.
If any of these pillars wobbles, your automation dream turns into a nightmare of lost data or damaged equipment.
Hardware: The Foundation of Remote Observatory Automation
Your mount is the heart of the system. For automation, you need a mount with absolute encoders or reliable home sensors. Without them, you cannot trust the mount to park correctly after a lost connection. Many modern mounts from brands like iOptron, Sky-Watcher, and Software Bisque include homing features, but check your specific model.
Next, your camera. Cooled CMOS cameras are the standard now for deep sky. Make sure your camera supports software based cooling control and has a known ASCOM or INDI driver that works with your automation platform. The same goes for your filter wheel and focuser. If they require manual adjustments, automation will be difficult.
Power management is often overlooked. You need a power distribution box that can switch individual outlets on and off remotely. When something freezes (and it will), being able to power cycle a USB hub or camera from your phone is a lifesaver. Systems like the Pegasus Astro Pocket Power Box or the Lunatico Astro Dragonfly are popular choices.
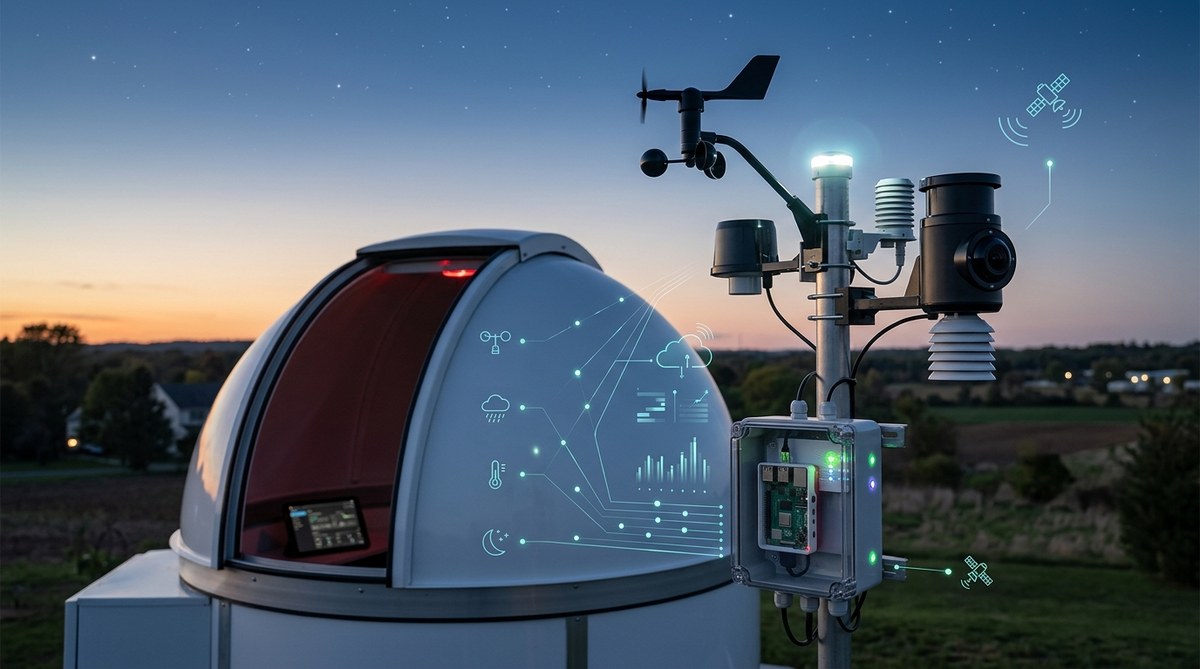
Weather sensors are non negotiable. A rain sensor, cloud sensor, anemometer, and temperature/humidity probe should all feed data to your automation software. When the wind picks up or rain starts, the software must close the roof without waiting for you. Do not rely on a single sensor. Redundancy matters.
Software: Choosing Your Command Center
Several automation platforms dominate the market today. The most common choices for remote observatory automation are:
- N.I.N.A. (Nighttime Imaging ‘N’ Astronomy) – Free, open source, Windows based, with a huge plugin ecosystem. Perfect for budget conscious astrophotographers.
- TheSkyX – Paid, but offers deep telescope control and automation features, especially with Software Bisque mounts.
- Sequence Generator Pro – A powerhouse for sequencing, with built in automation and framing tools.
- INDI / Ekos – Linux/ Mac friendly, open source, with strong support for many cameras and mounts. Great for DIY setups.
Each platform handles weather decisions, sequence progress, and error recovery differently. You need to pick one and commit.
A Quick Comparison Table
| Feature | N.I.N.A. (Free) | TheSkyX (Paid) | Sequence Generator Pro (Paid) | INDI/Ekos (Free) |
|---|---|---|---|---|
| Platform | Windows | Windows/Mac | Windows | Linux/Mac |
| Driver Model | ASCOM | ASCOM/Plug-in | ASCOM | INDI |
| Built-in Weather Monitoring | Yes (plugins) | Yes | Yes (external) | Yes |
| Automatic Mount Park/Awake | Yes | Yes | Yes | Yes |
| Error Recovery | Good | Good | Fair | Good |
| Community Support | Excellent | Good | Good | Excellent |
“Automate everything you can, but always have a manual override. The best automation systems I have seen are the ones that also teach you how to take control when needed.” – An experienced remote observatory owner who runs three sites across Arizona.
Network and Remote Access: Staying Connected
You cannot automate what you cannot reach. A stable internet connection is critical. A cellular backup can save you when your home ISP goes down. Use a VPN (like WireGuard or OpenVPN) to secure your remote connection. Never expose your observatory software directly to the internet.
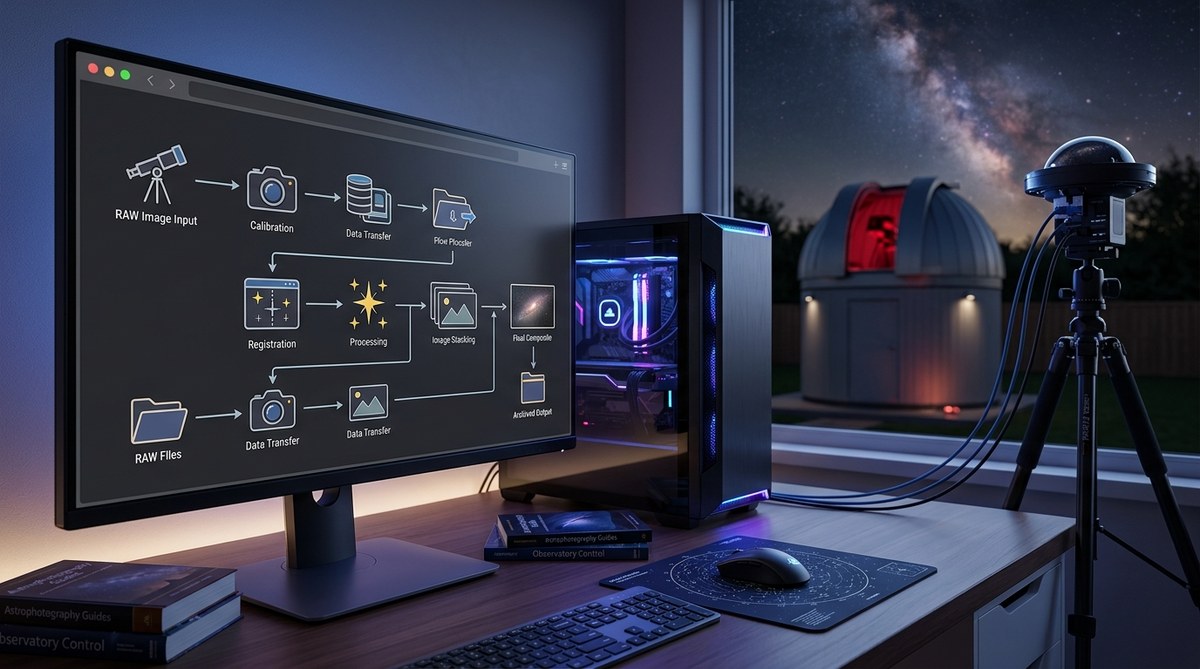
Your on site computer should be a mini PC that runs 24/7 with minimal power draw. Wake on LAN is useful for rebooting remotely. Always configure the BIOS to power on after a power loss. Keep the PC light weight; you do not need a gaming rig for automation.
Safety First: Fail Safes You Cannot Skip
Mistakes happen. Here is a list of common automation failures and how to handle them:
- Lost mount connection – Software should automatically stop tracking and close the roof after a timeout.
- Sudden rain – Rain sensor triggers immediate roof closure, even if the sensor is wet from dew. Calibrate your threshold.
- Power outage – UPS keeps the control PC and network alive for at least 15 minutes. After that, the observatory should automatically close on UPS power, then shut down safely.
- Camera hang – A power cycle on the USB hub can often reset a frozen camera. Automate that with a script.
- Dew formation – Dew heaters should be controlled via software that adjusts based on humidity. If heaters fail, a simple script can park the scope before optics fog up.
The Practical Check: Seven Steps to Go Fully Automated
- Verify hardware compatibility – Confirm all your gear has ASCOM or INDI drivers. Test each device independently.
- Install and configure your automation platform – Set up the sequence, flat field calibration, and guiding routines.
- Integrate weather monitoring – Connect your weather sensors and define safe thresholds. Test a rain trigger manually.
- Set up remote access – Use a VPN, remote desktop, and a watch dog system. Try rebooting the PC from your phone.
- Run a daytime test – Simulate a night session with the scope inside. Move the mount, take test images, and check parking logic.
- Run a supervised night – Stay nearby but resist the urge to touch the controls. Watch how the system reacts to conditions. Note any anomalies.
- Go hands off for a short session – Schedule a one hour run when the weather is stable. Monitor logs the next morning.
Common Mistakes That Derail Automation
- Assuming your mount can always find home after a power cycle. It does not. Install a limit switch or encoder based homing.
- Using consumer grade network gear. A $30 router might drop packets at the worst moment. Invest in a quality router with VLAN support.
- Ignoring cable management. Snagged cables stop a mount cold. Route them carefully and use cable wraps.
- Forgetting about software updates mid session. Turn off automatic updates on the observatory PC.
- Trusting a single weather sensor. Rain can start below a cloud sensor’s threshold. Always use at least two different sensor types.
Tying It All Together: From Dream to Reality
Going fully automated is a process, not a single weekend project. You will hit snags. A focuser might not respond, a USB hub might drop, or a mount might refuse to home. That is normal. Each failure teaches you something about your system. Over time, your automation becomes more robust, and your confidence grows.
If you are building your first remote observatory, consider starting with a simple all sky camera to monitor conditions before adding the big telescope. A project like building an all-sky camera system to monitor celestial patterns year-round gives you a gentle introduction to remote operation without the risk of damaging a large mount.
Your Next Clear Night
When the sky clears and your automation hums along without you, that is the reward. You will wake up to a folder of fresh subs, a flat field run completed at twilight, and the roof securely closed. The magic of remote observatory automation is not about having the fanciest gear. It is about trust. Trust in your hardware, your software, and your own careful planning.
Pick one piece of this guide and improve it this week. Maybe add a rain sensor, or set up a power cycle script. Small steps add up. The night sky is waiting, and your telescope can be ready every single time, even when you are not there.

Post Comment